Build an automatic follow-up sequence
For agents · 5 min
Create your own tag and a series of emails that go out on their own whenever you add that tag to a contact.
Watch
Or read it step by step
-
Create a tag
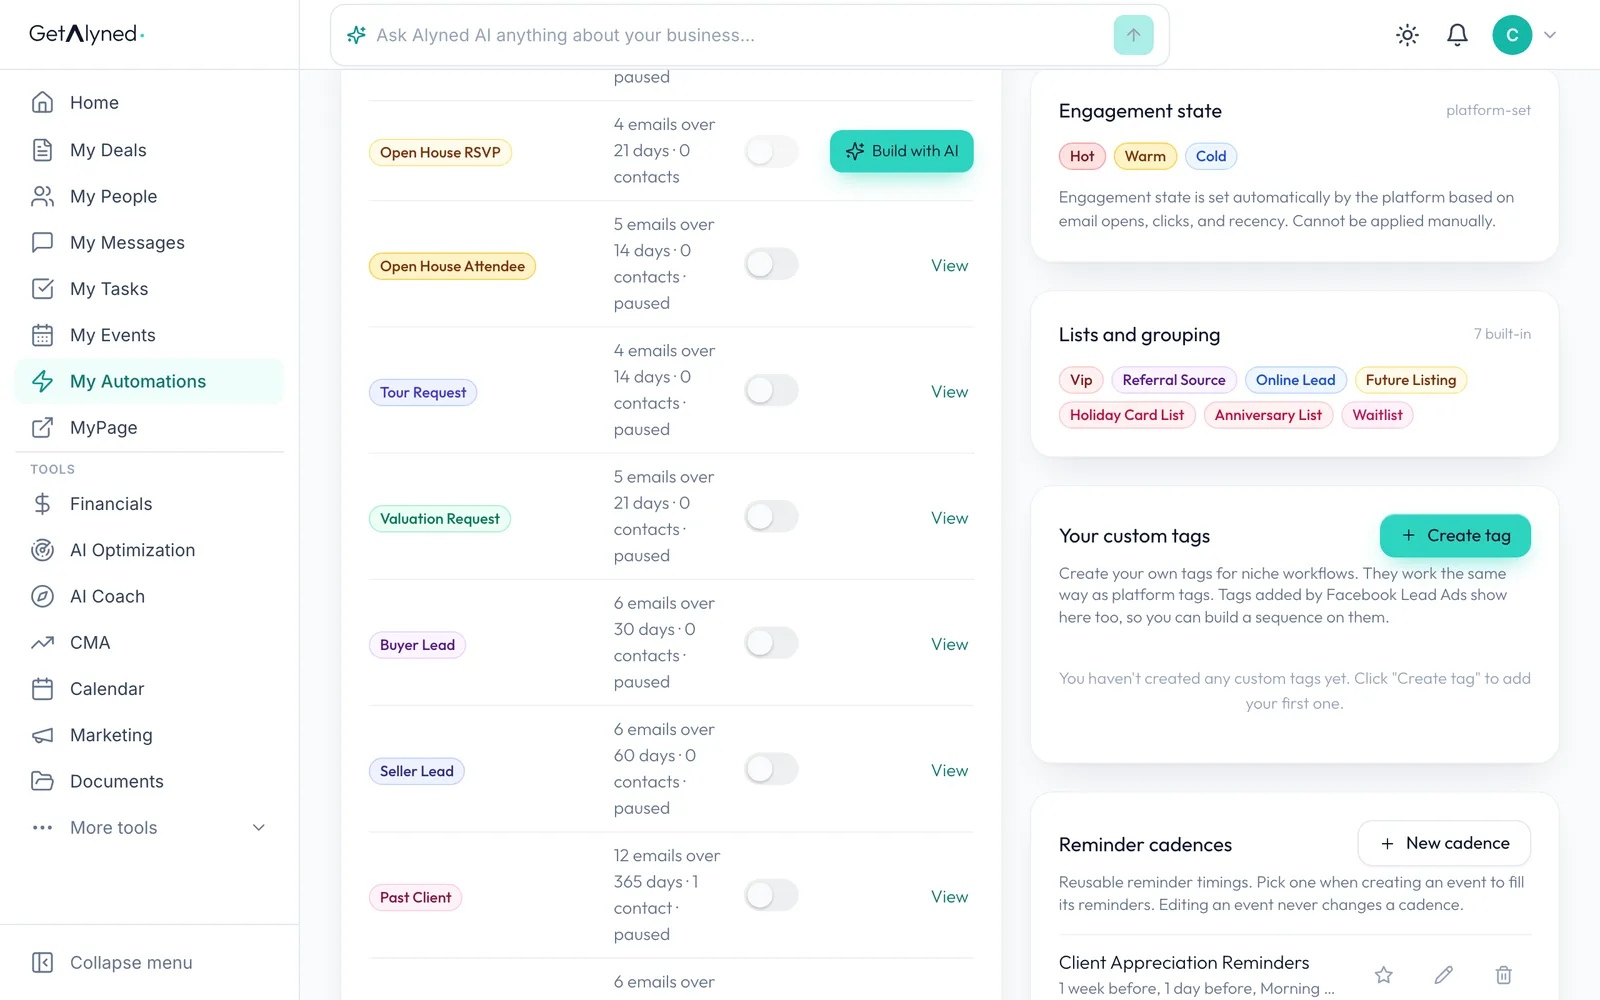
In My Automations, under Your custom tags, click Create tag. A sequence can start whenever a tag is added.
-
Name the tag
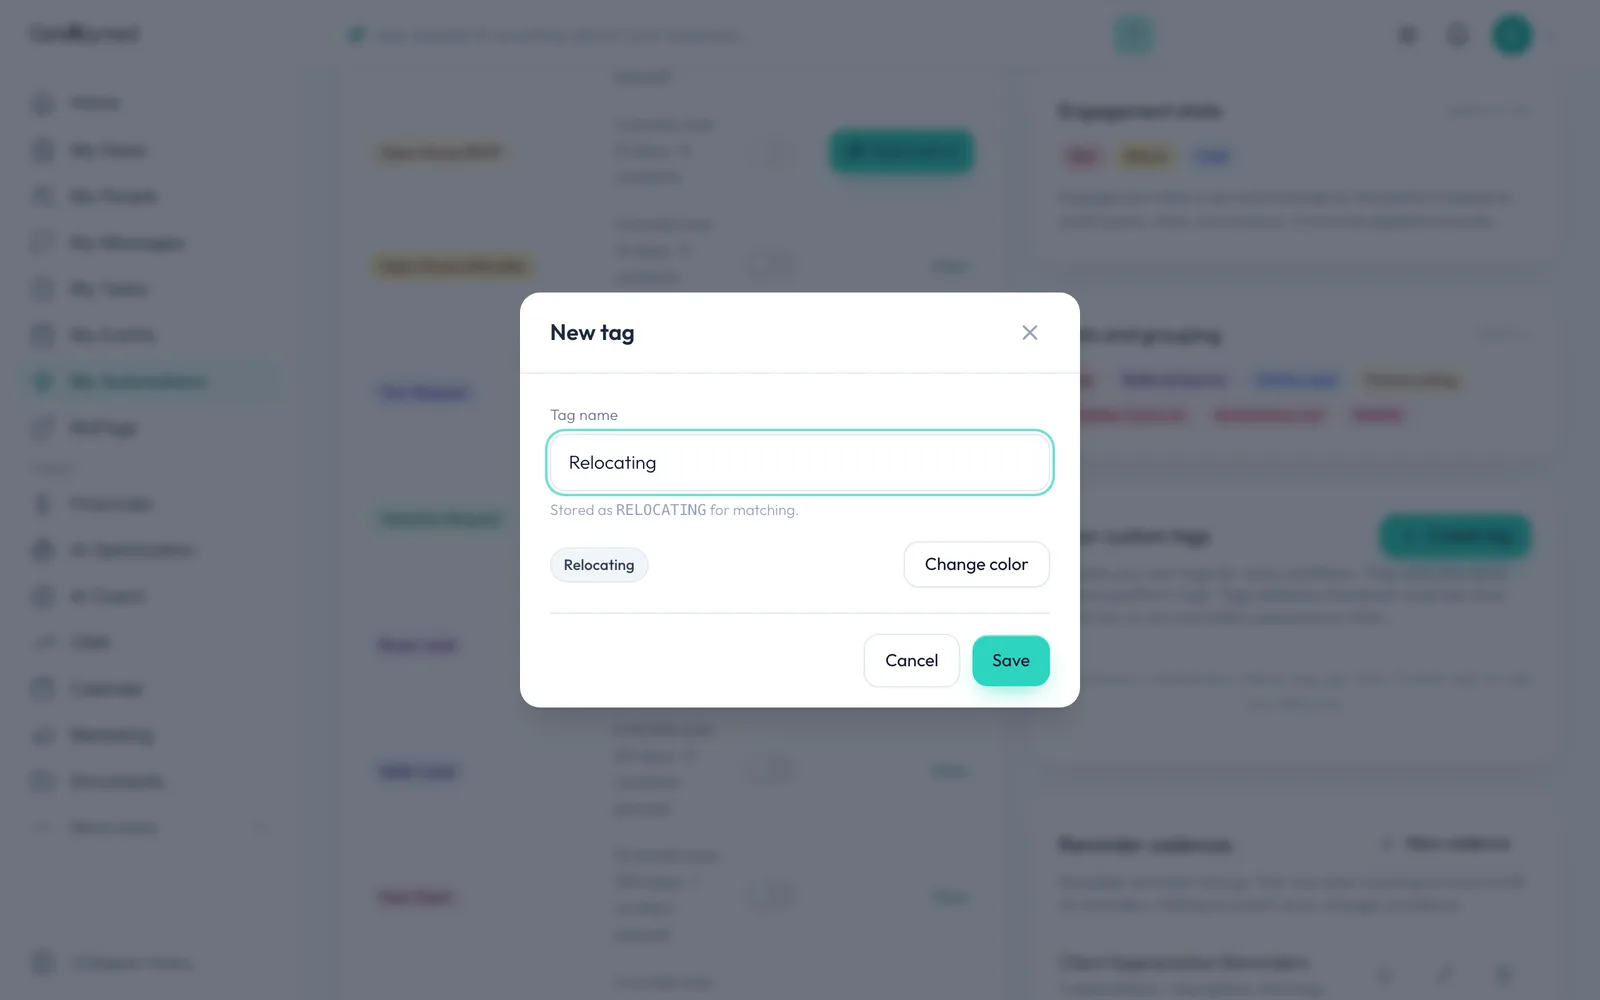
Type a name for the tag.
-
Save it
Click Save.
-
Open Sequences
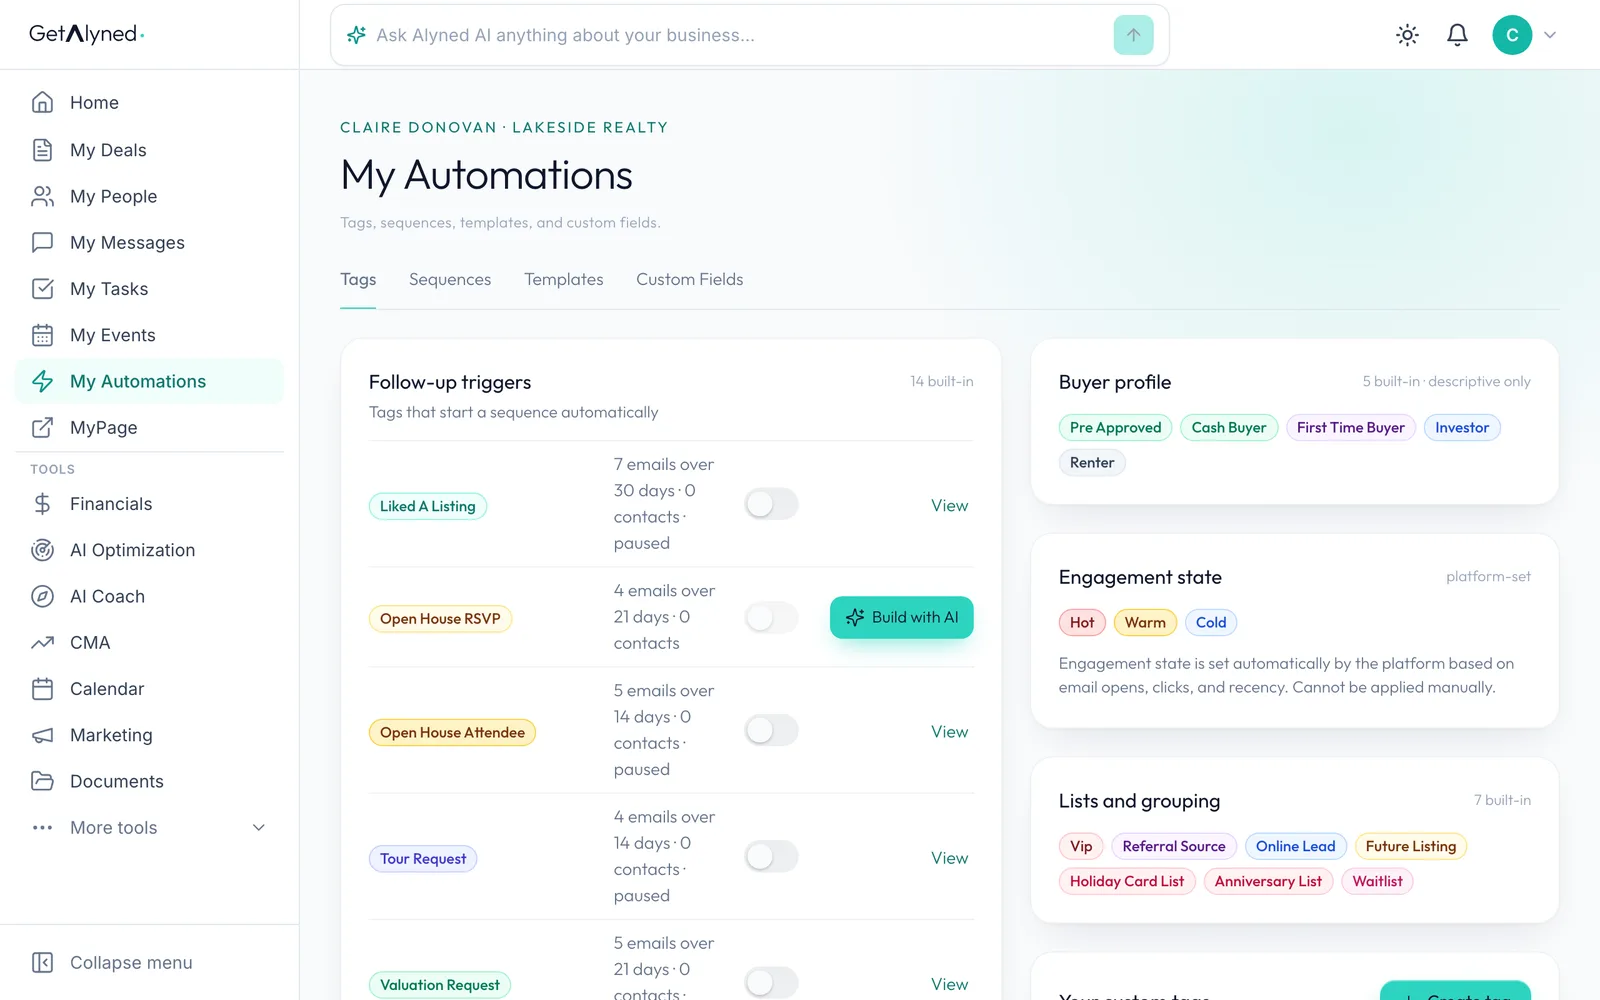
Click Sequences. It lists every follow-up you have.
-
Start a new sequence
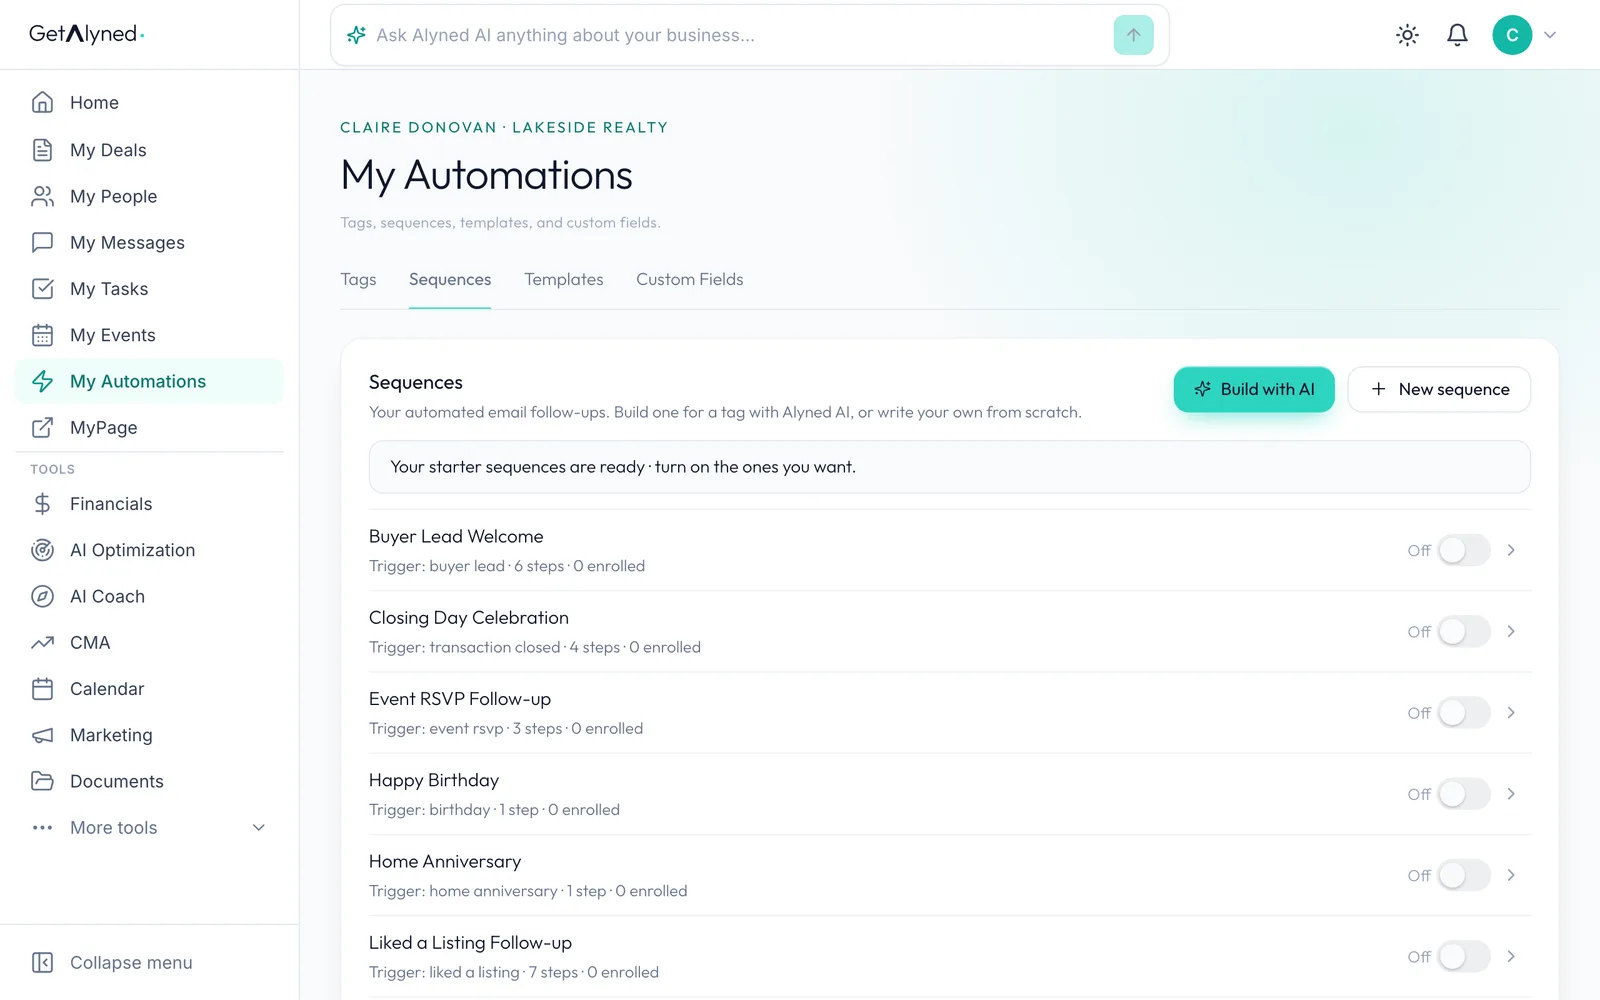
Click New sequence. Build with AI can also draft one from a sentence; this guide builds one by hand.
-
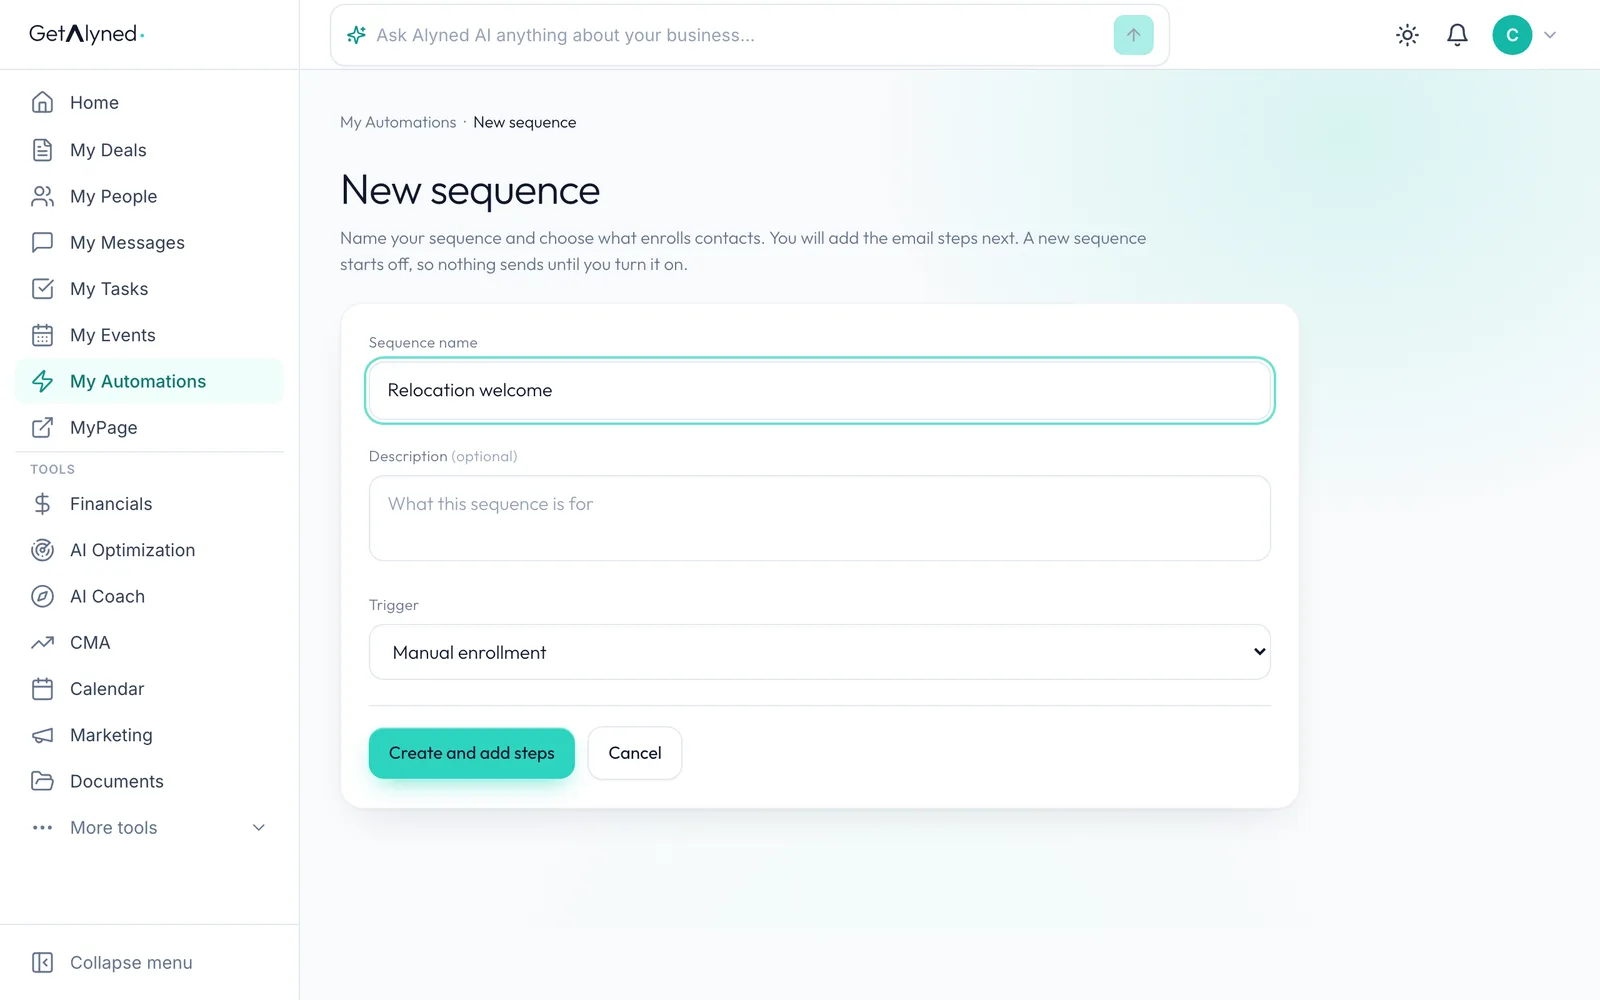
Name the sequence
Give the sequence a name.
-
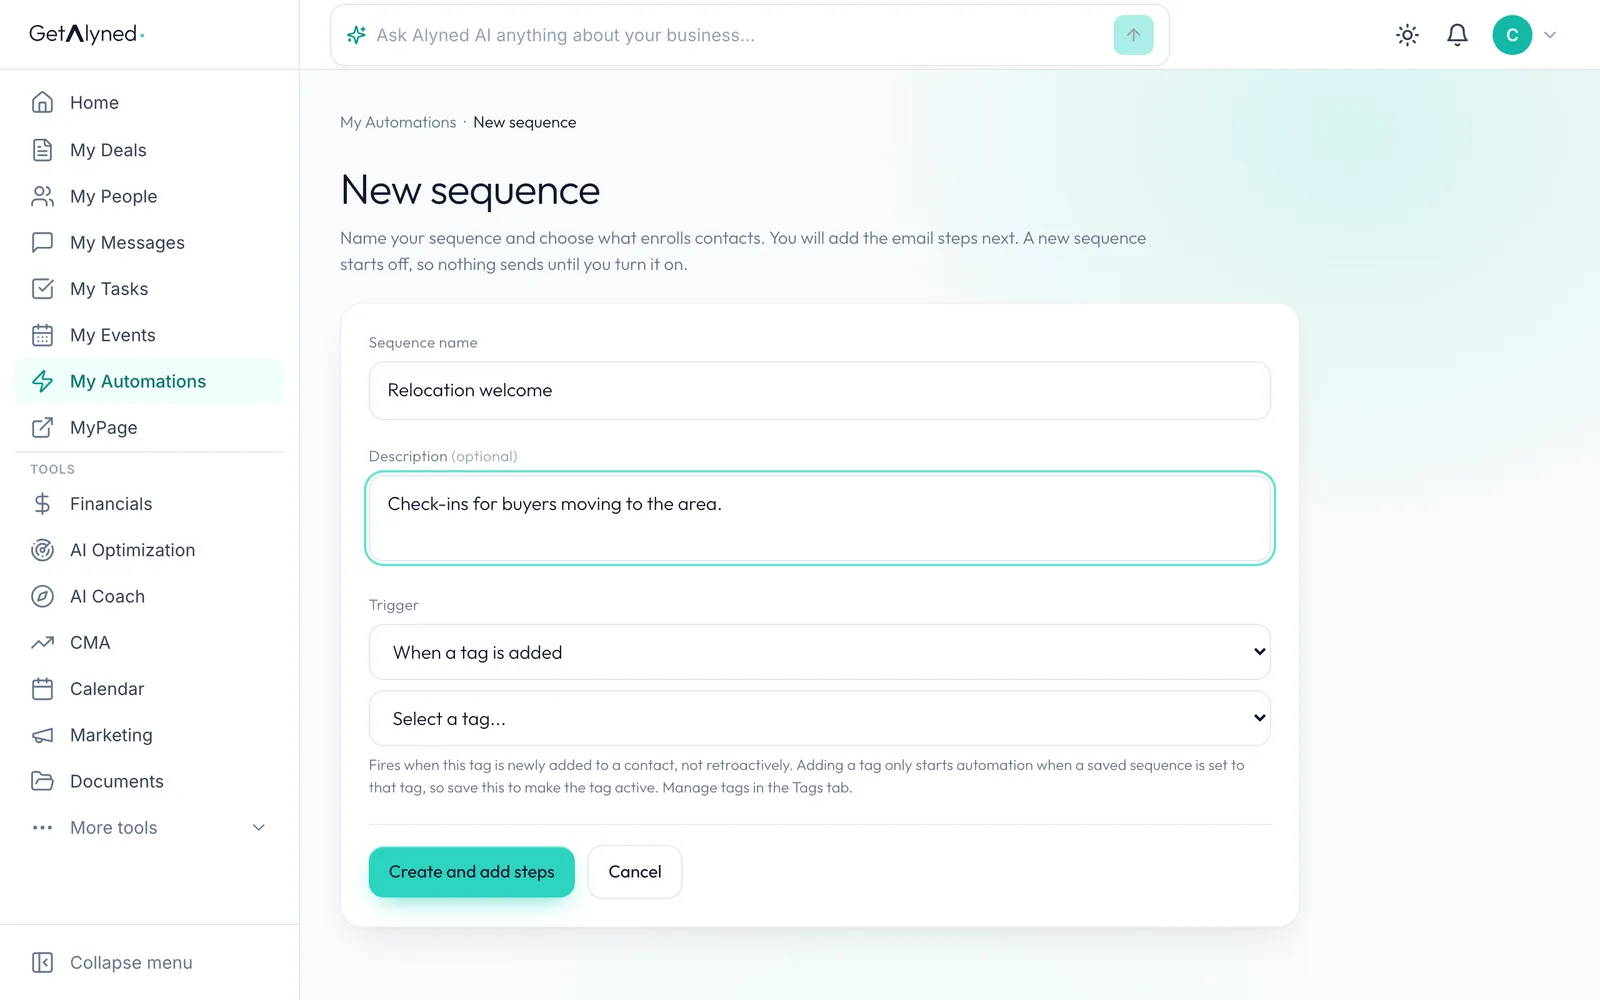
Choose what starts it
Under Trigger, choose When a tag is added. It can also start on a new contact, a stage, a closing, a birthday or a home anniversary.
-
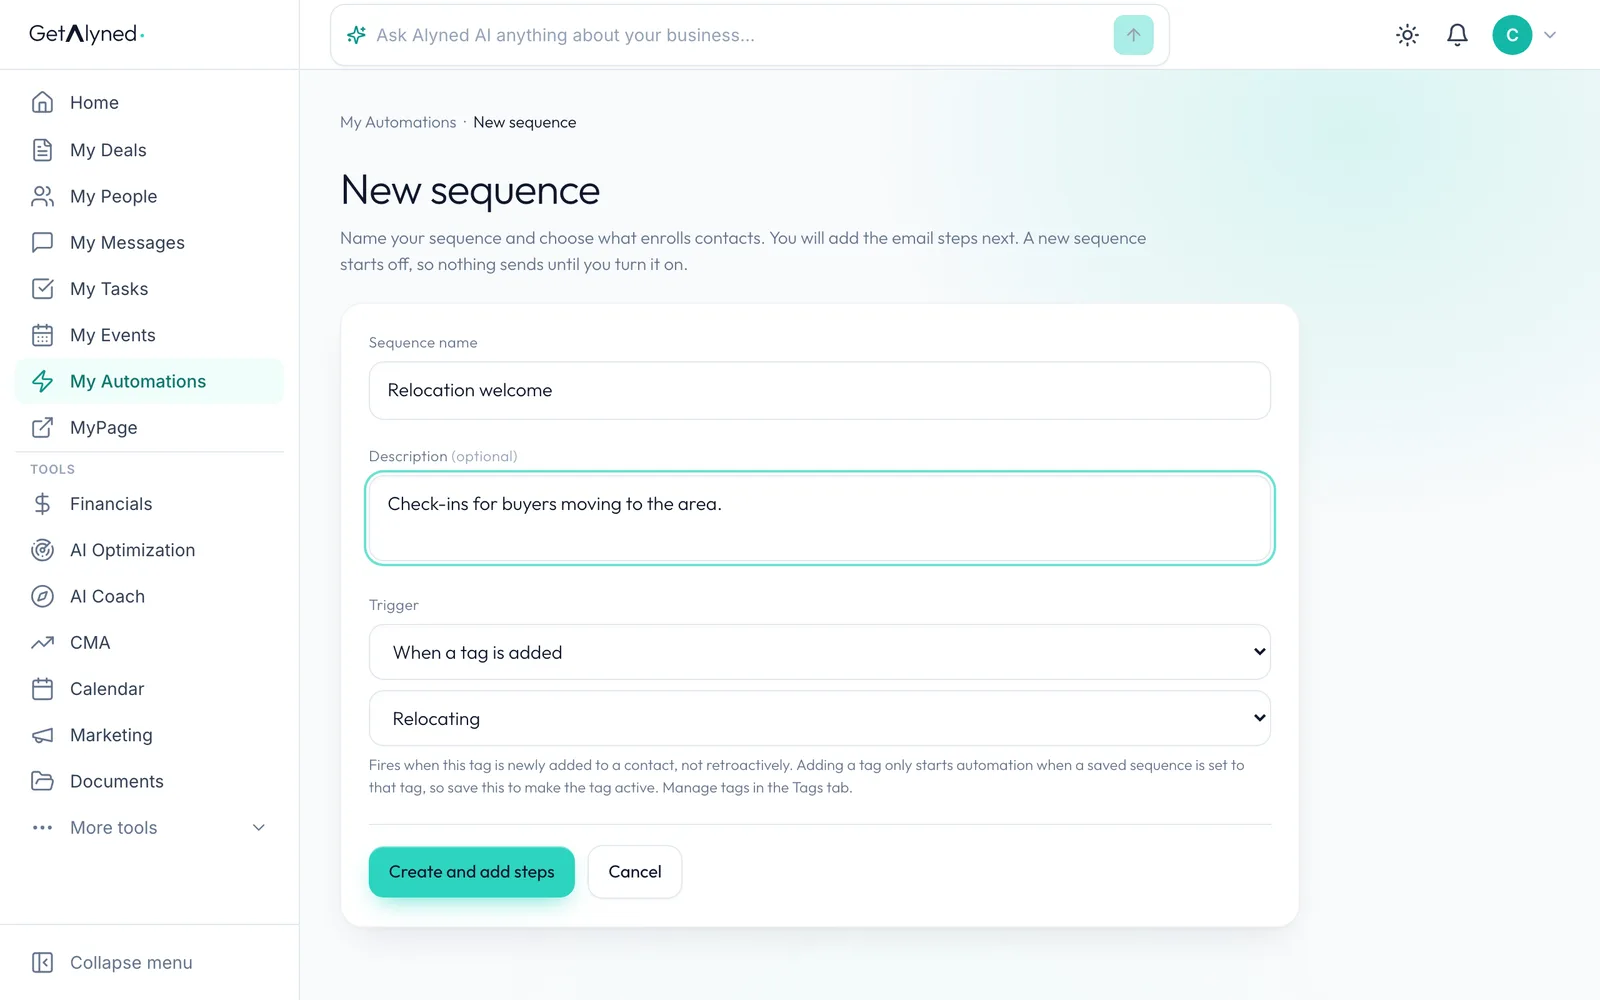
Pick your tag
Pick the tag you just made.
-
Create it
Click Create and add steps.
-
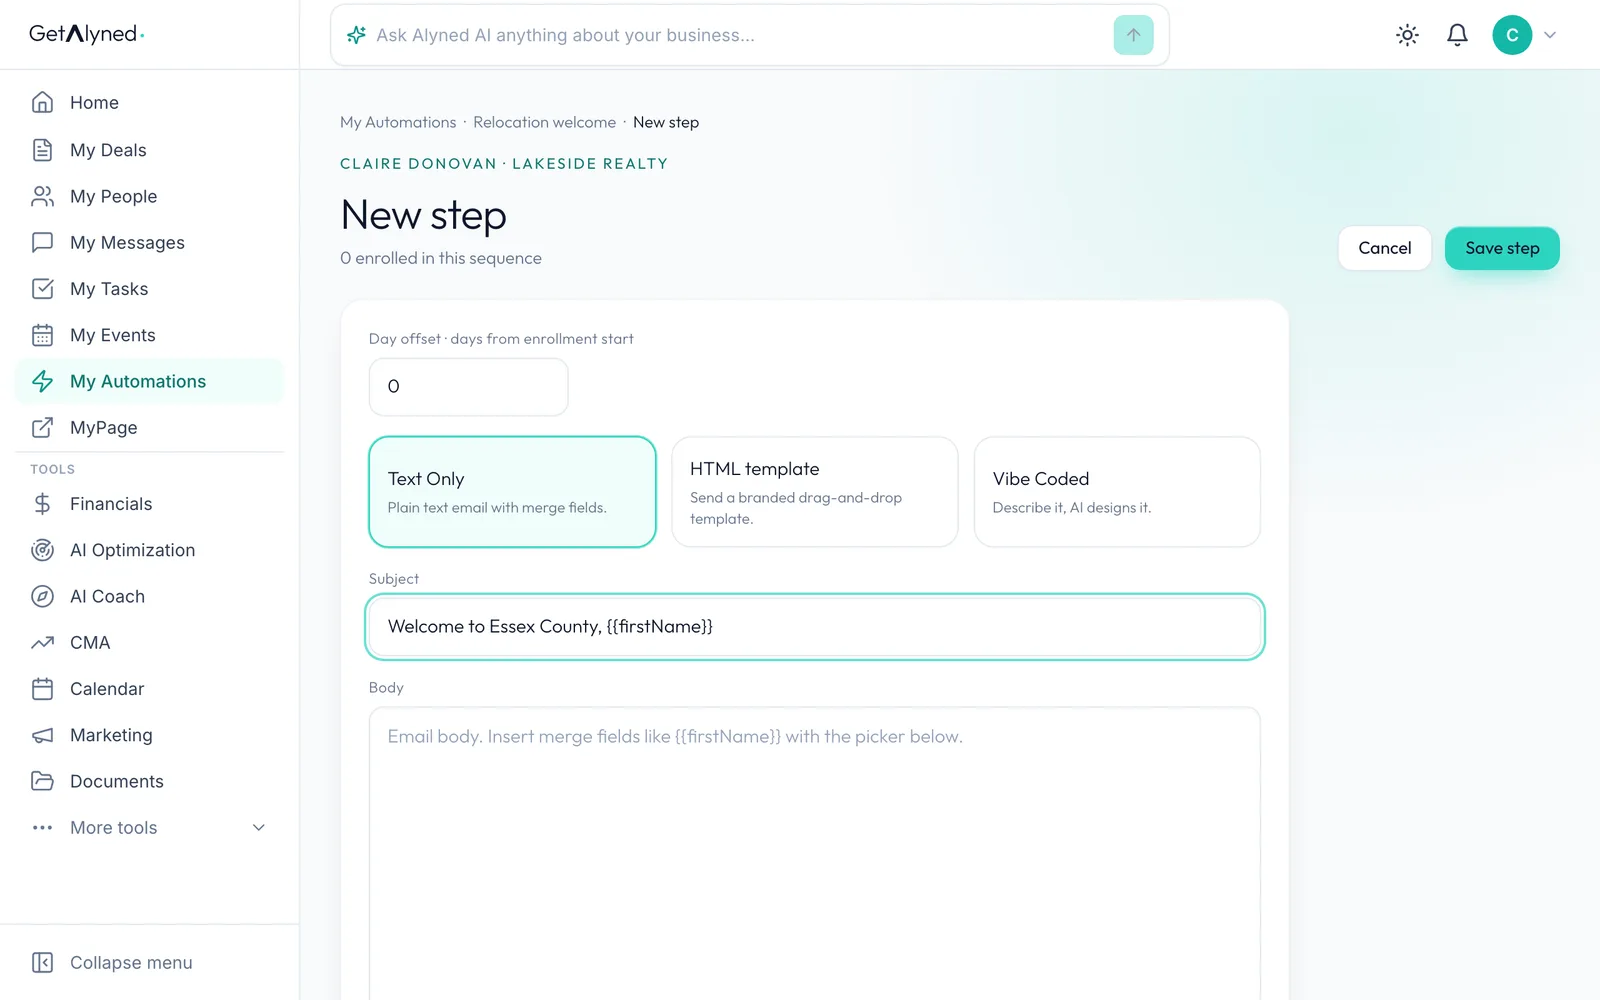
Write the first subject
Each step is an email. Day 0 goes out as soon as someone is enrolled. Type the subject.
-
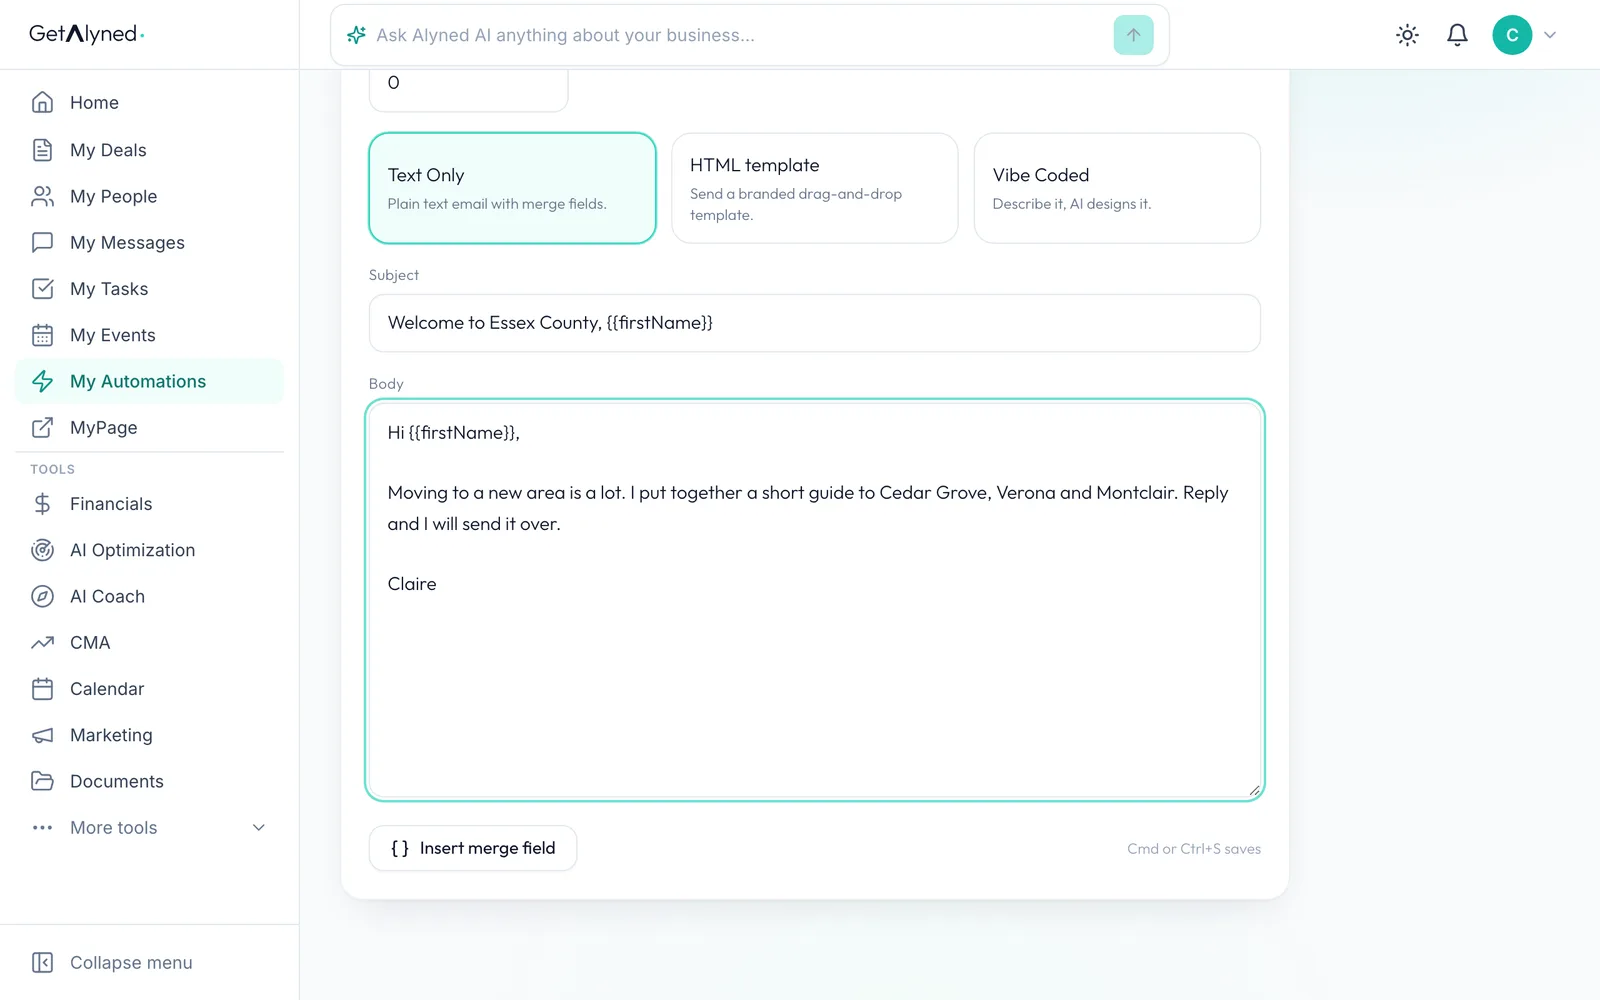
Write the first email
Write the body. Insert merge field adds their name and other details.
-
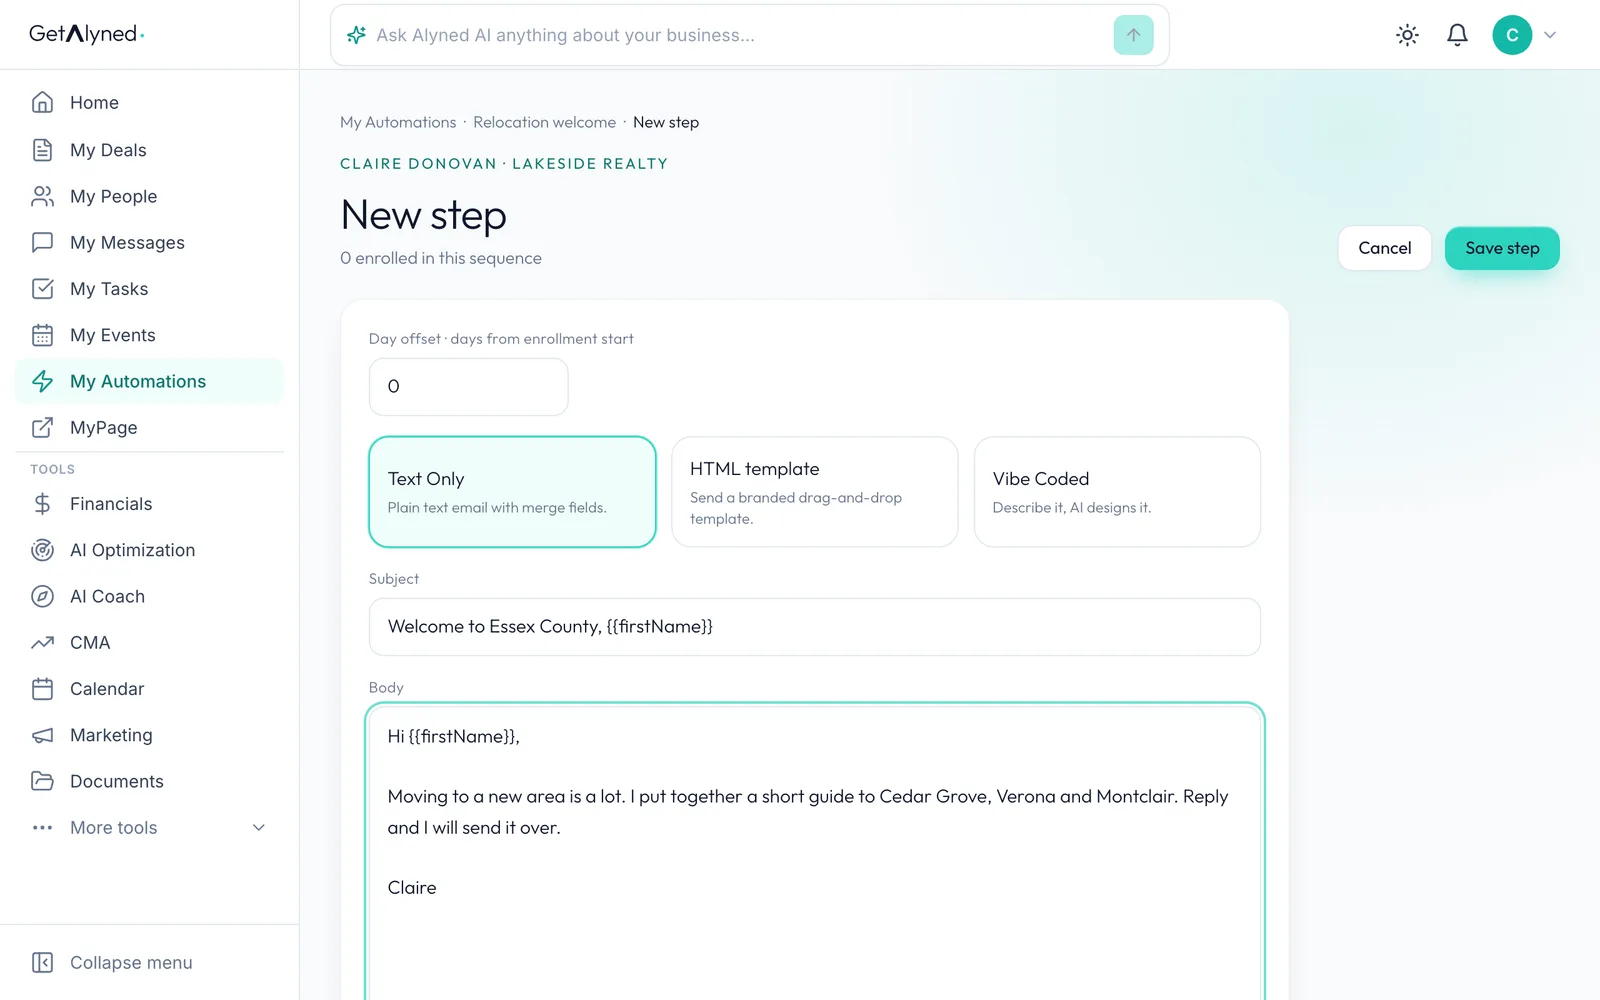
Save the step
Click Save step.
-
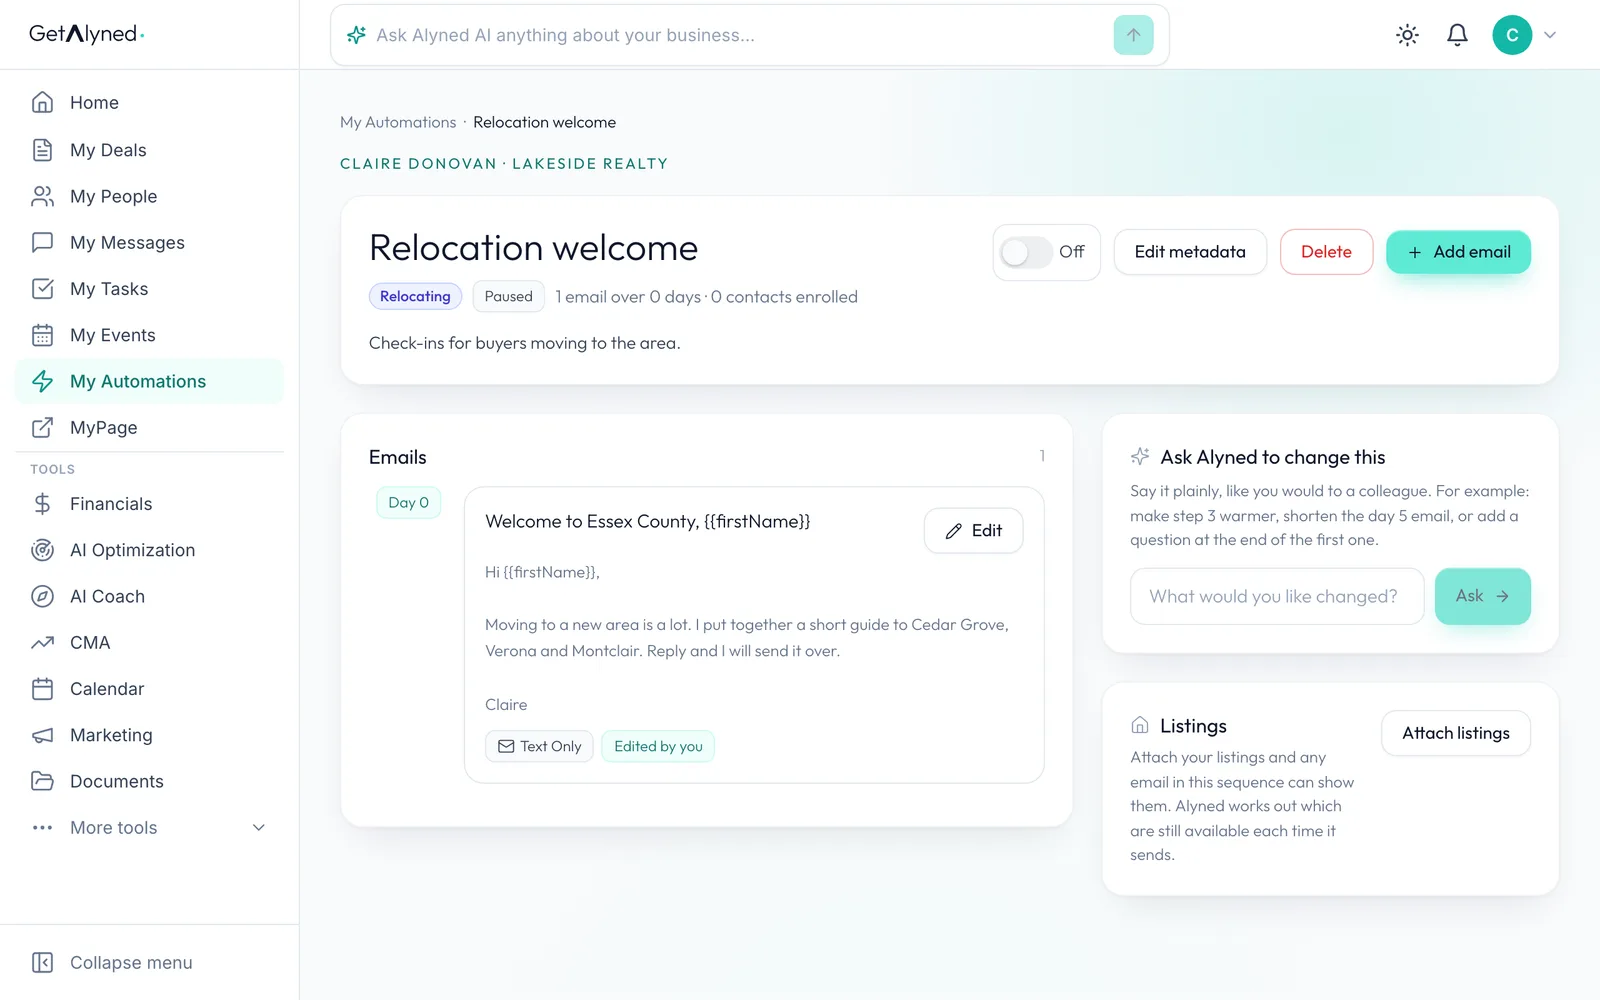
Add the next email
Click Add email for the next step.
-
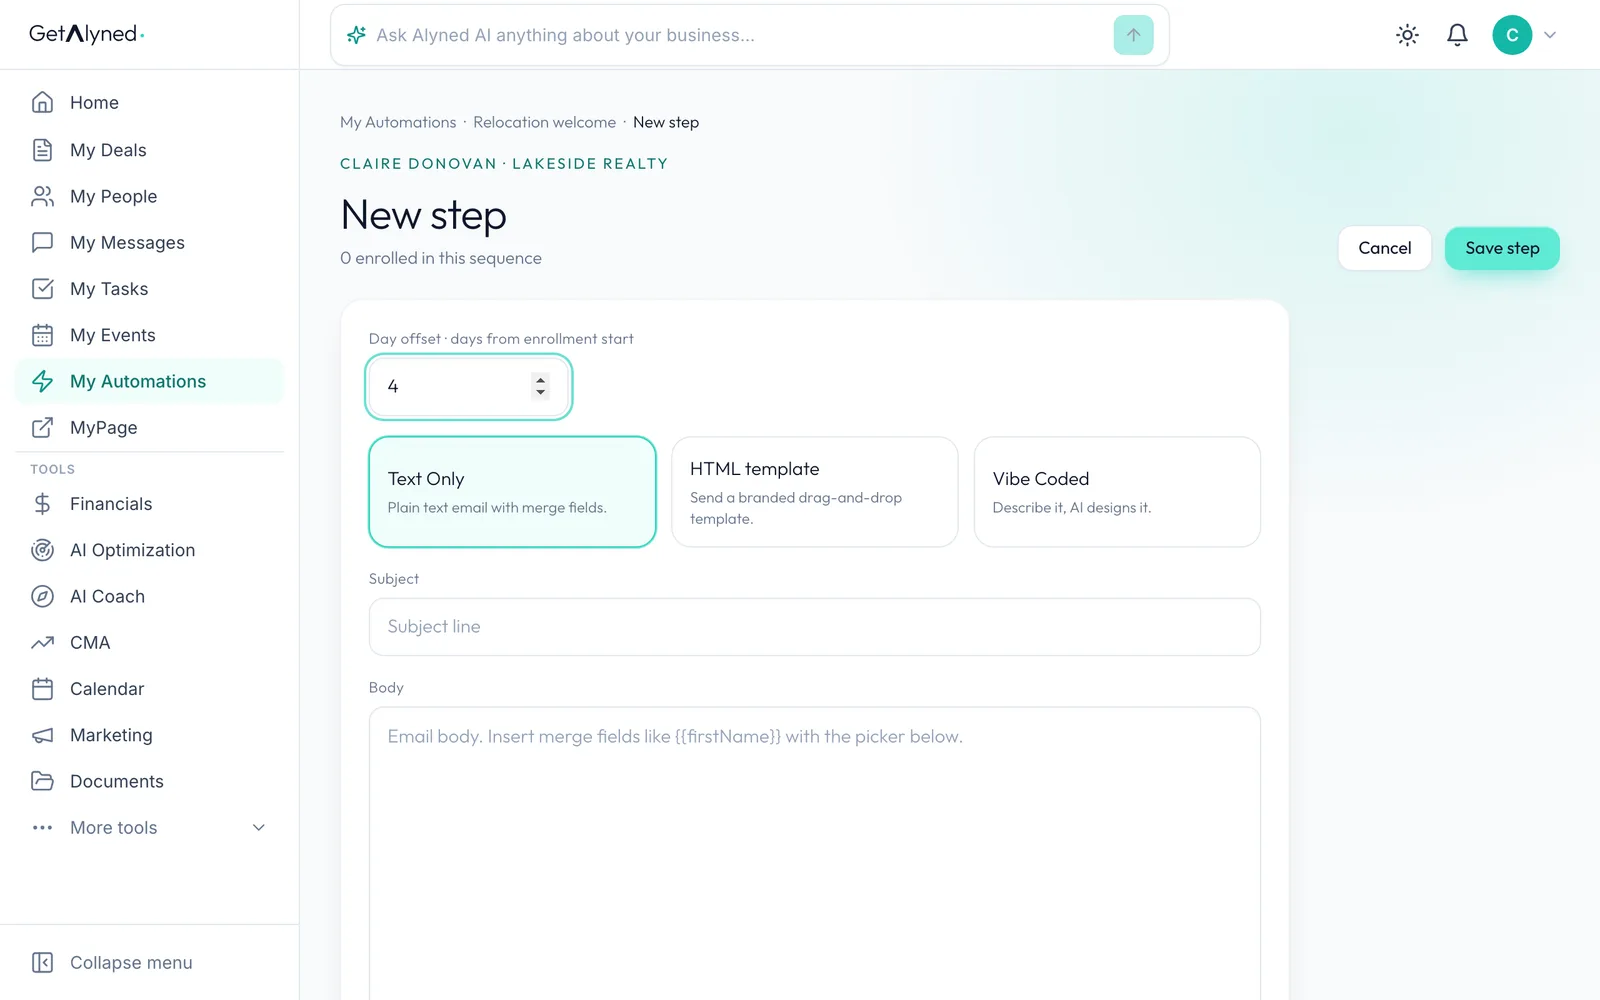
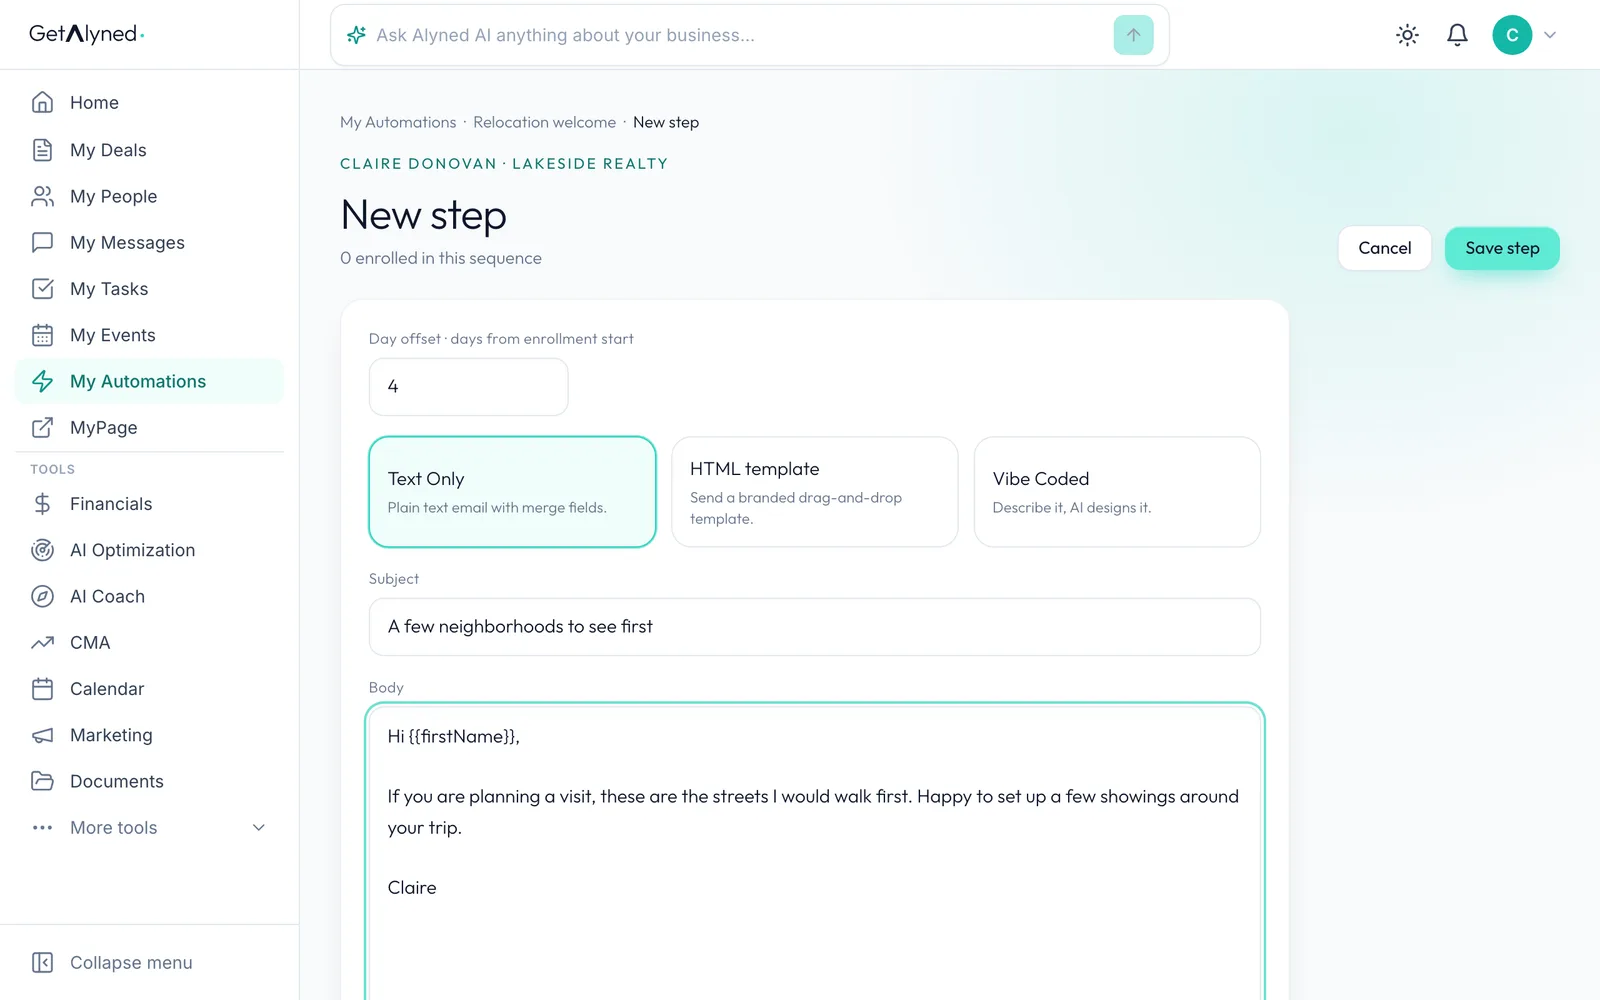
Set when it goes out
The day offset is how many days after enrollment this email goes out. Then add its subject and message.
-
Save the step
Click Save step.
-
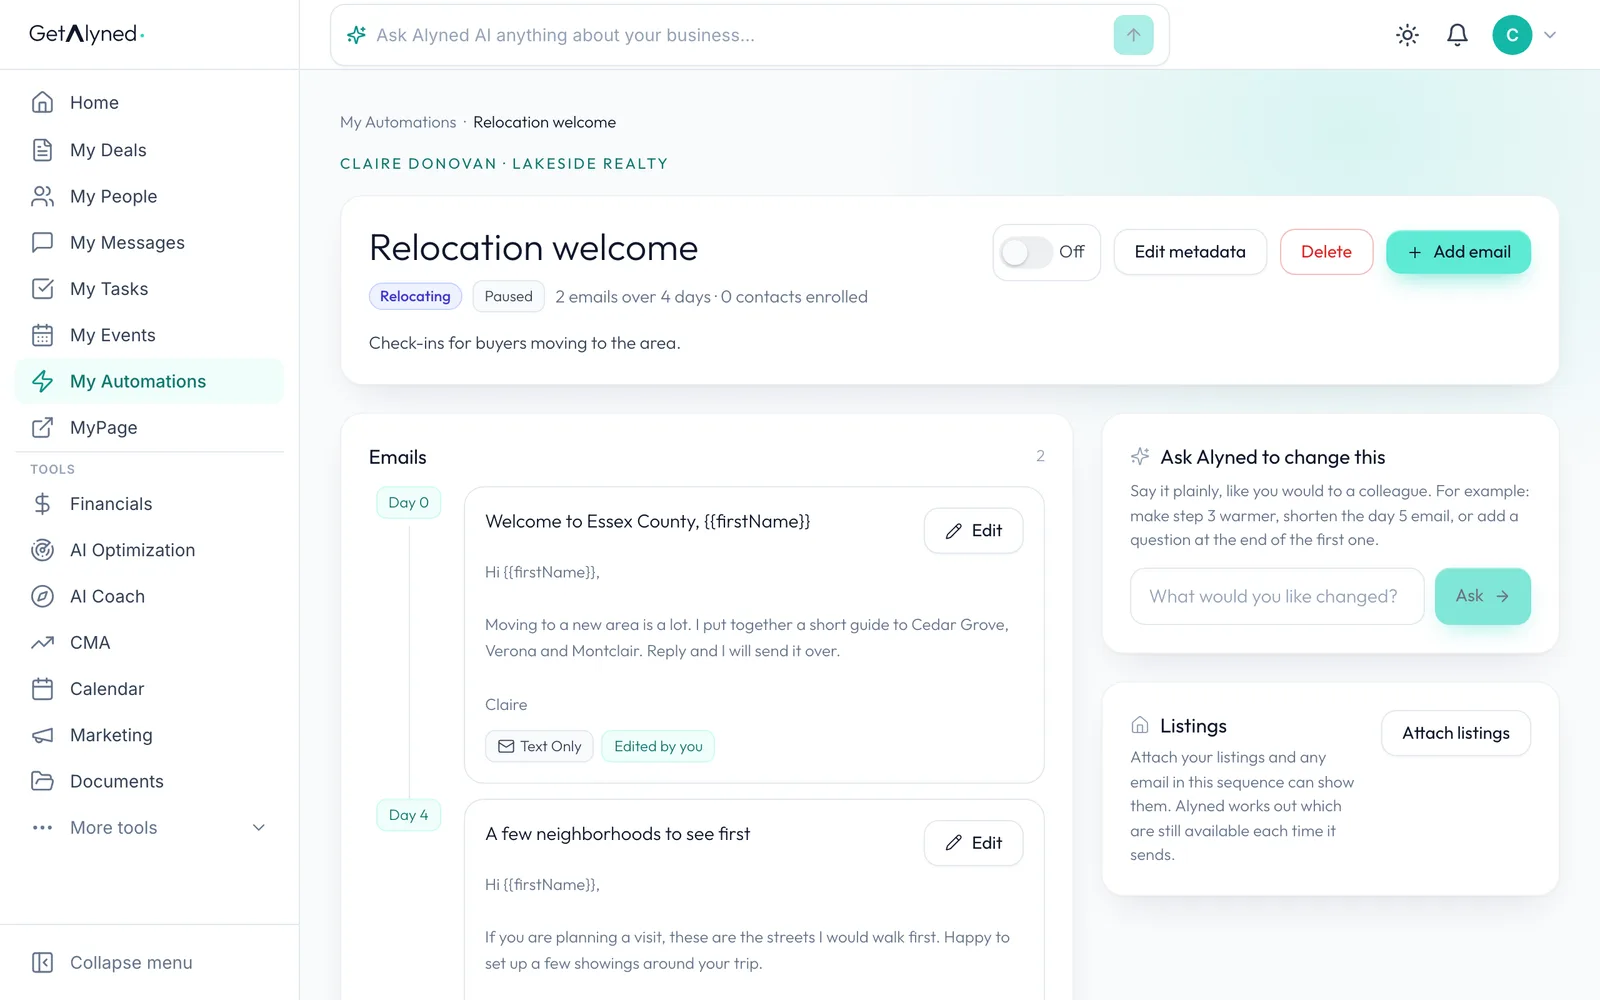
Your emails in order
Your emails are listed in order. Edit changes any of them.
-
Turn it on
A new sequence starts off. When the emails are ready, click the switch to turn it on.
-
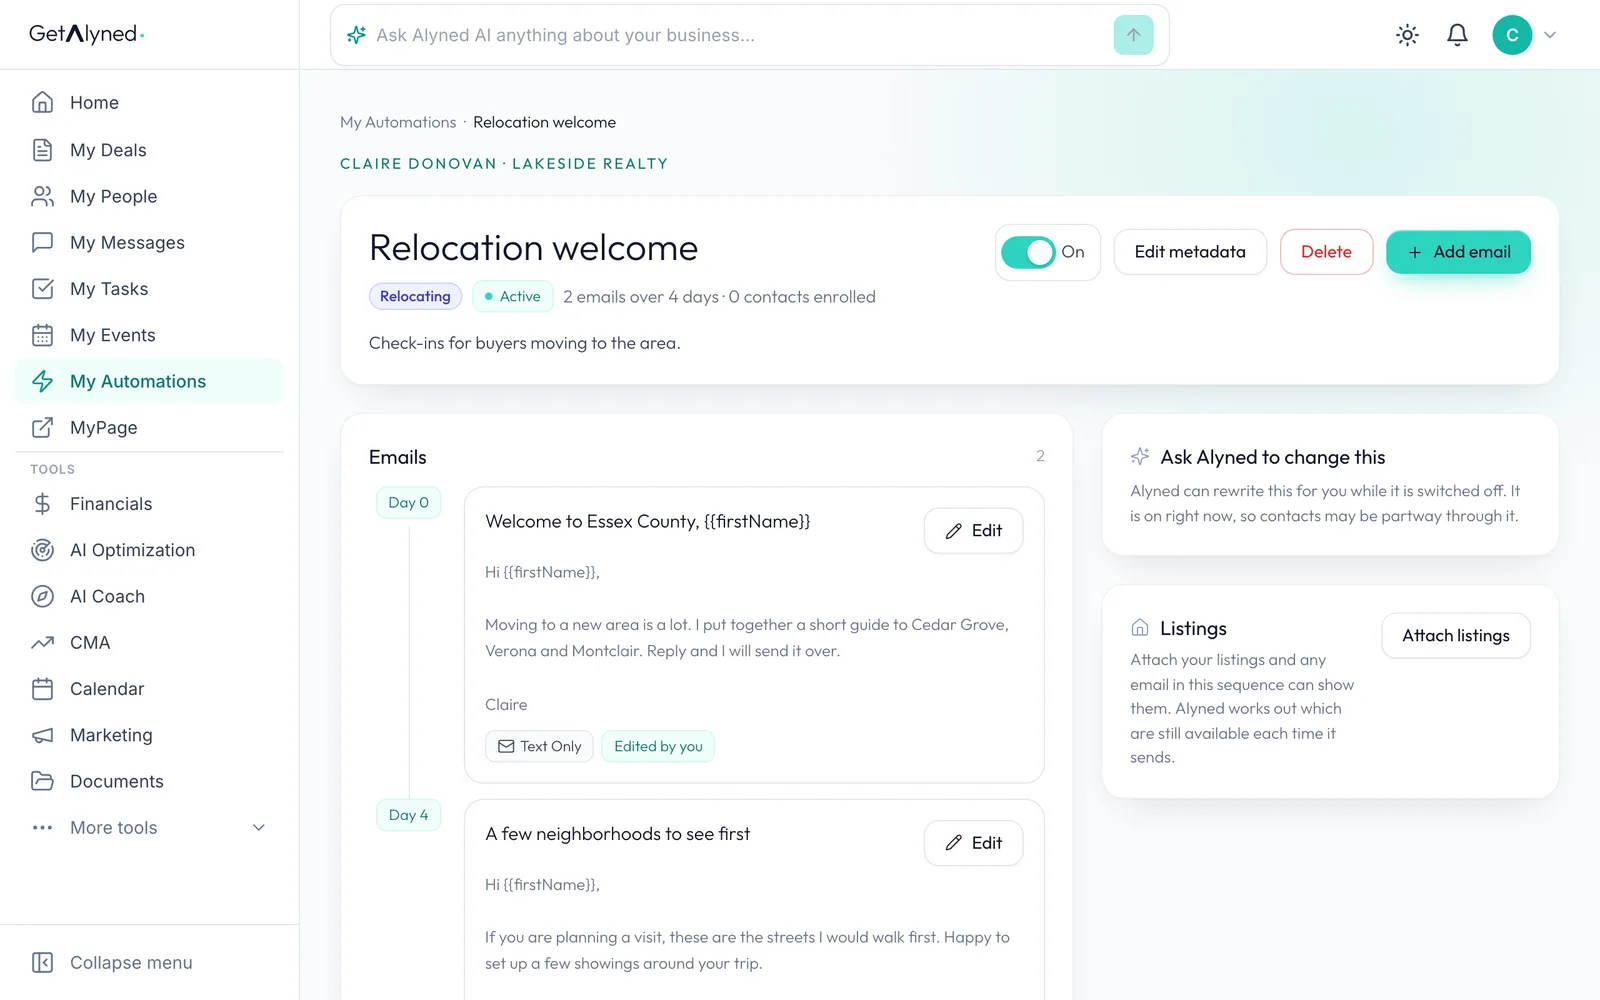
It's live
The sequence is on. Anyone you give the tag to is enrolled and gets these emails.
Related guides
- Tag a contact and start a follow-up sequence · Turn on an automatic email sequence, then tag a contact so it starts following up for you.
- Everything you can set up on a contact · Add someone to My People, then take a tour of their record: tags, details, notes, tasks, automatic follow-ups and referrals to your loan officer.
- Send a bulk email · Write one email, pick who gets it, check the list and send it, with every person getting their own copy.
- Sign visitors in at the door · Turn a QR code or a tablet into your open house sign-in sheet, so every visitor becomes a contact you can follow up with.