Everything you can set up on a contact
For loan officers · 4 min
Add a borrower, tag them, log notes and tasks, keep key facts handy, start a follow-up sequence, and refer them to an agent you work with.
Watch
Or read it step by step
-
Add contact
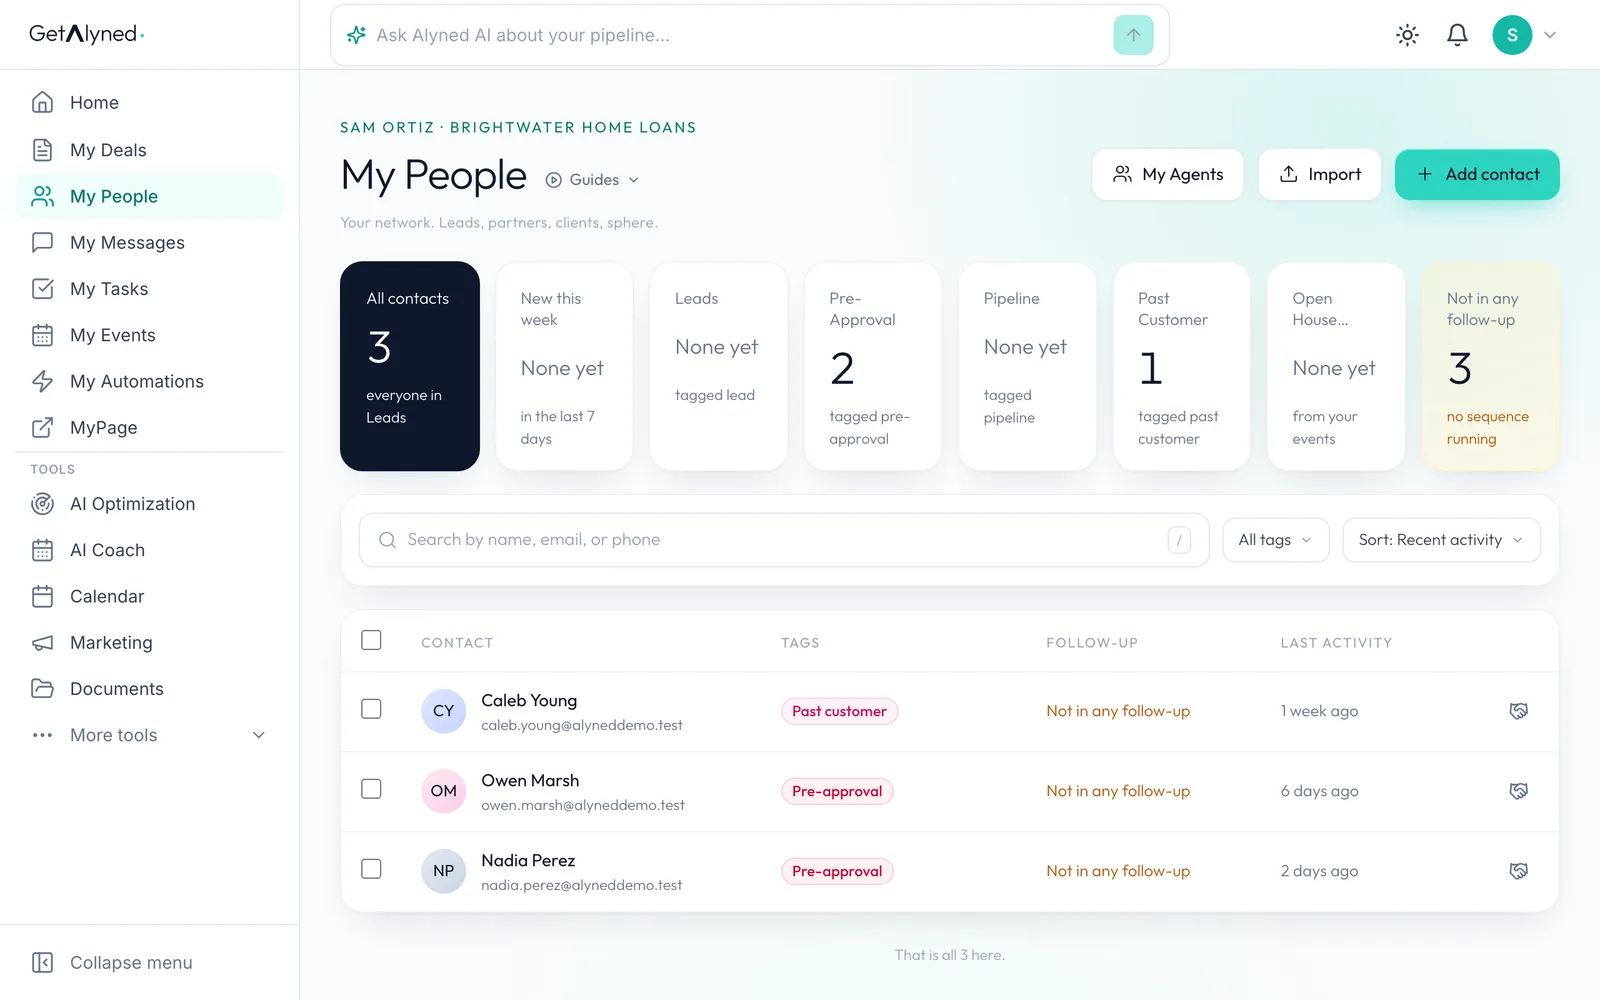
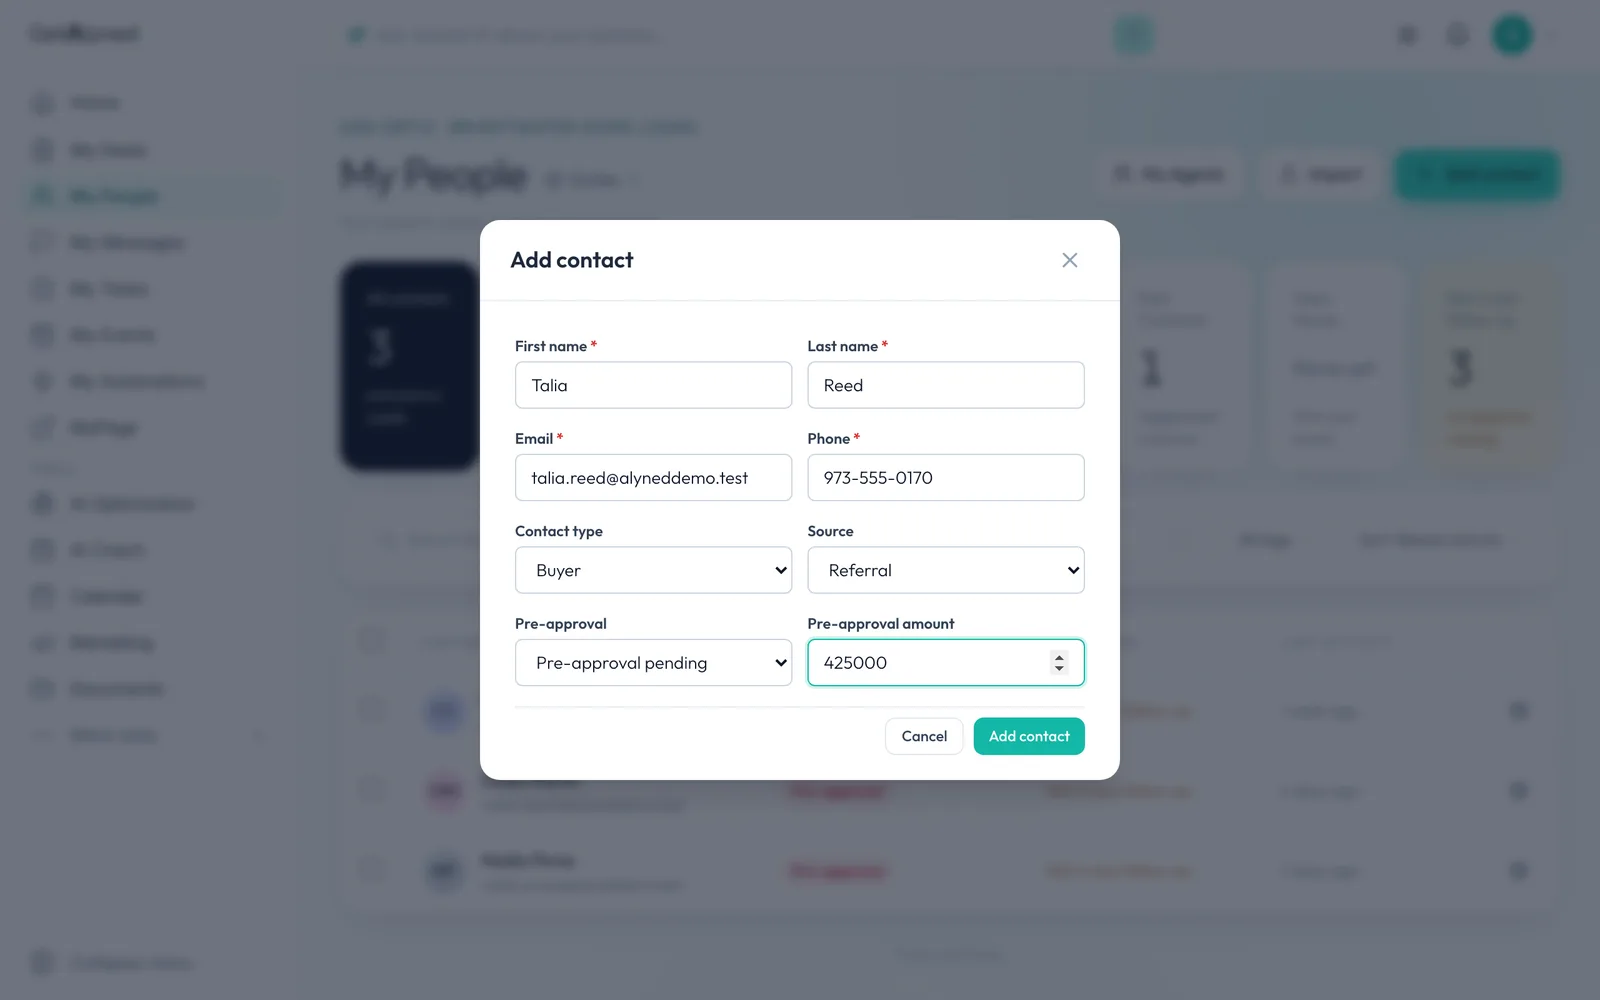
Contacts live in My People. A borrower, a past client or someone an agent mentioned all start here. Click Add contact.
-
Their details
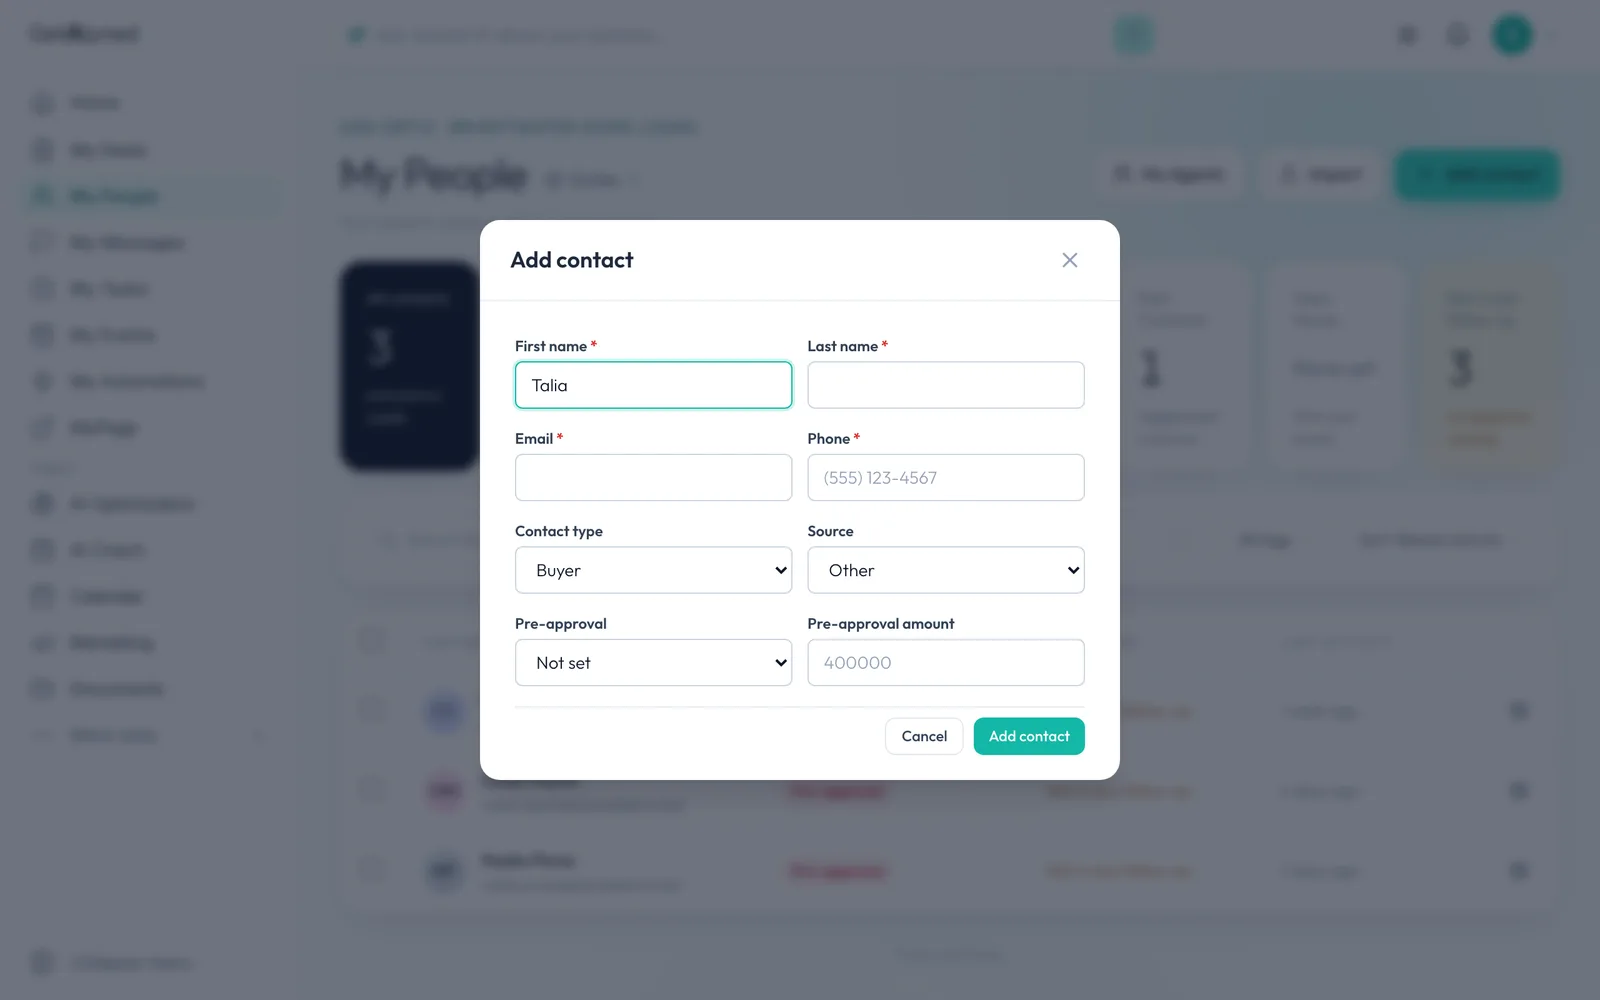
First and last name, email and phone are required.
-
Source
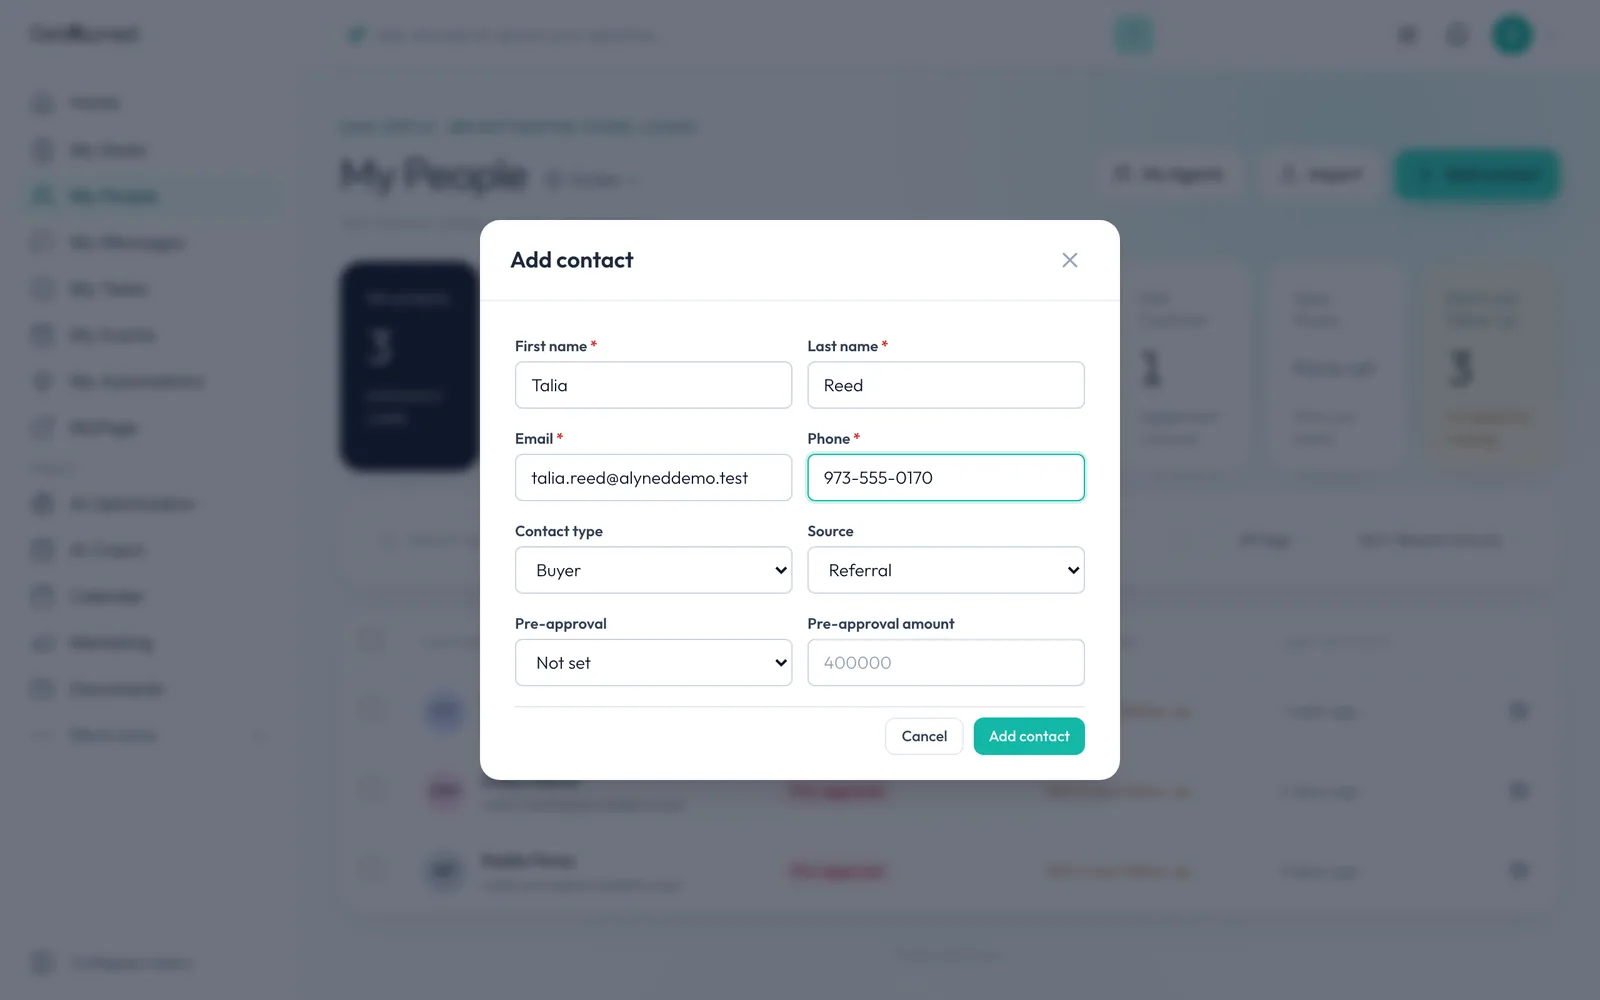
Source records where the contact came from, so you always know who or what sent them.
-
Pre-approval
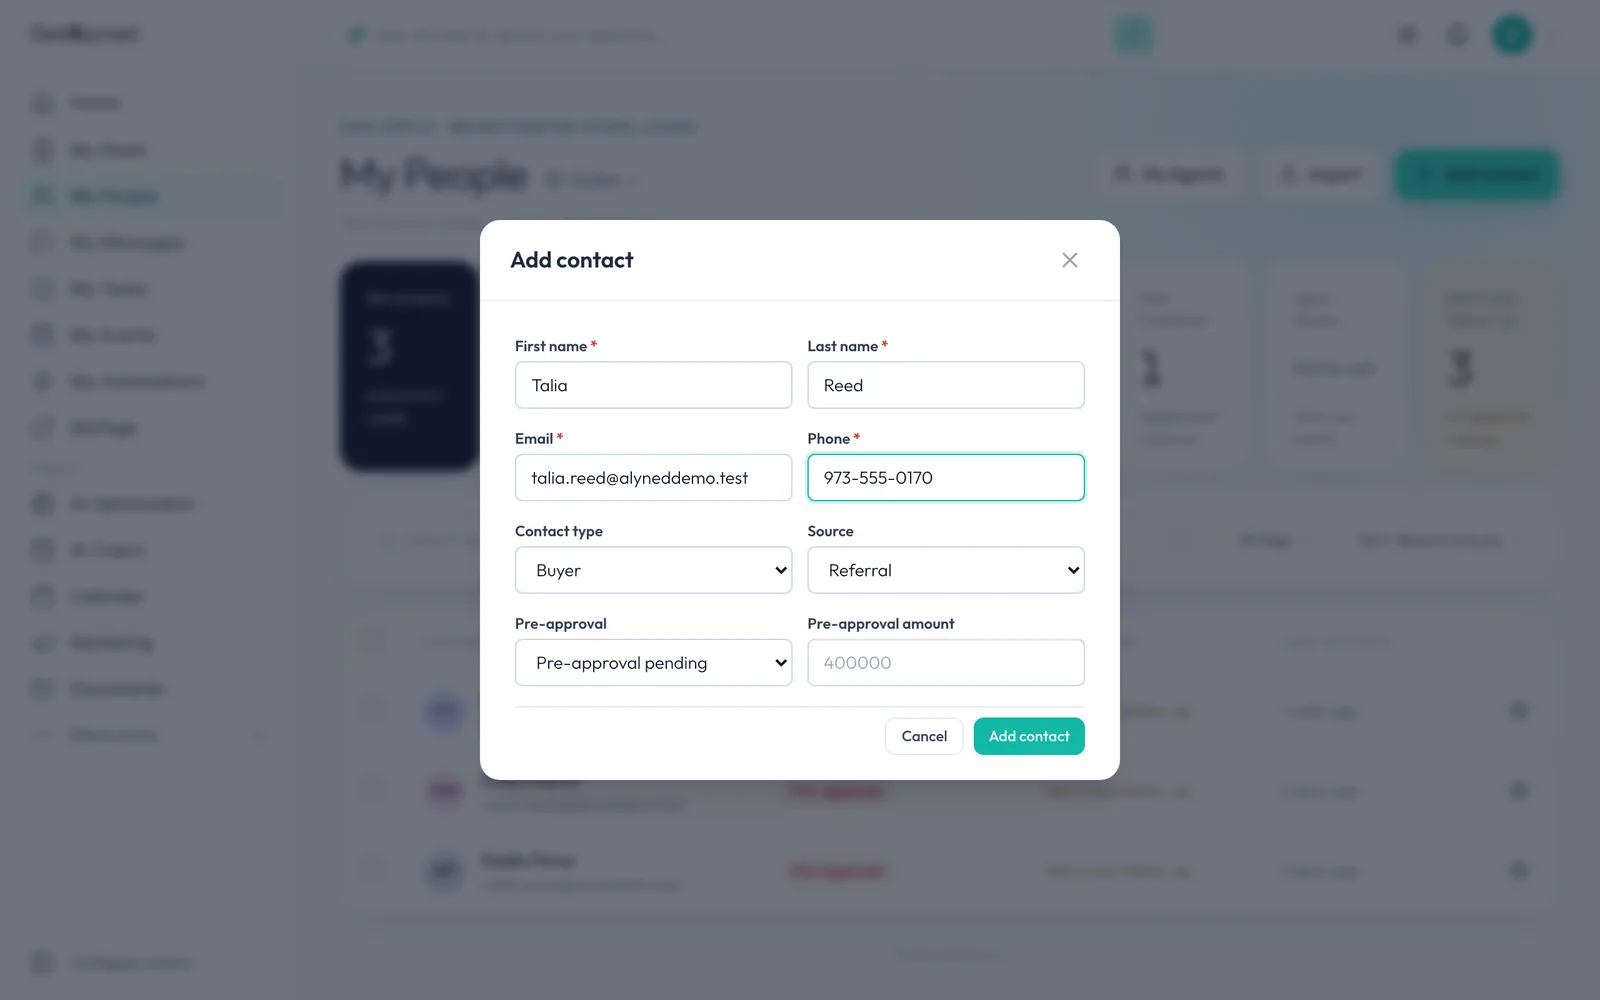
Pre-approval says where they stand. Add the amount below it if you know it.
-
Save it
Click Add contact. A new contact is private to you.
-
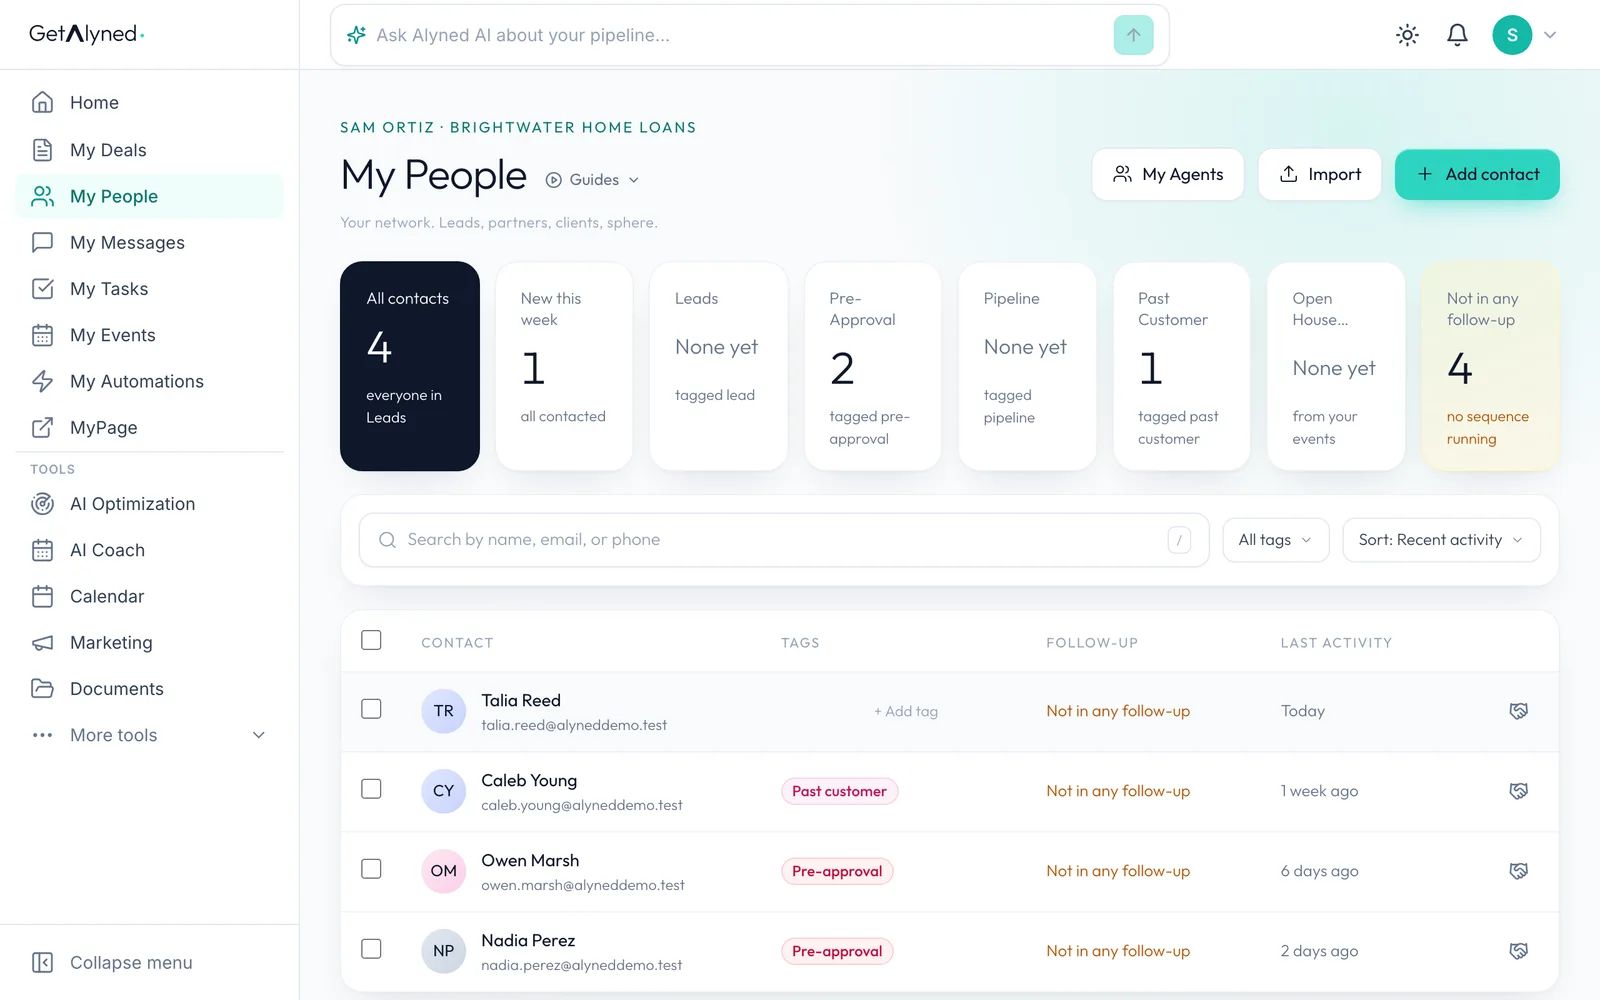
Open the contact
Open the contact to see everything you can set up on them.
-
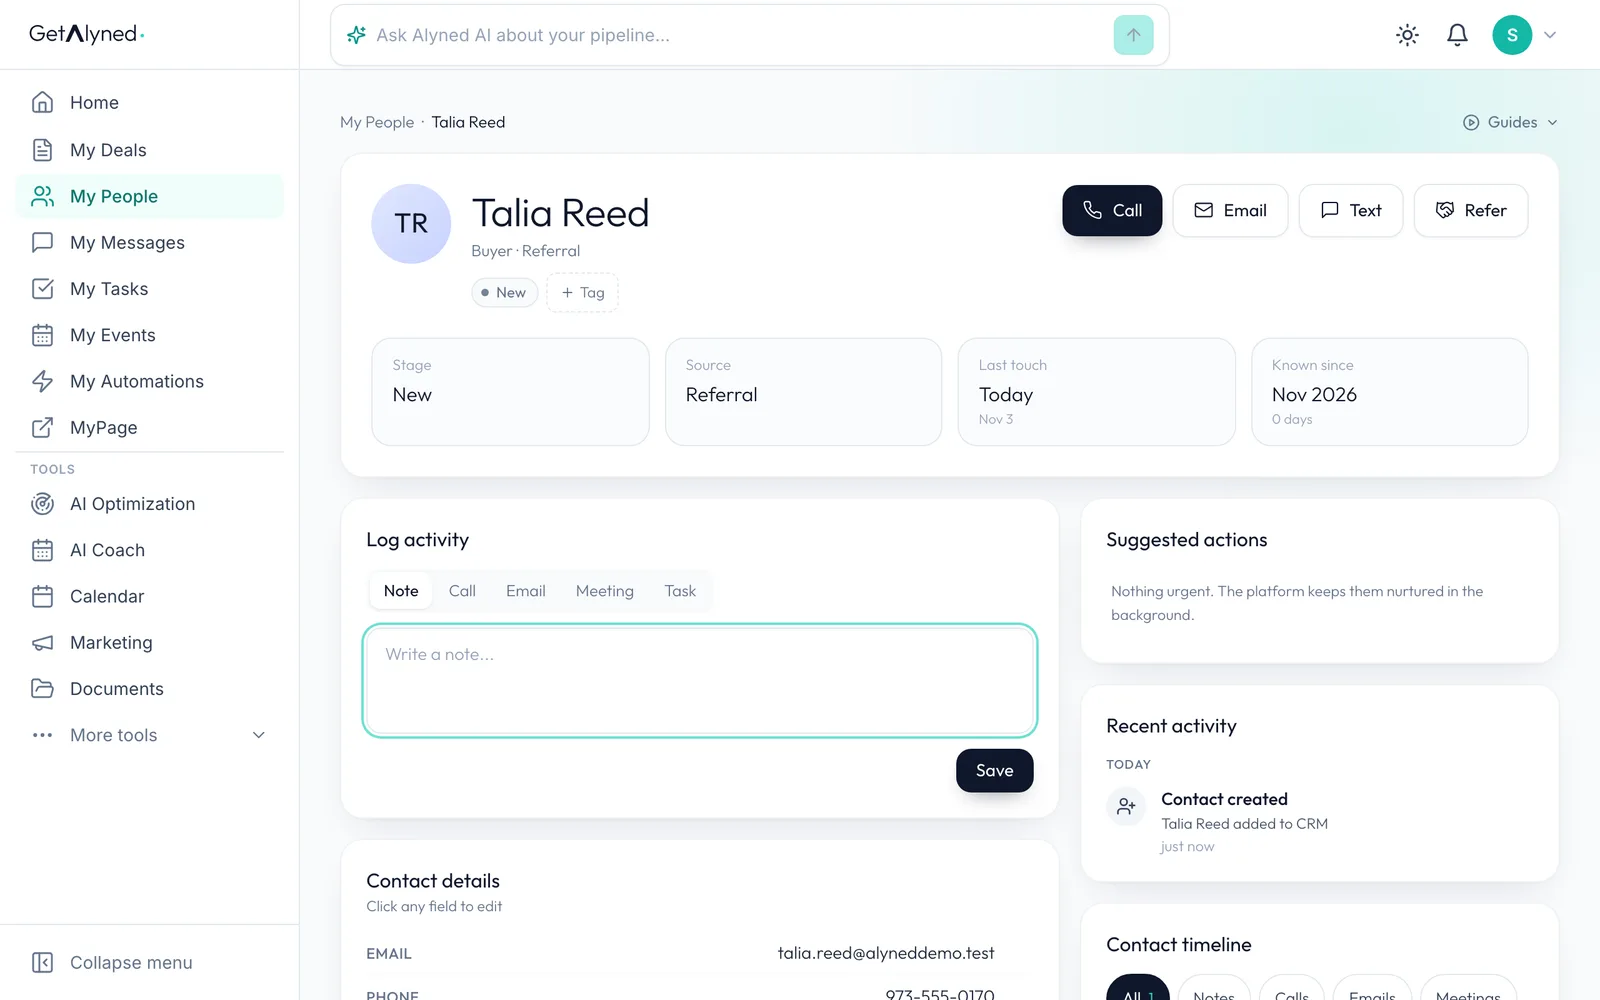
Reach out
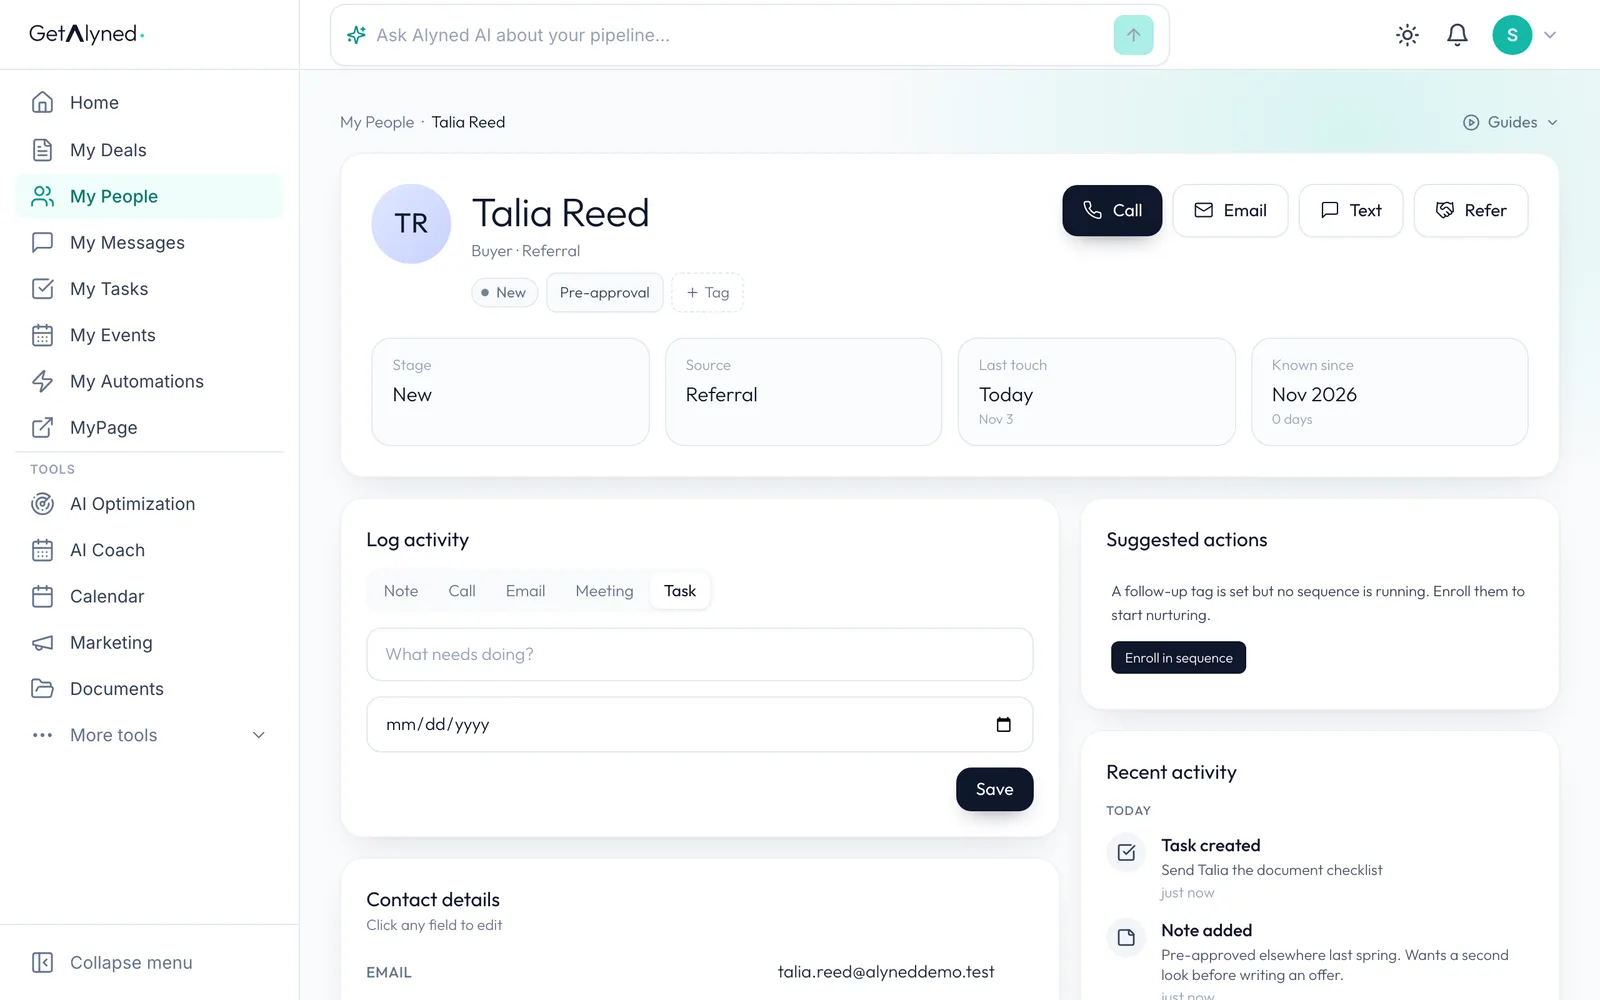
Call, Email and Text are one click away, so reaching out never starts with looking up a number.
-
Tag
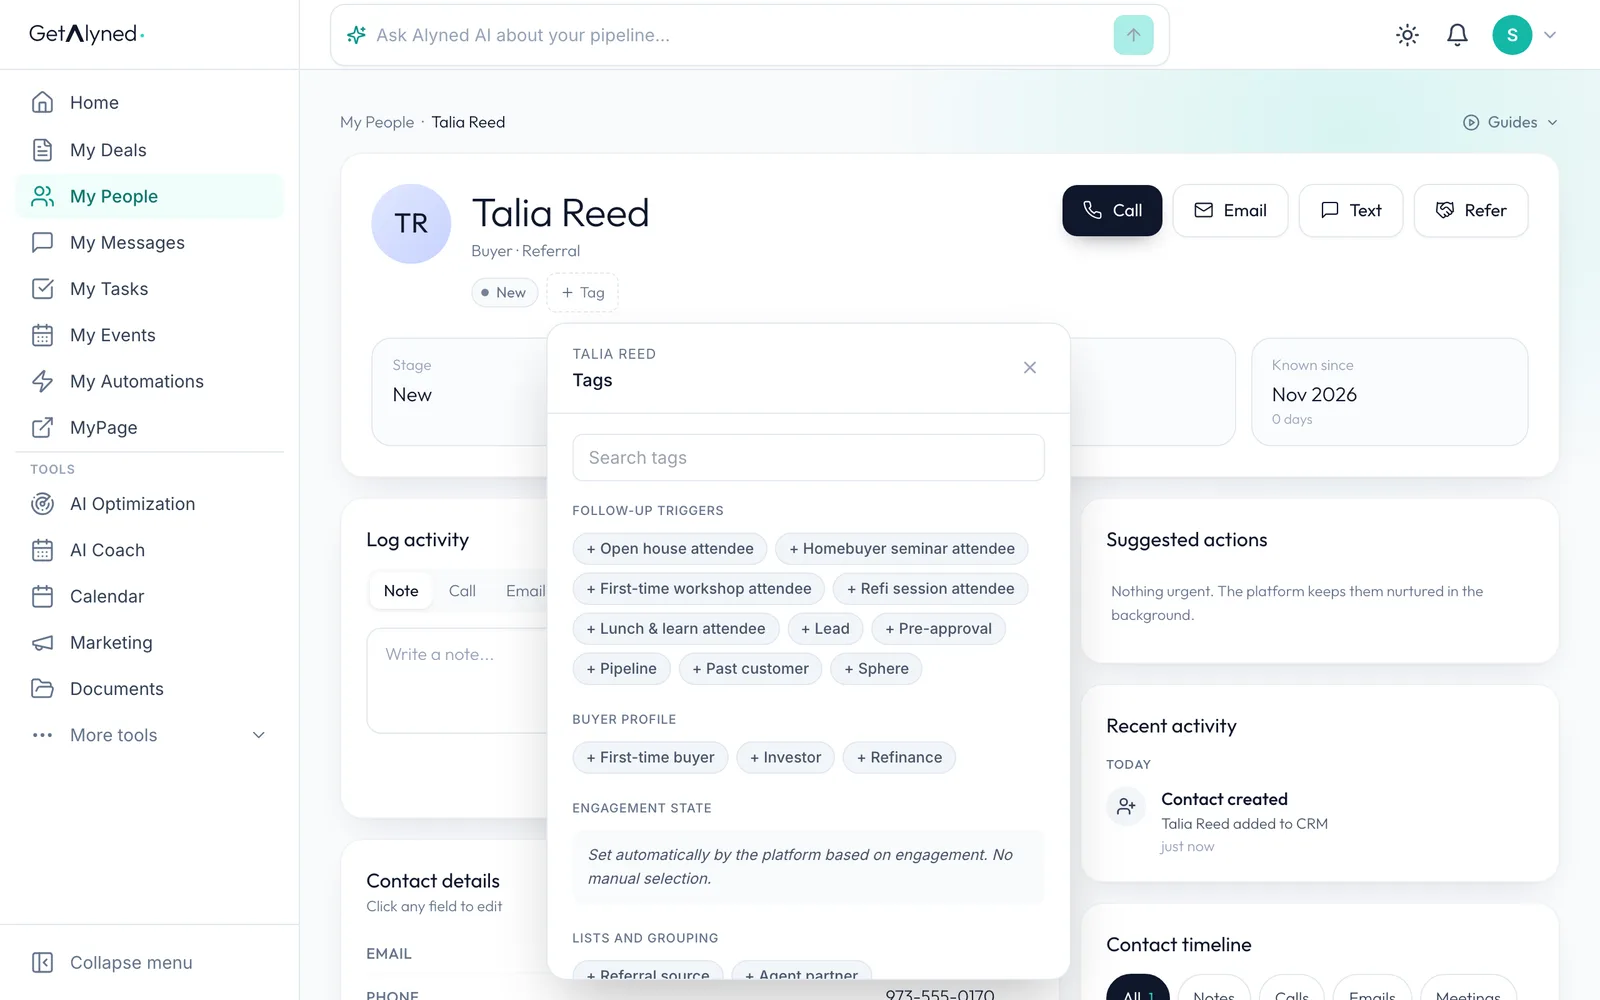
Tags group your contacts. Follow-up tags can also start a sequence.
-
Pick a tag
Pick a tag from the list. These are written for lending: pre-approval, pipeline, past customer and more.
-
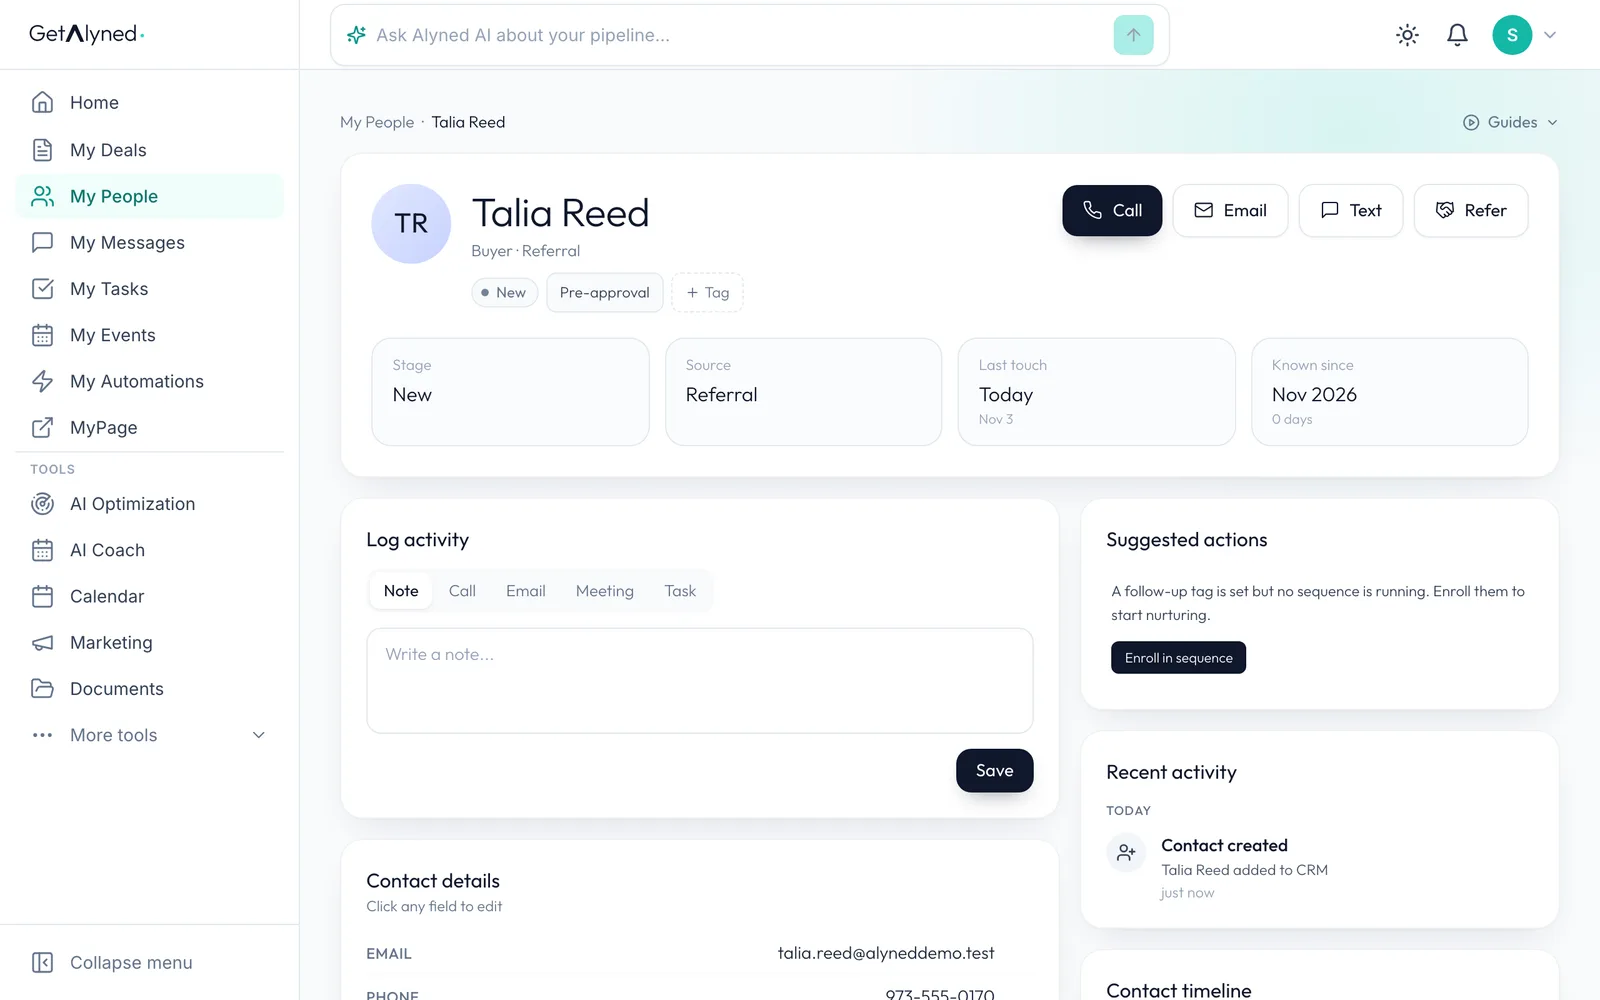
At a glance
Stage, source, last touch and how long you've known them sit at the top, so you can see where things stand before you call.
-
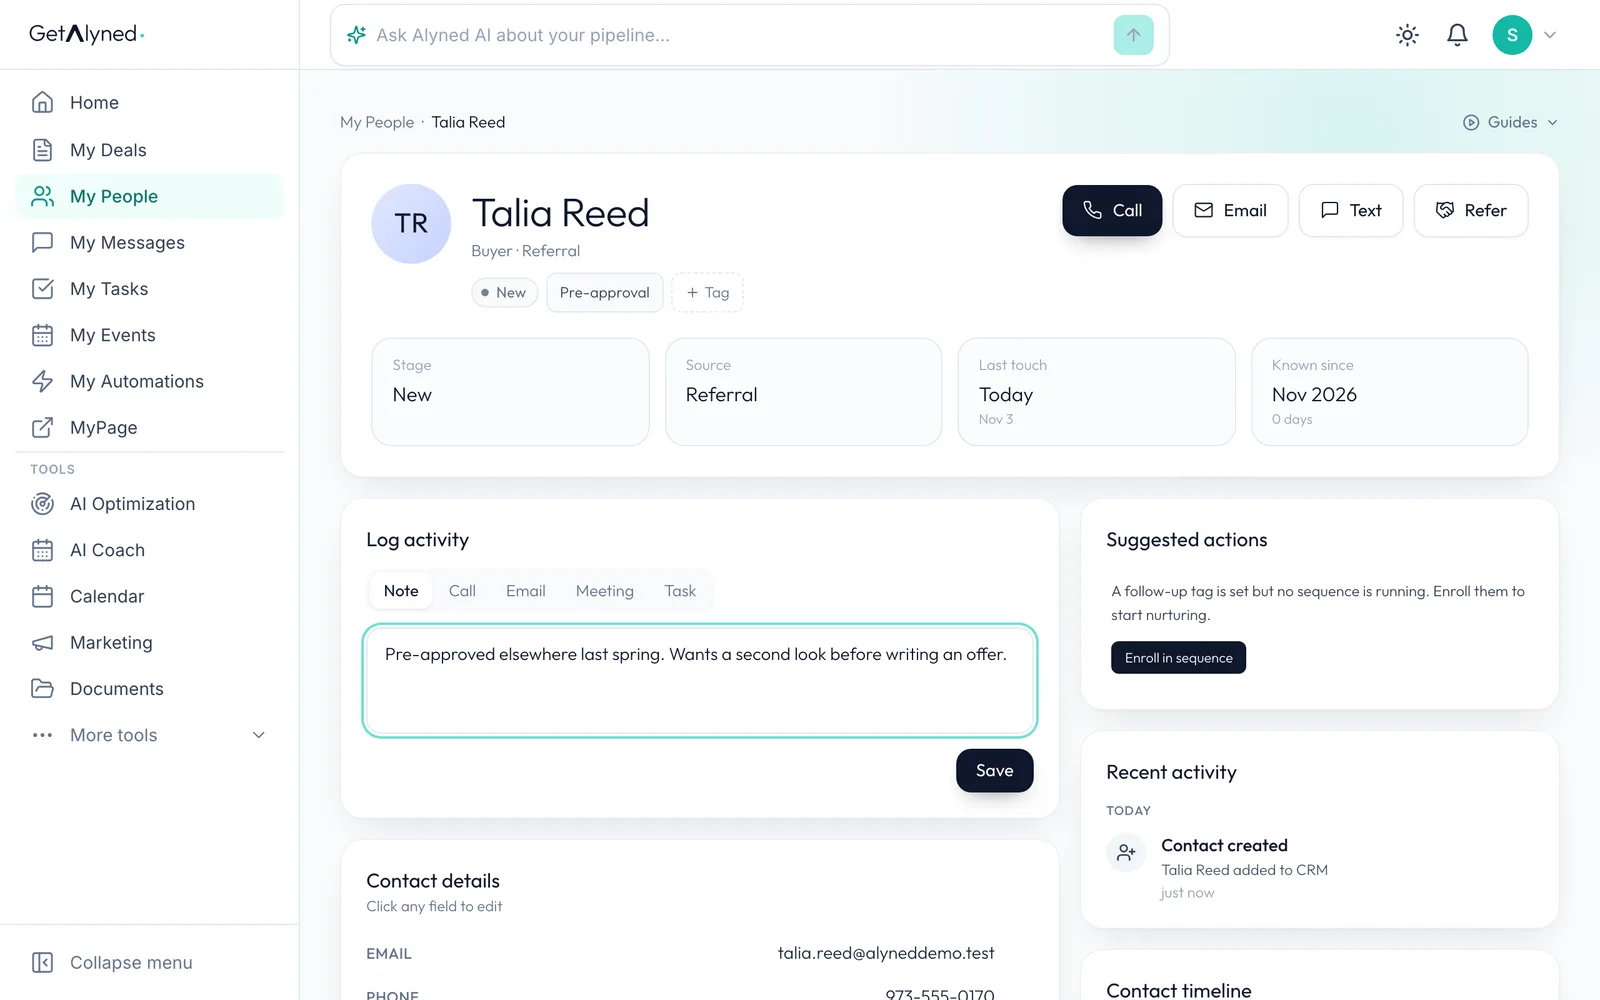
Log a note
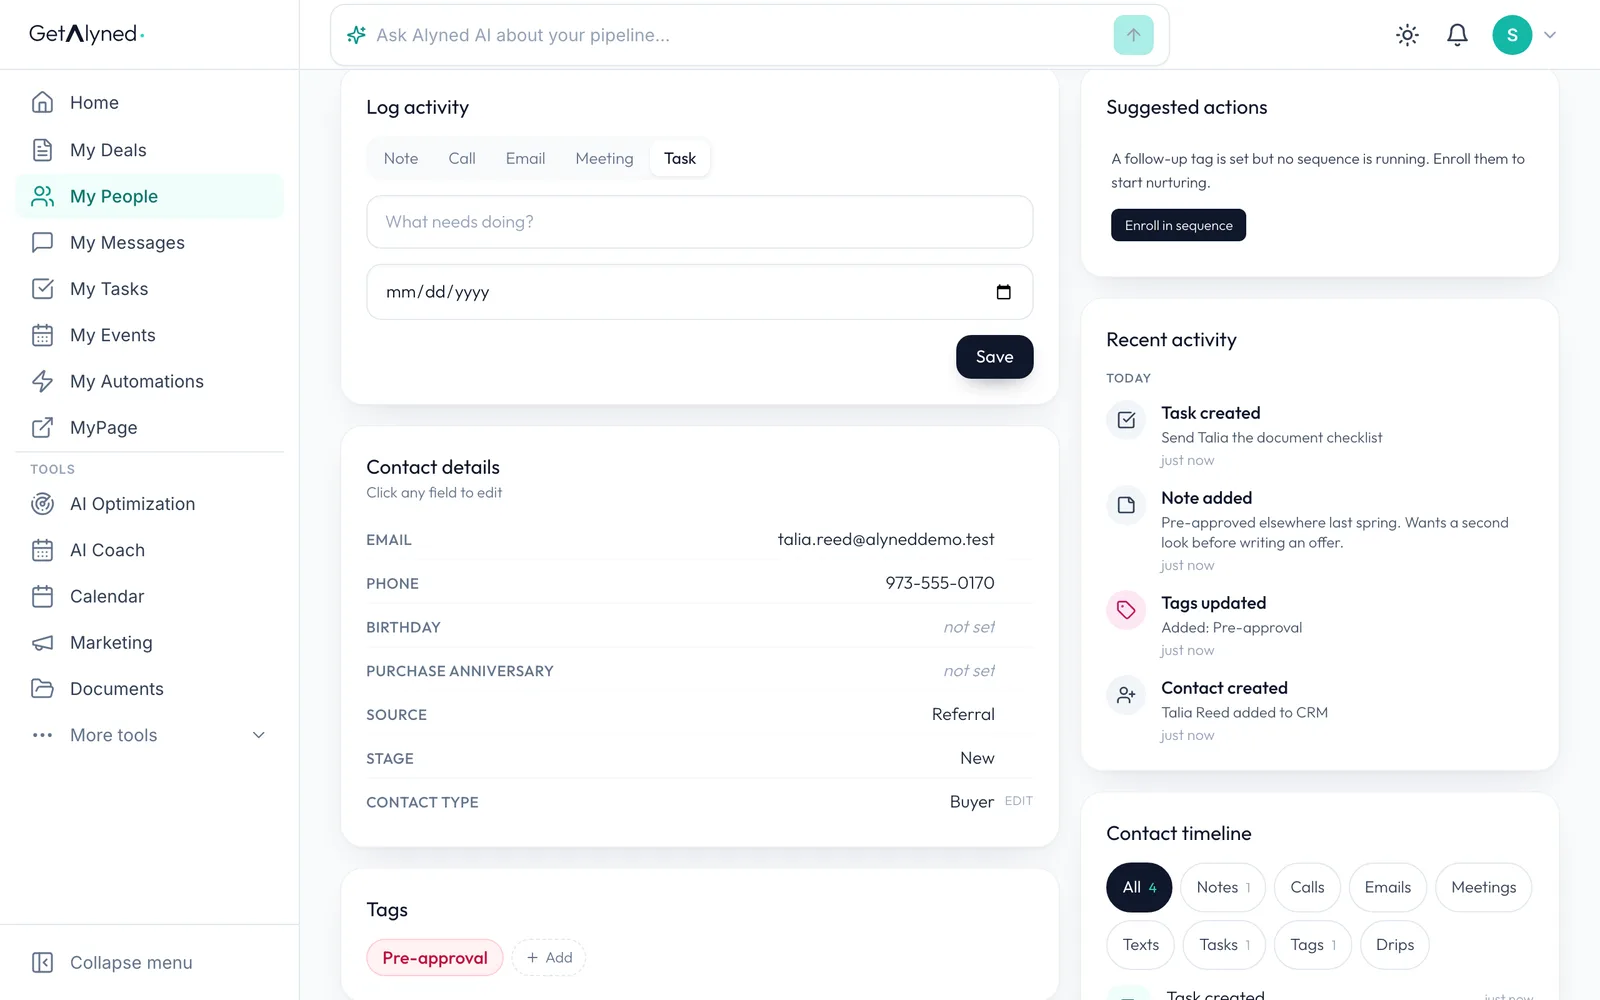
Log activity keeps notes, calls, emails, meetings and tasks on the record, so the next call starts where the last one ended.
-
Save the note
Click Save.
-
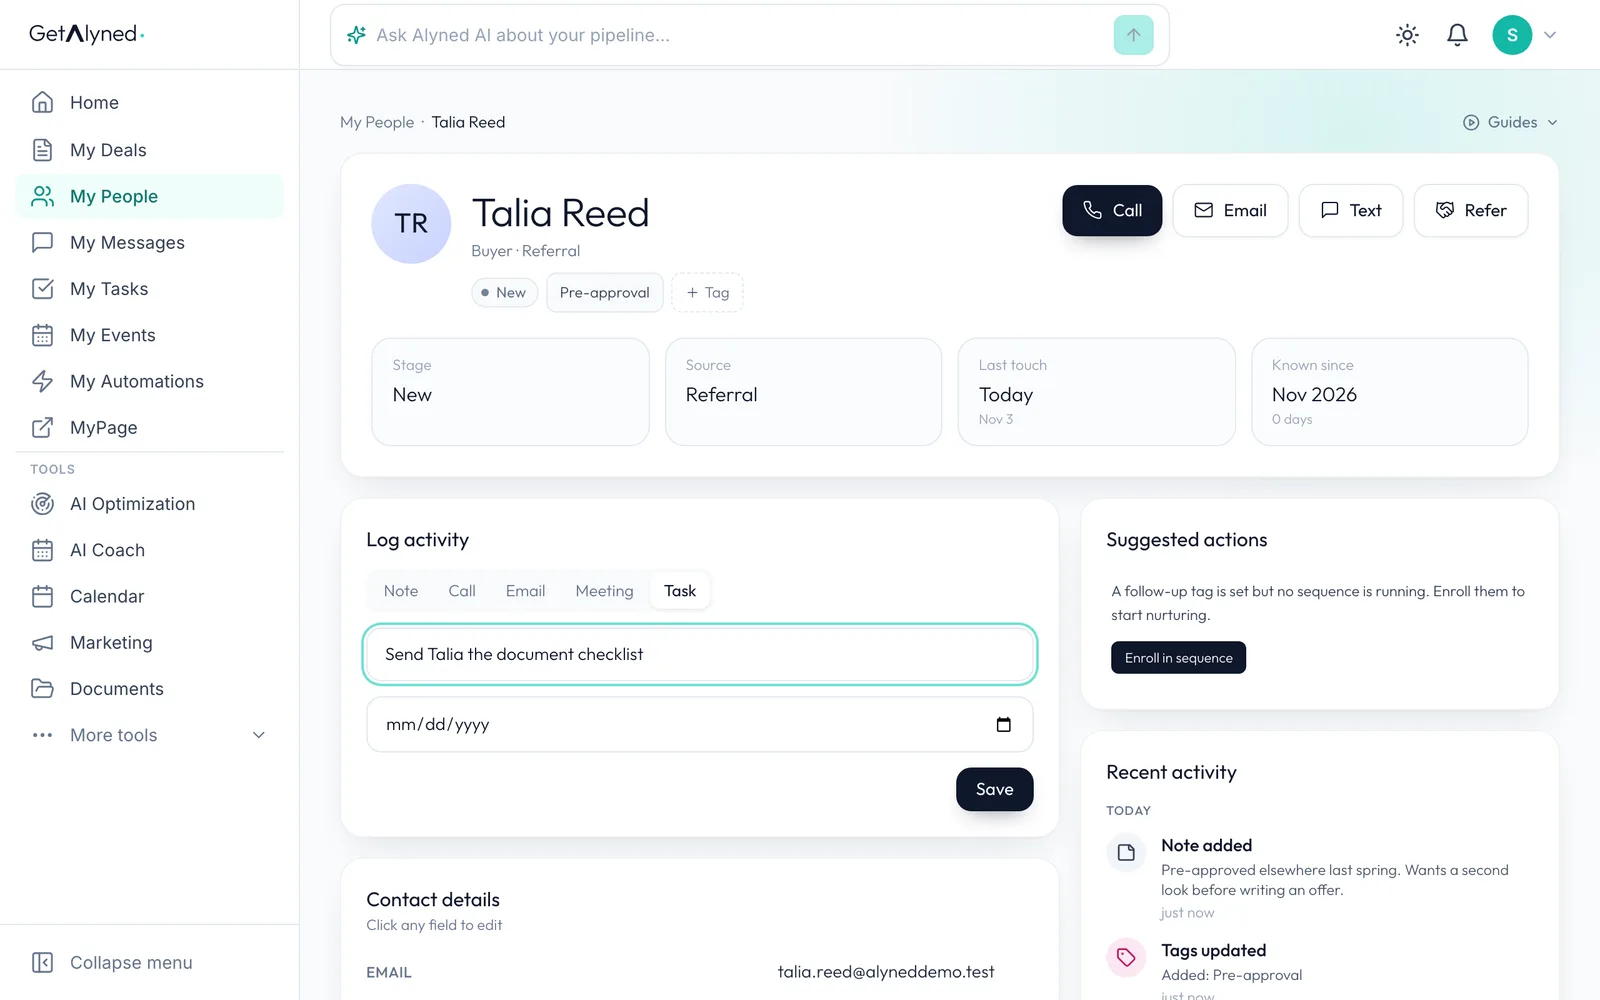
Add a task
A task goes here too. Your contact page keeps it all in Log activity.
-
What and when
Say what needs doing and, if you like, when it's due. Saving adds it to My Tasks.
-
Save the task
Click Save.
-
Recent activity
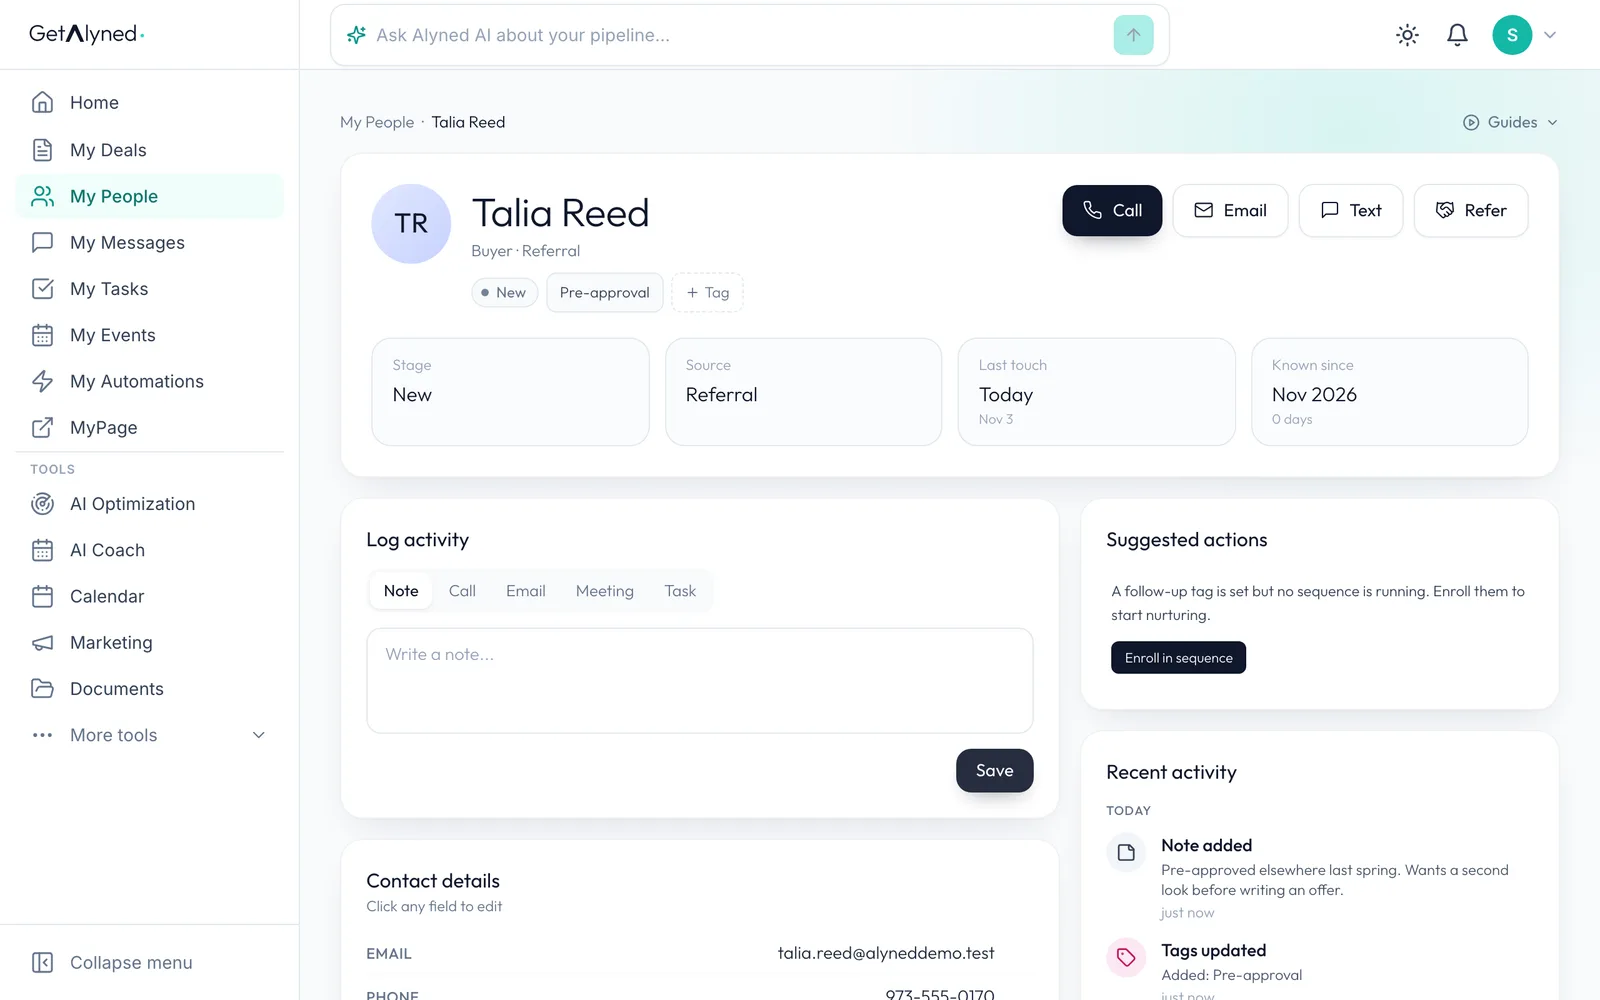
The note and the task are on the record right away. Recent activity and the contact timeline hold everything you log.
-
Key facts
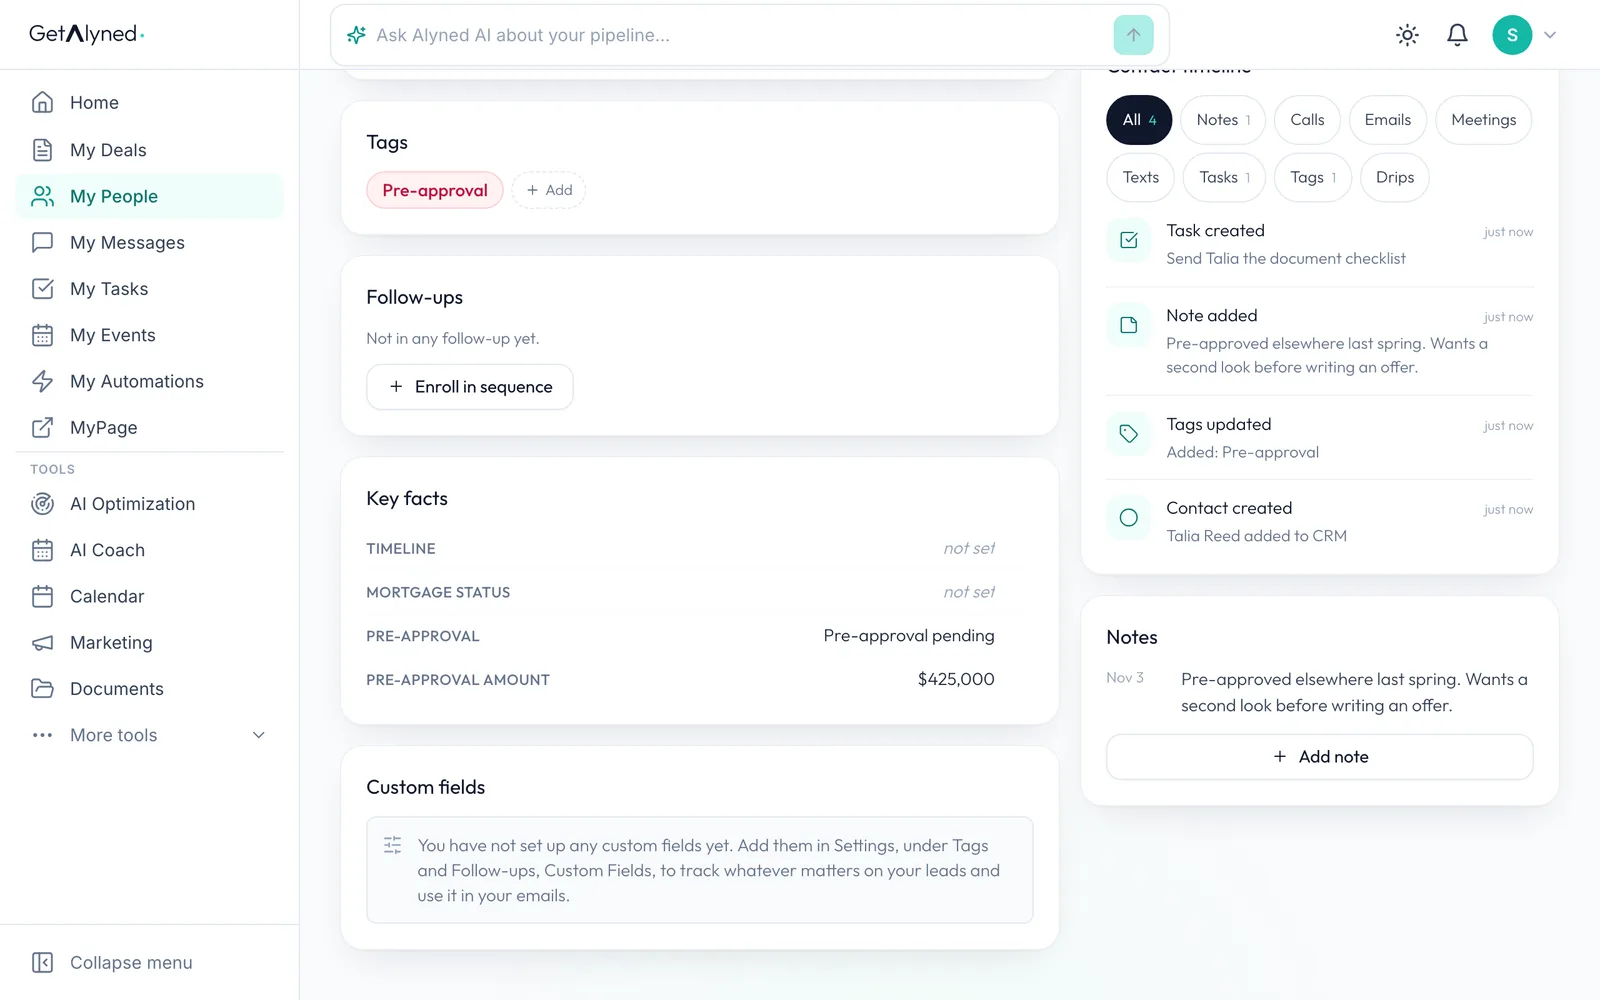
Key facts holds what you want in front of you on a call: their timeline, mortgage status and pre-approval. Click a field to edit it.
-
Follow-ups
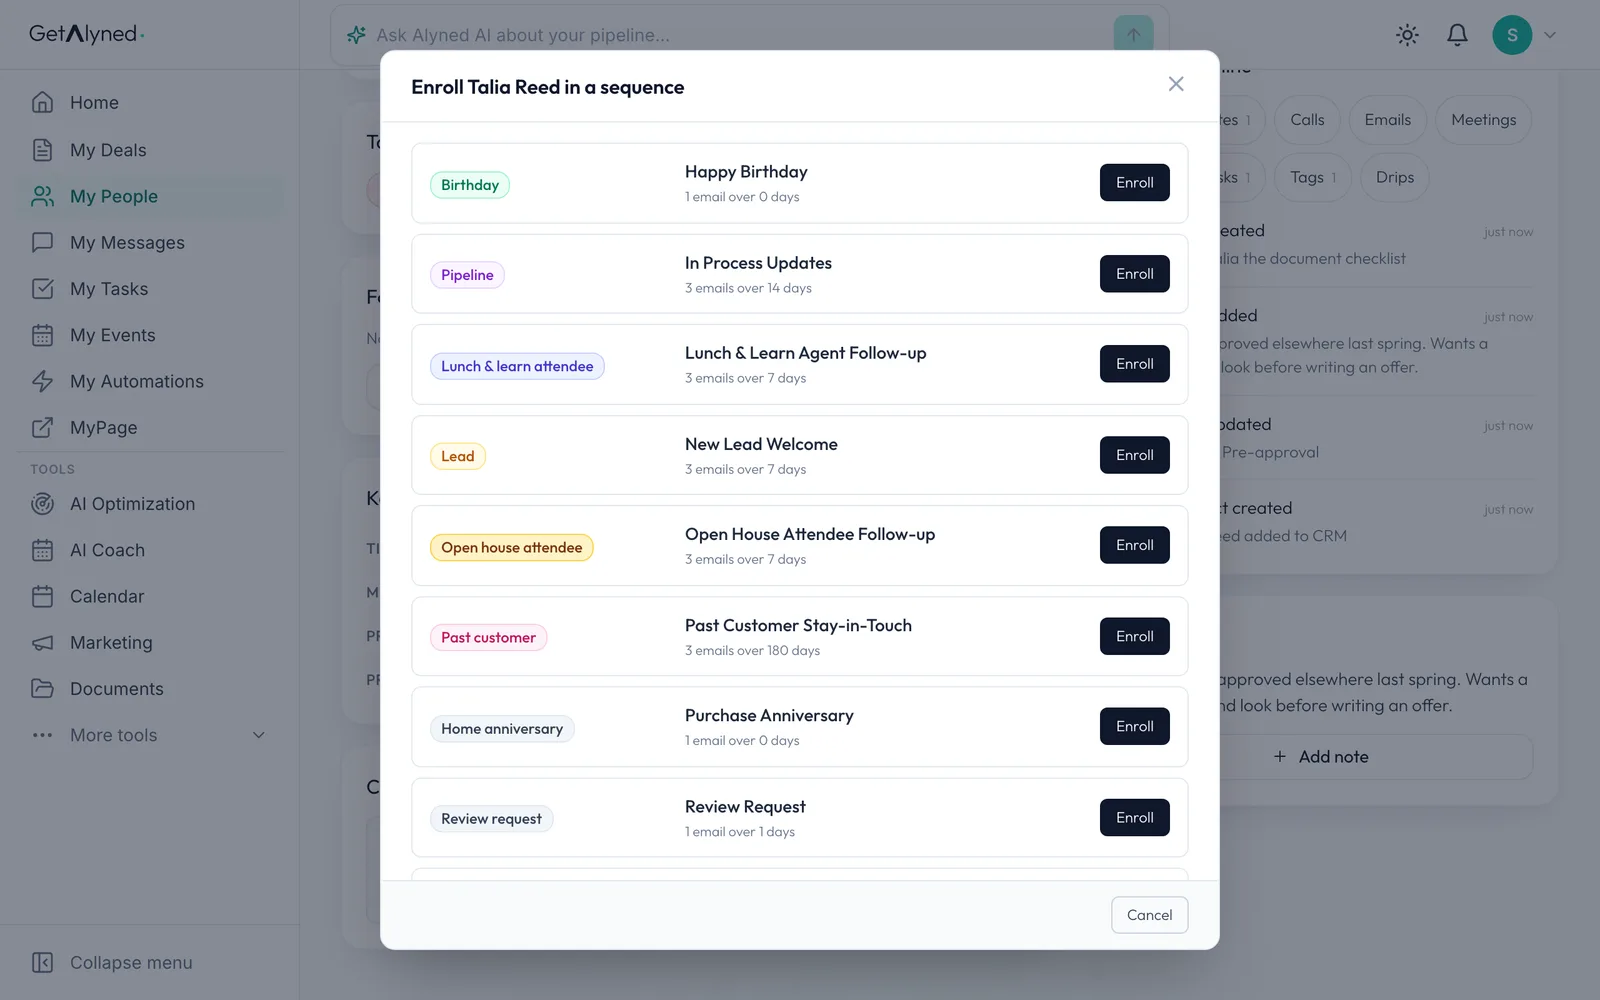
Enroll in sequence puts the contact in an automatic email sequence, so nobody goes quiet because you got busy.
-
Pick a sequence
Each sequence shows its tag and how many emails it sends over how many days.
-
Refer
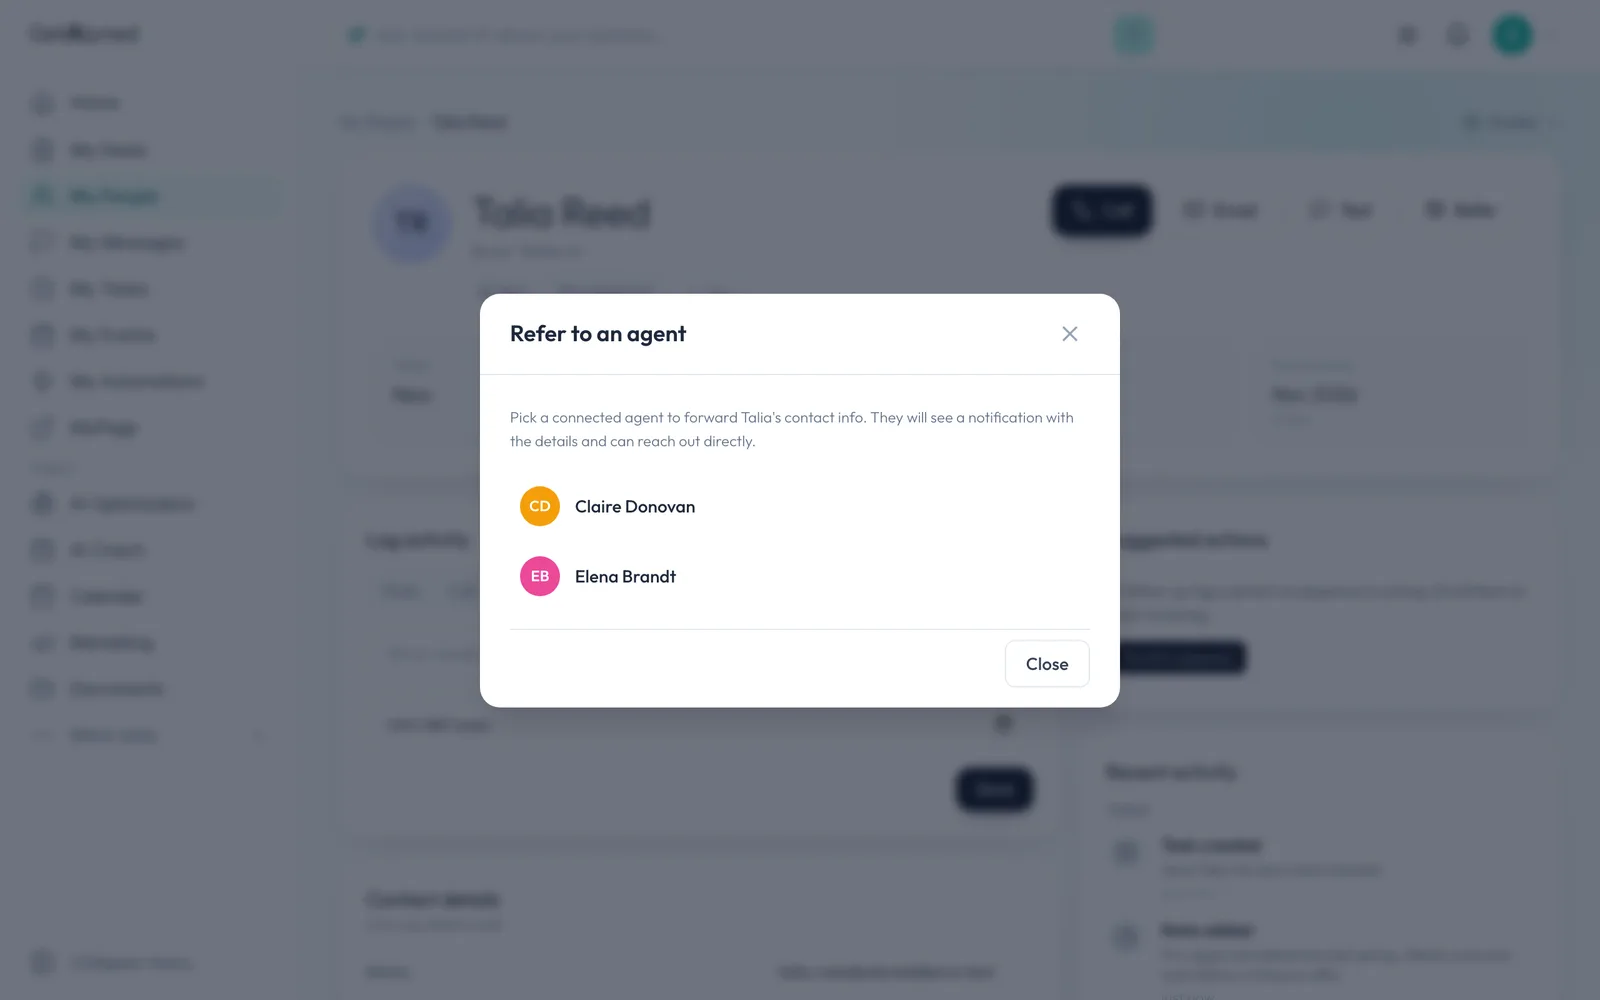
Refer sends this person to an agent you work with.
-
Pick the agent
Pick a connected agent. They get a notification with the contact's details and can reach out directly.
Related guides
- Refer and receive referrals · Send a client to an agent you trust with one click, and see how referrals from agents arrive on your side.
- Connect with agents · Find agents near you, send connection requests, and accept the ones who reach out, so they can add you to their deals.
- Log a pre-approval · Log each pre-approval letter so Alyned tracks it, warns you before it expires, and counts it when the loan funds.