Set up a brokerage
For brokerages · 4 min
Create your brokerage, add your branding and details, confirm your email and get verified, so you can invite agents and bring in leads.
Watch
Or read it step by step
-
Team setup
A brokerage starts in the same place as a team: Settings, then Team setup.
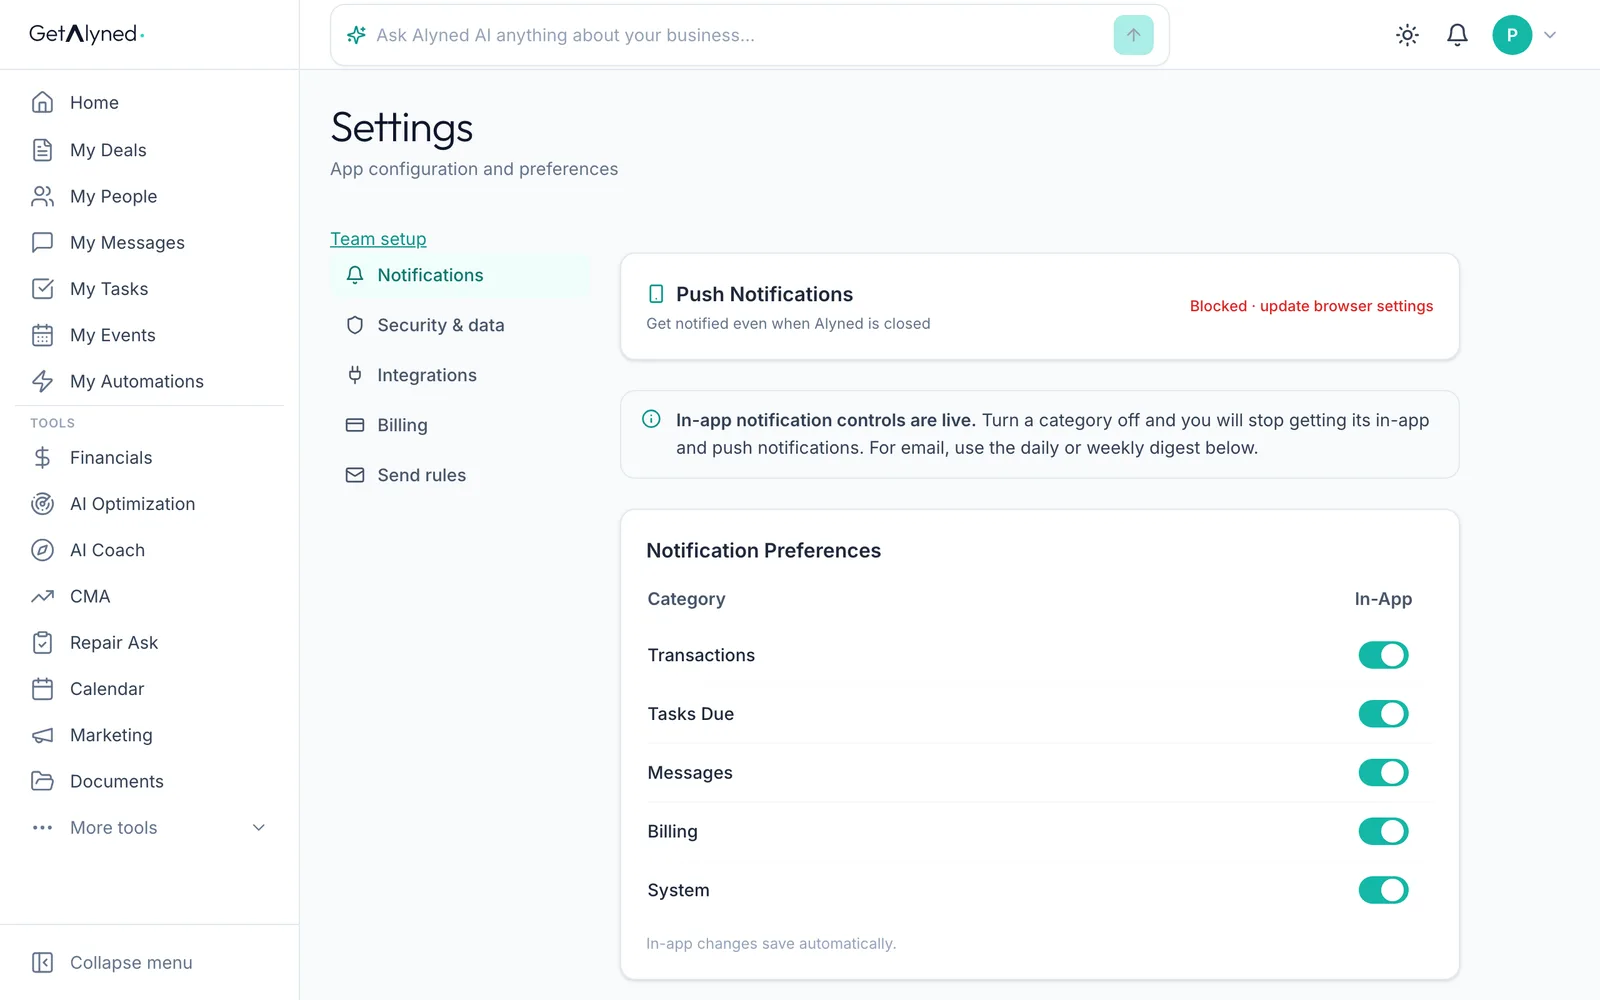
-
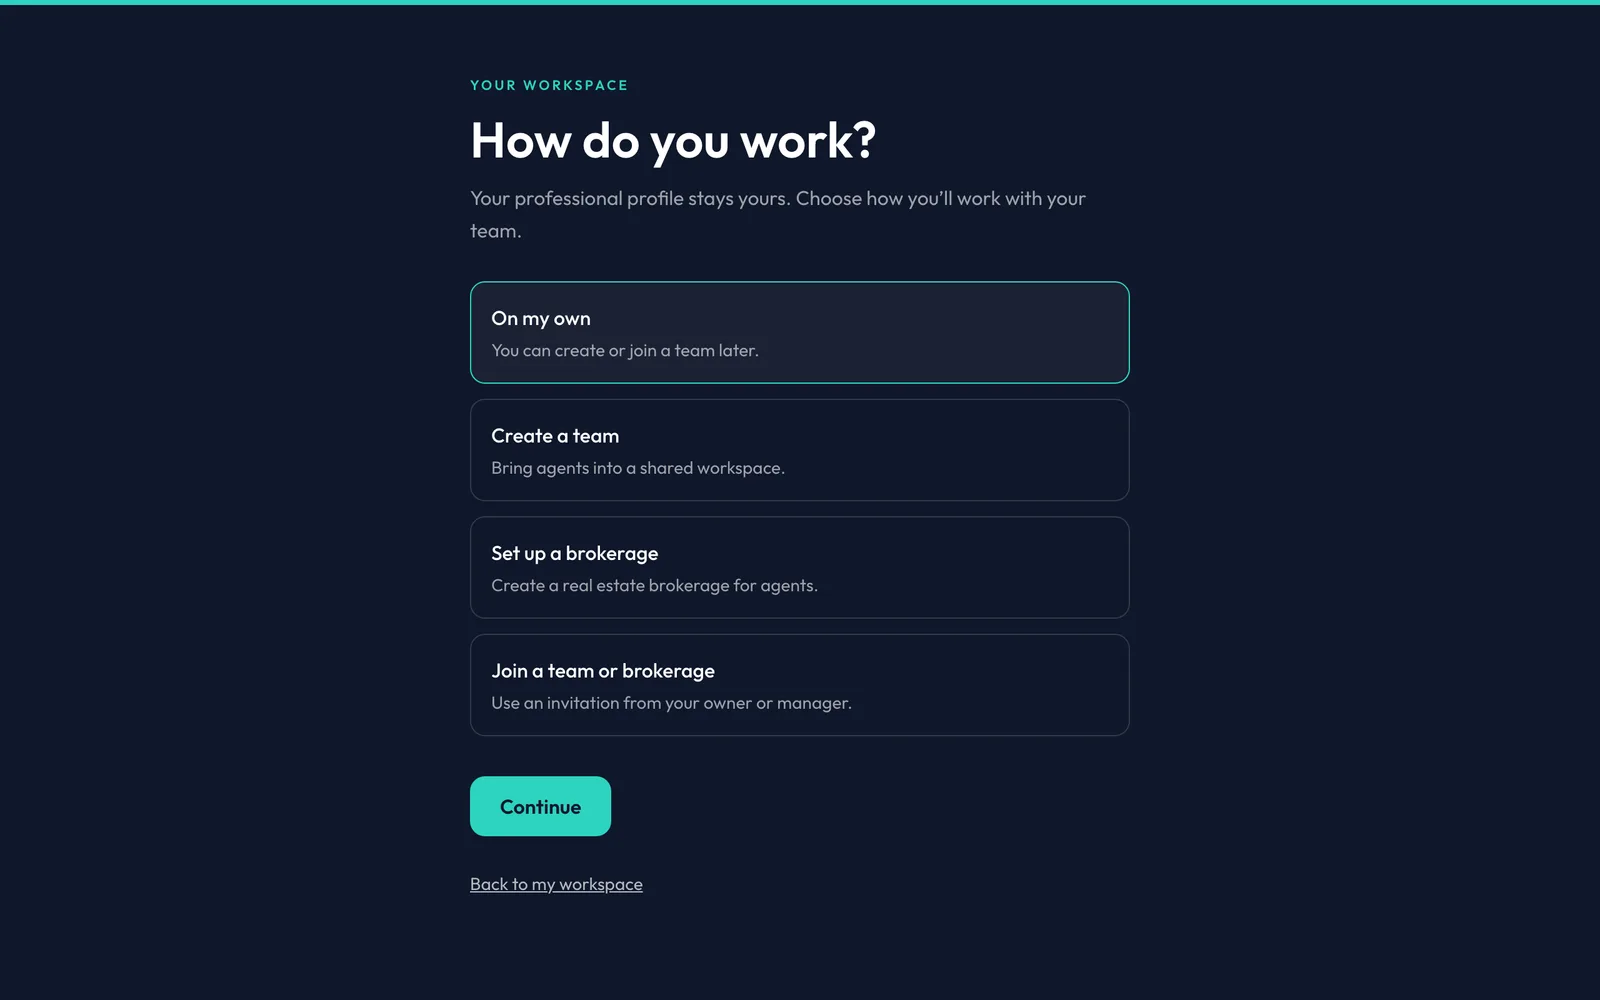
Set up a brokerage
Set up a brokerage is for the broker who runs it. An agent joining an existing brokerage waits for an invitation instead.
-
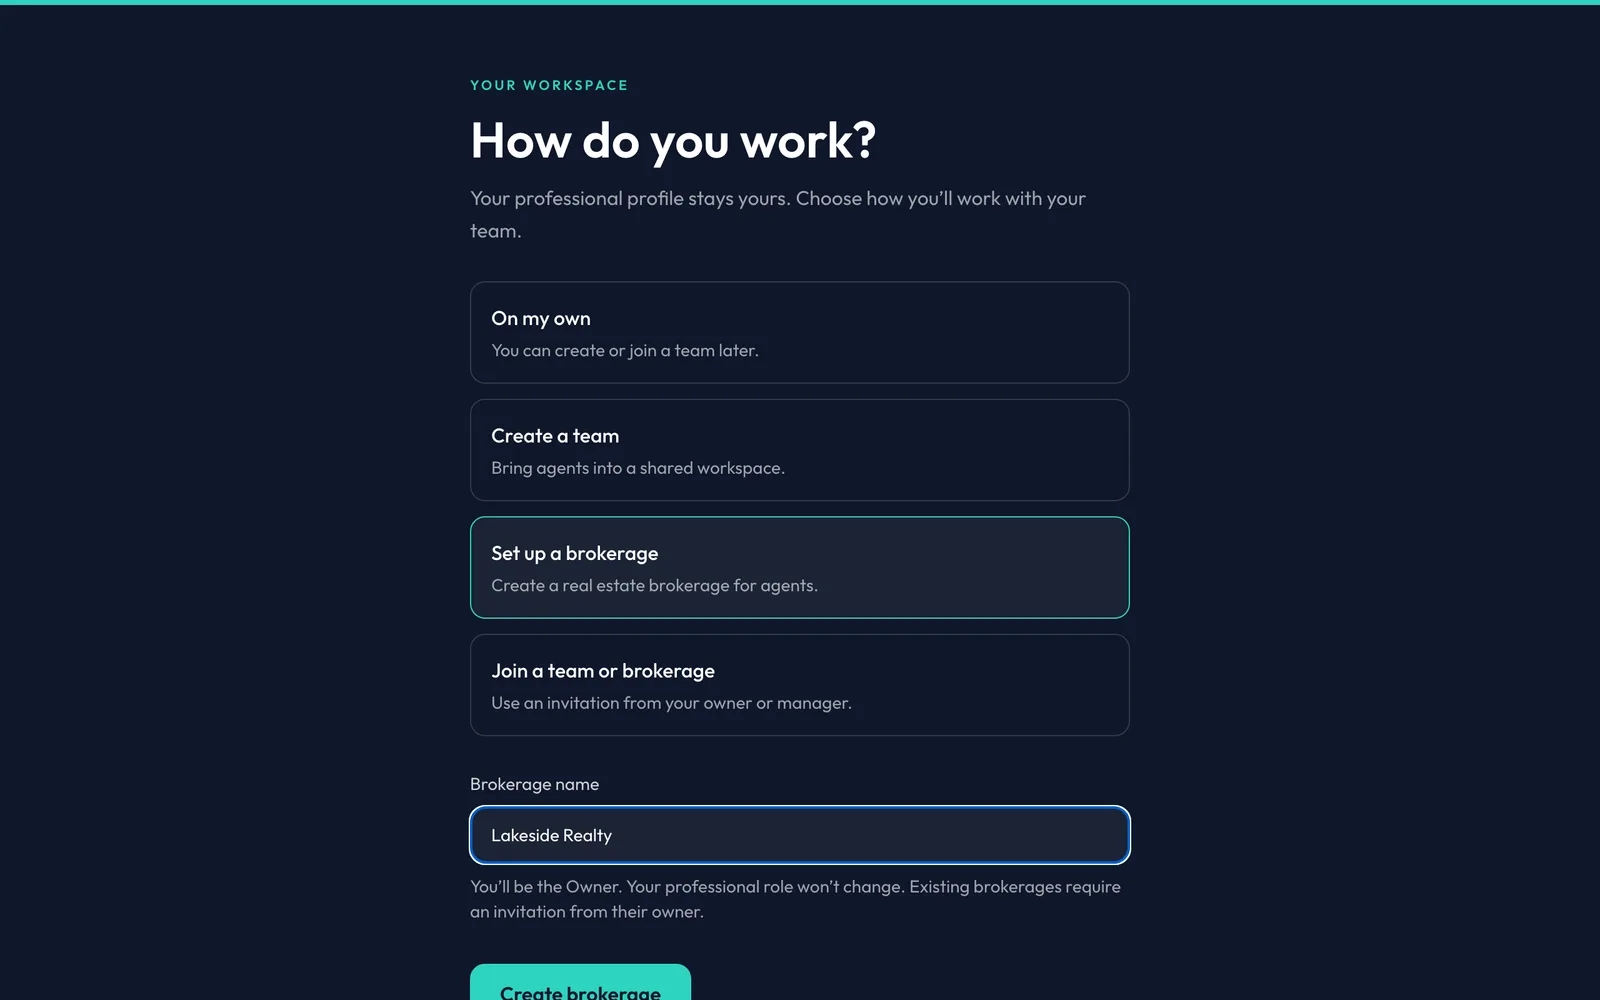
Brokerage name
Use the name your agents and clients know. You become its Owner. The name locks once Alyned verifies it.
-
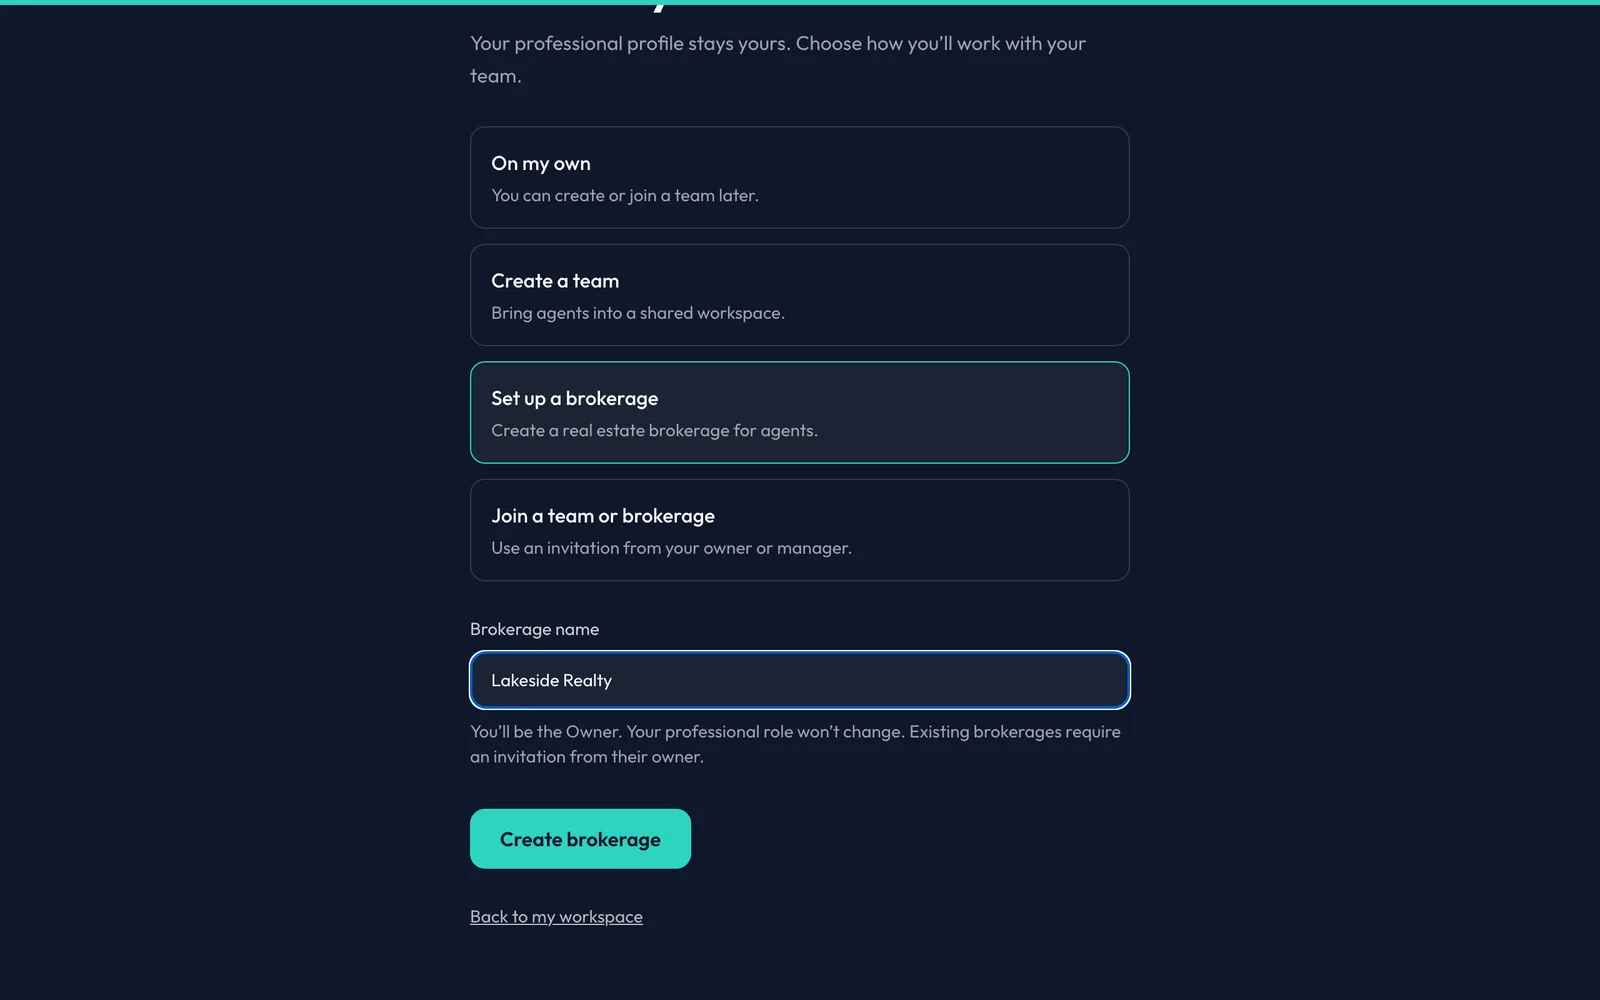
Create brokerage
Click Create brokerage. Anyone can start one, but a new brokerage is reviewed first.
-
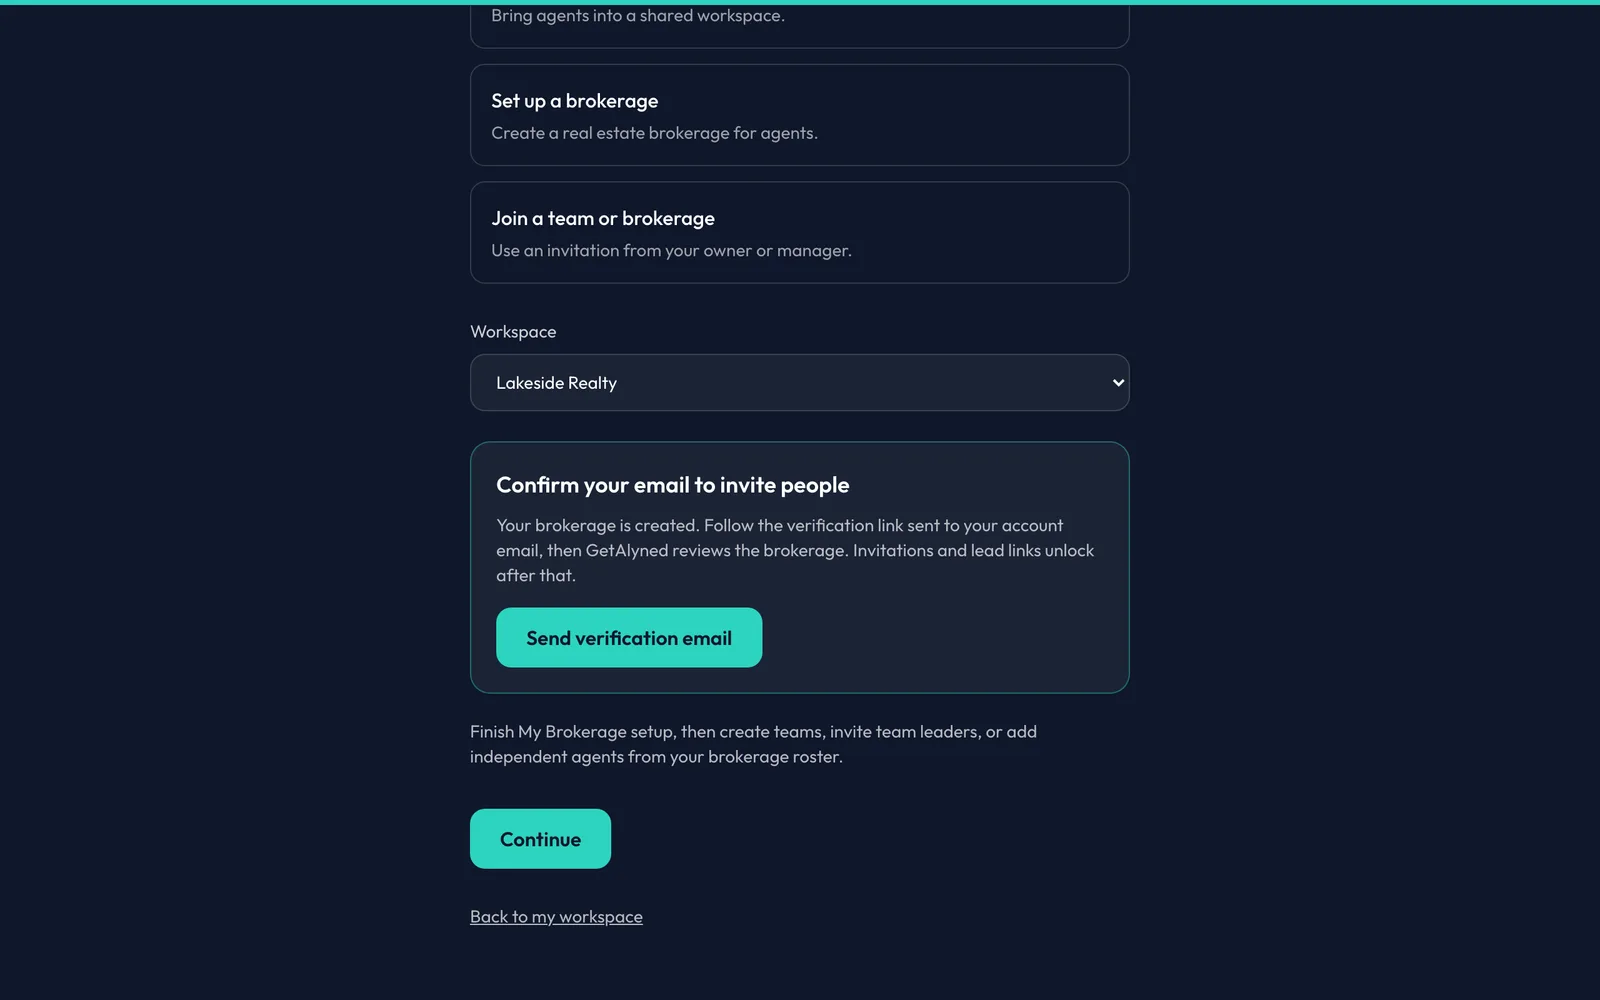
Confirm your email
Step one is confirming your email. Invitations and lead links stay locked until the review is done.
-
Continue
You can set everything else up while you wait.
-
Your brand color
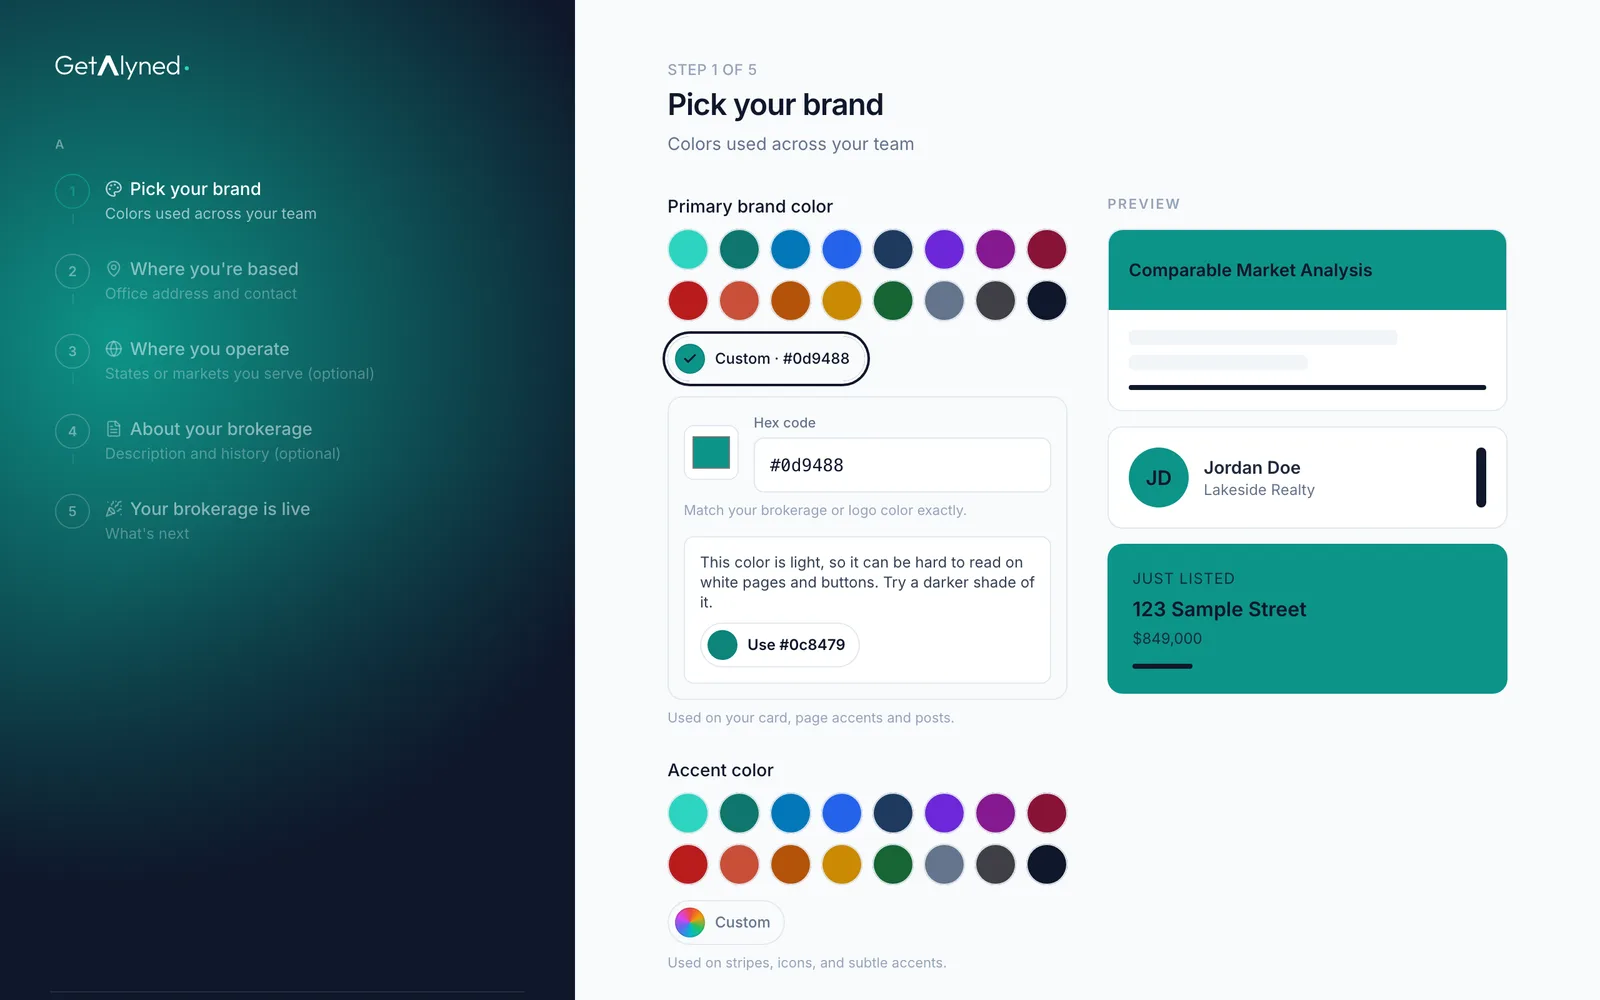
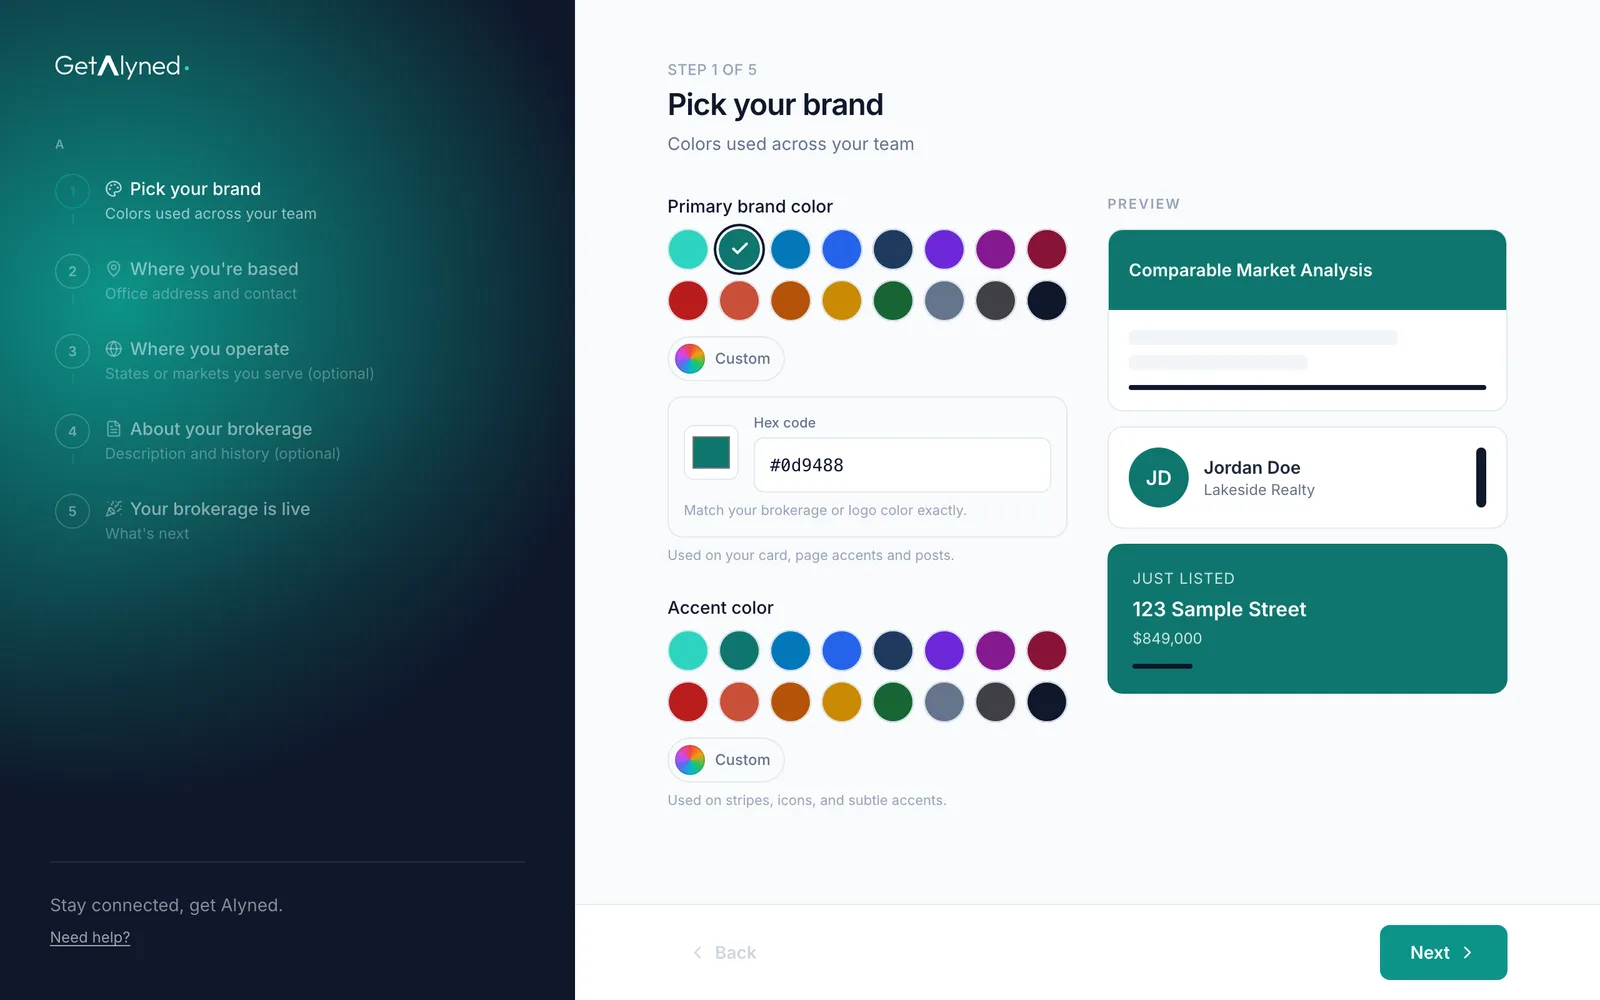
Pick your brand color. It shows on your members' pages once you're verified.
-
Next
A second accent color is optional. Click Next.
-
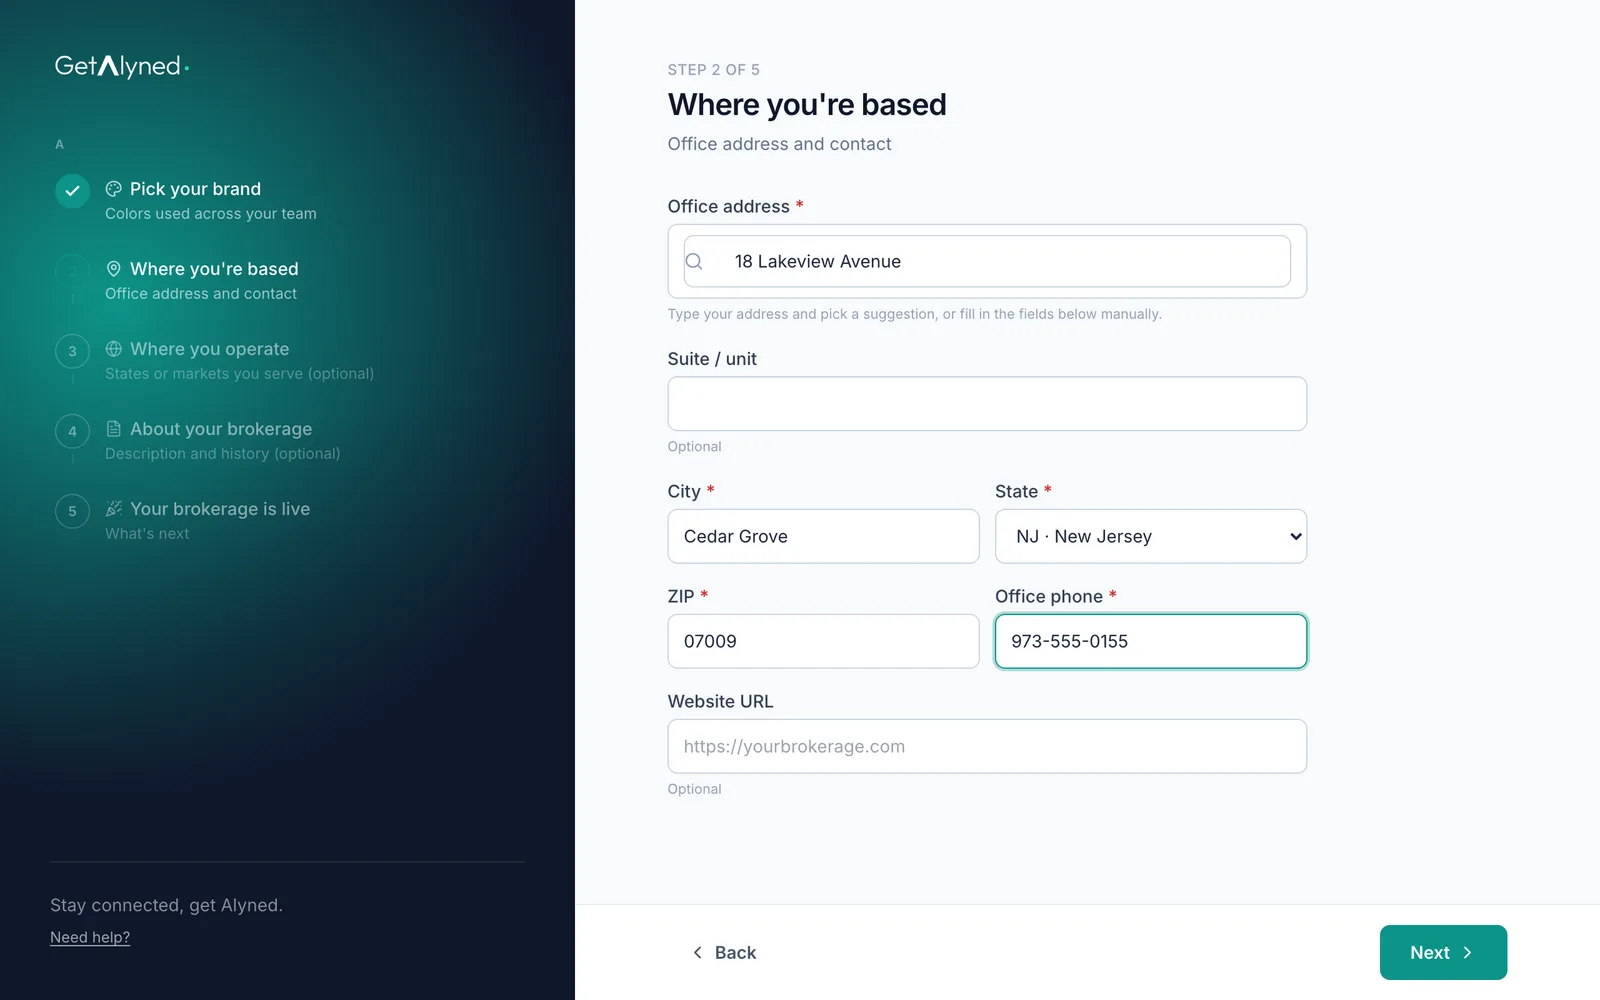
Office and contact
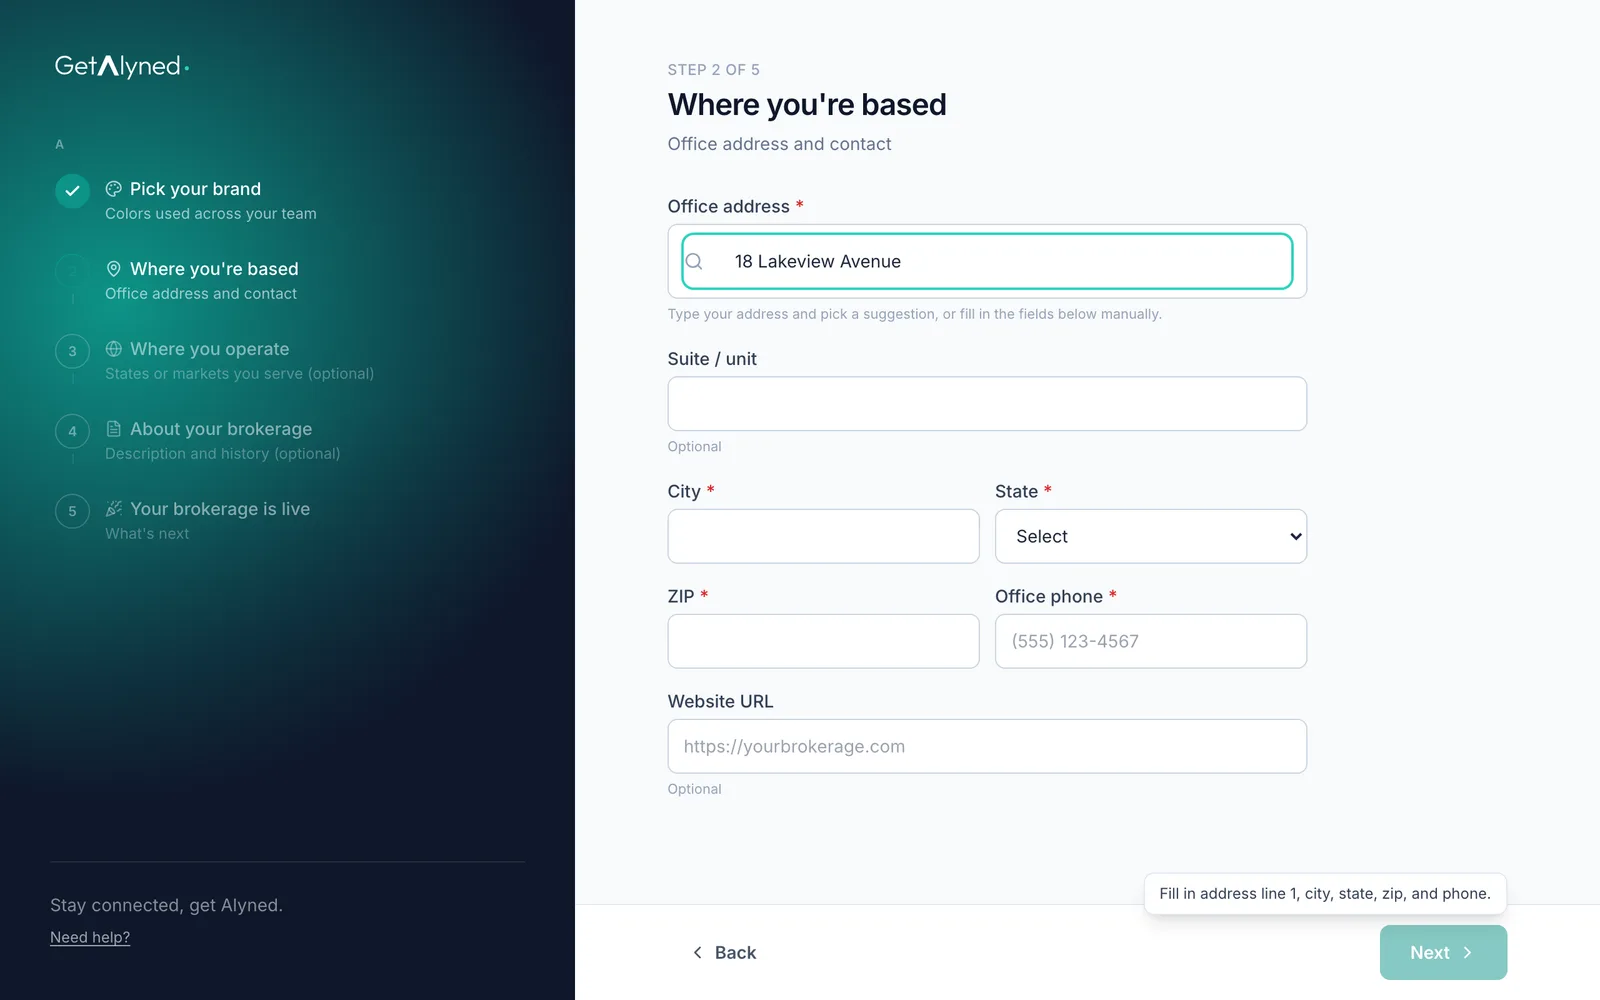
Add your office address and contact details. A brokerage has one office address.
-
Next
Website is optional. Click Next.
-
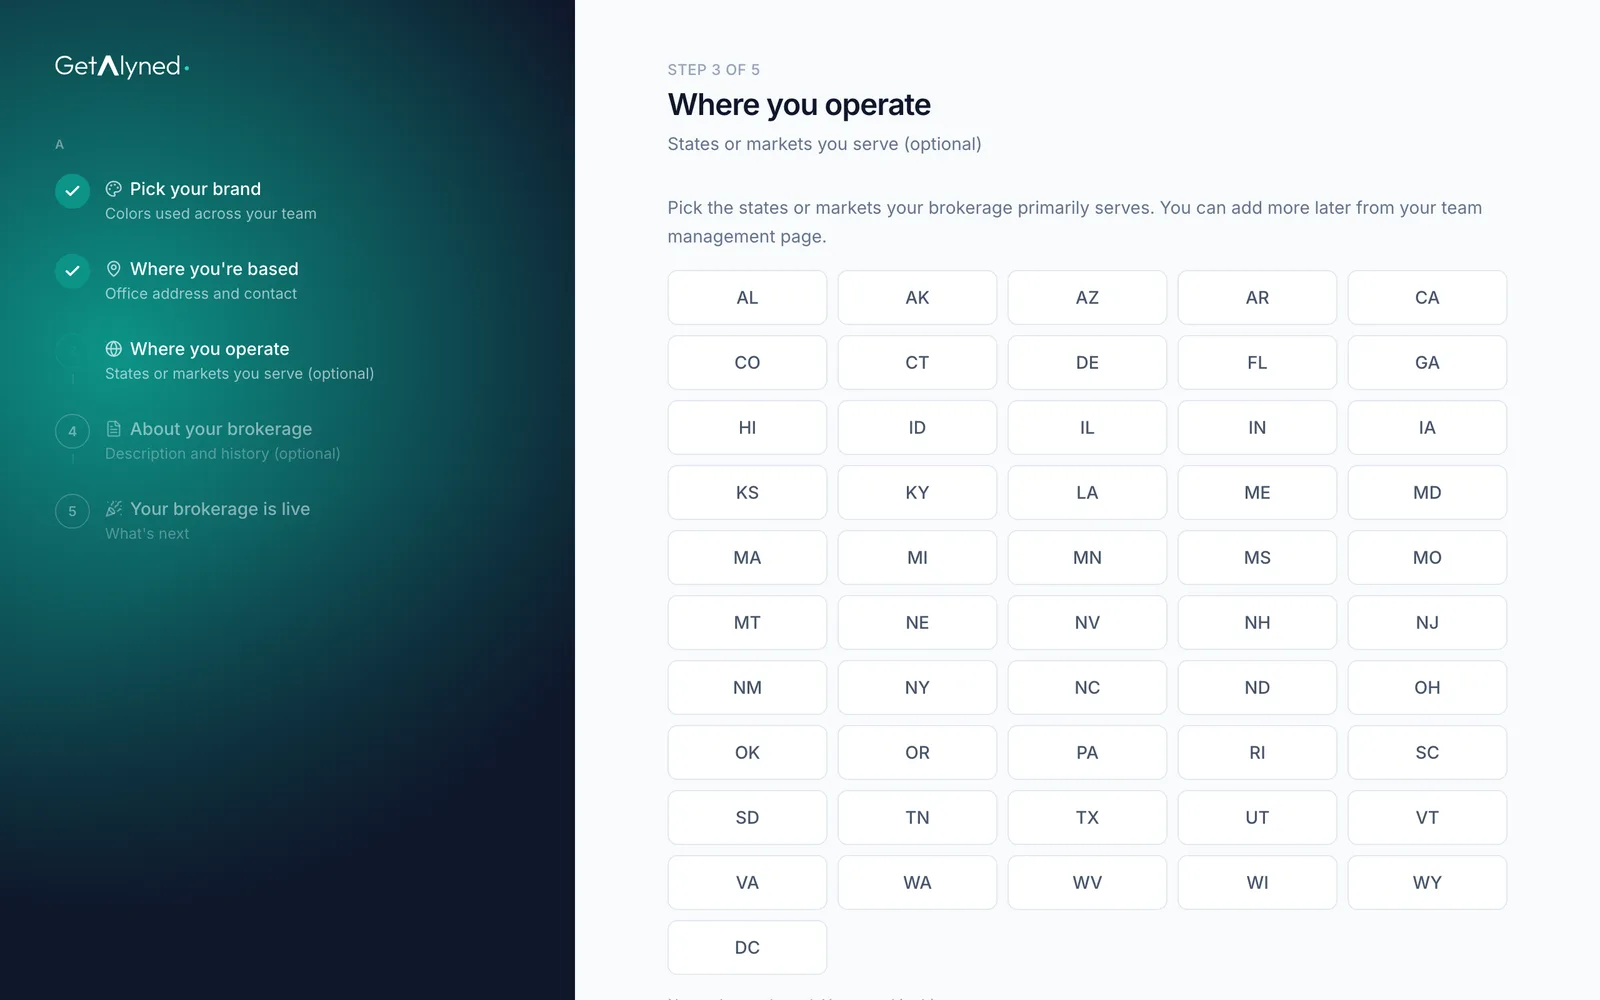
Where you operate
Pick each state you serve. This is optional.
-
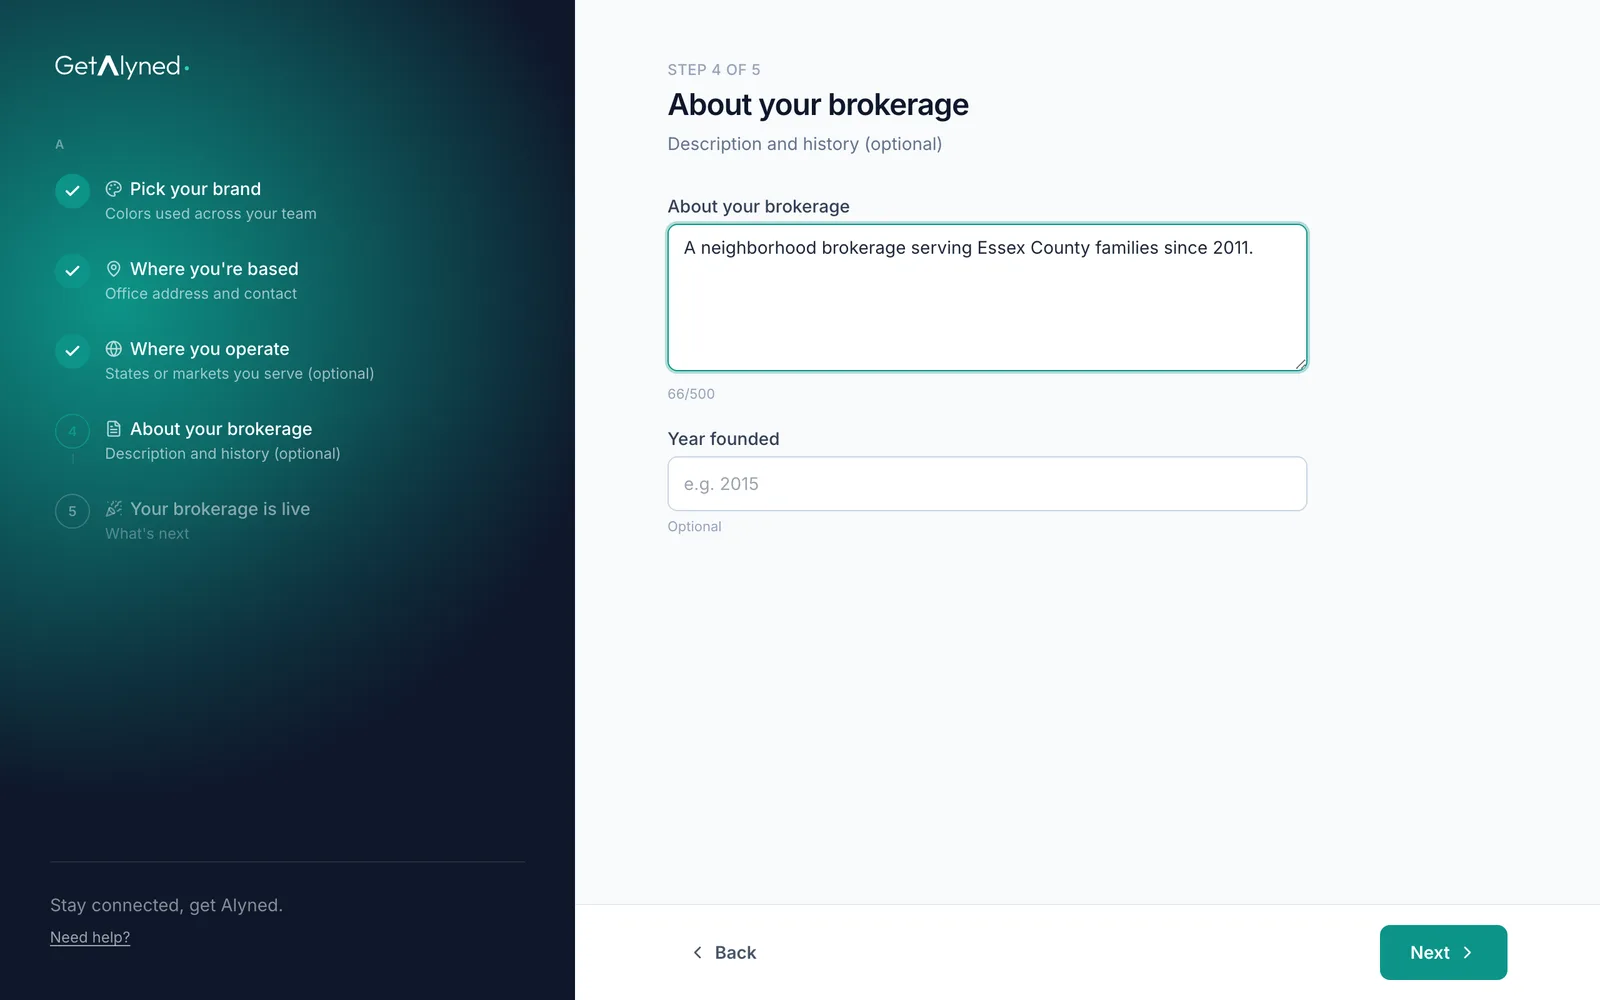
About your brokerage
Add a short description, also optional.
-
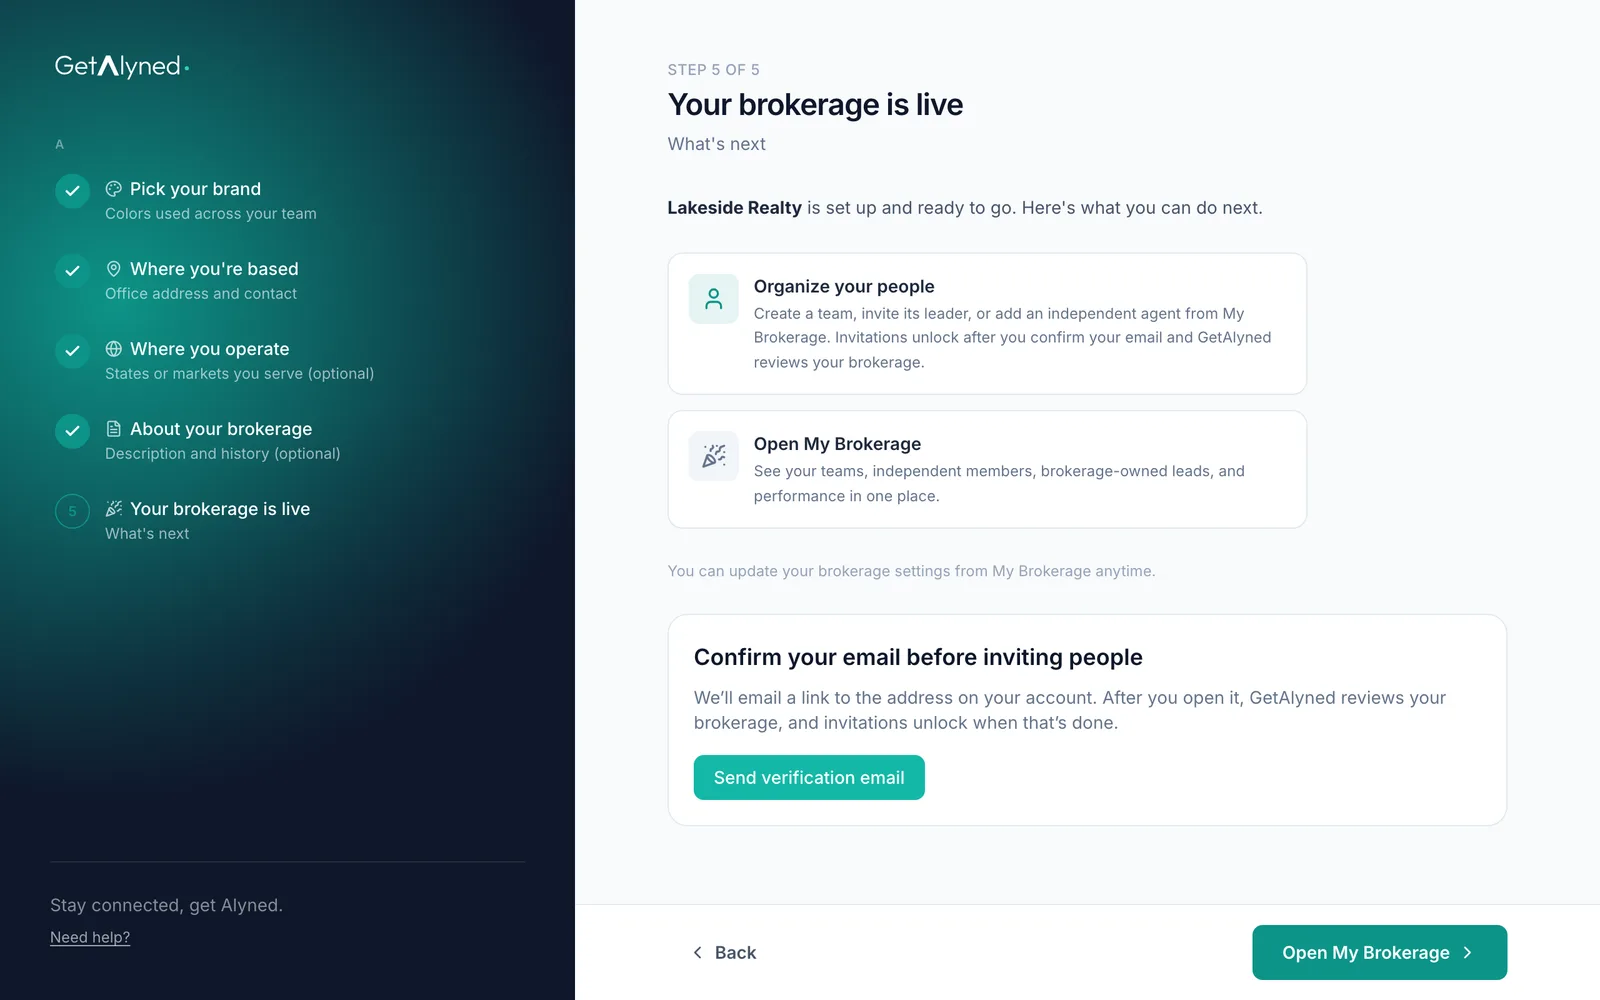
Open My Brokerage
Your brokerage exists. Now it needs verifying. Click Open My Brokerage.
-
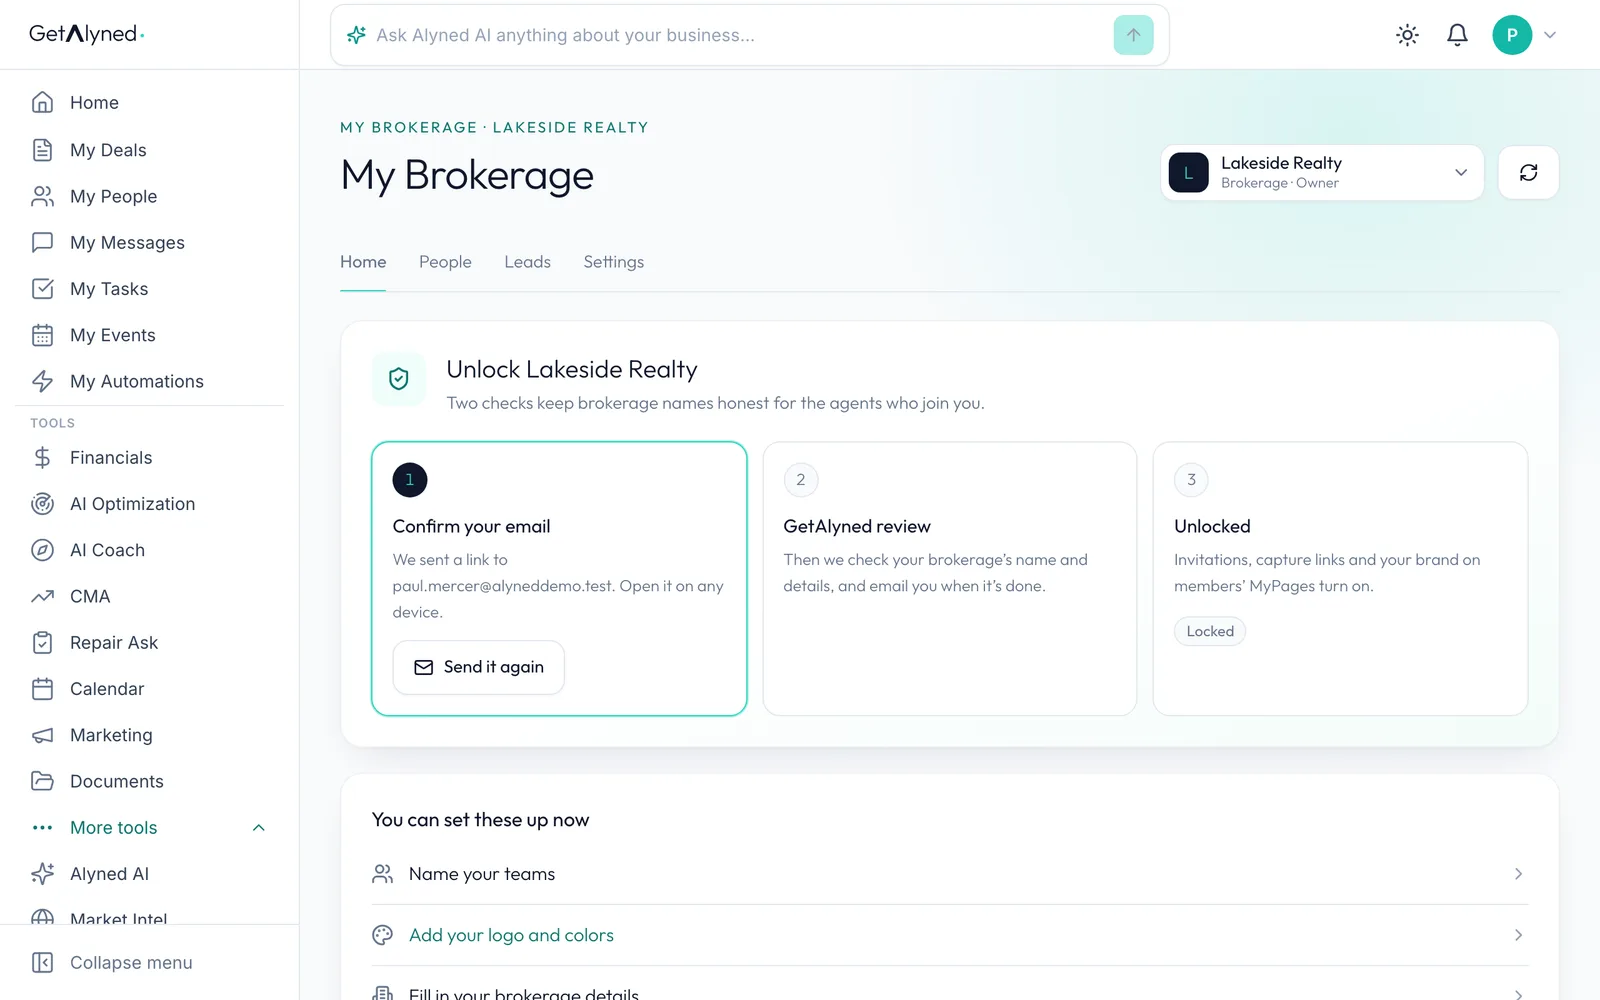
Three steps
Home shows the three steps: confirm your email, Alyned's review, then unlocked. Below them is what you can set up now.
-
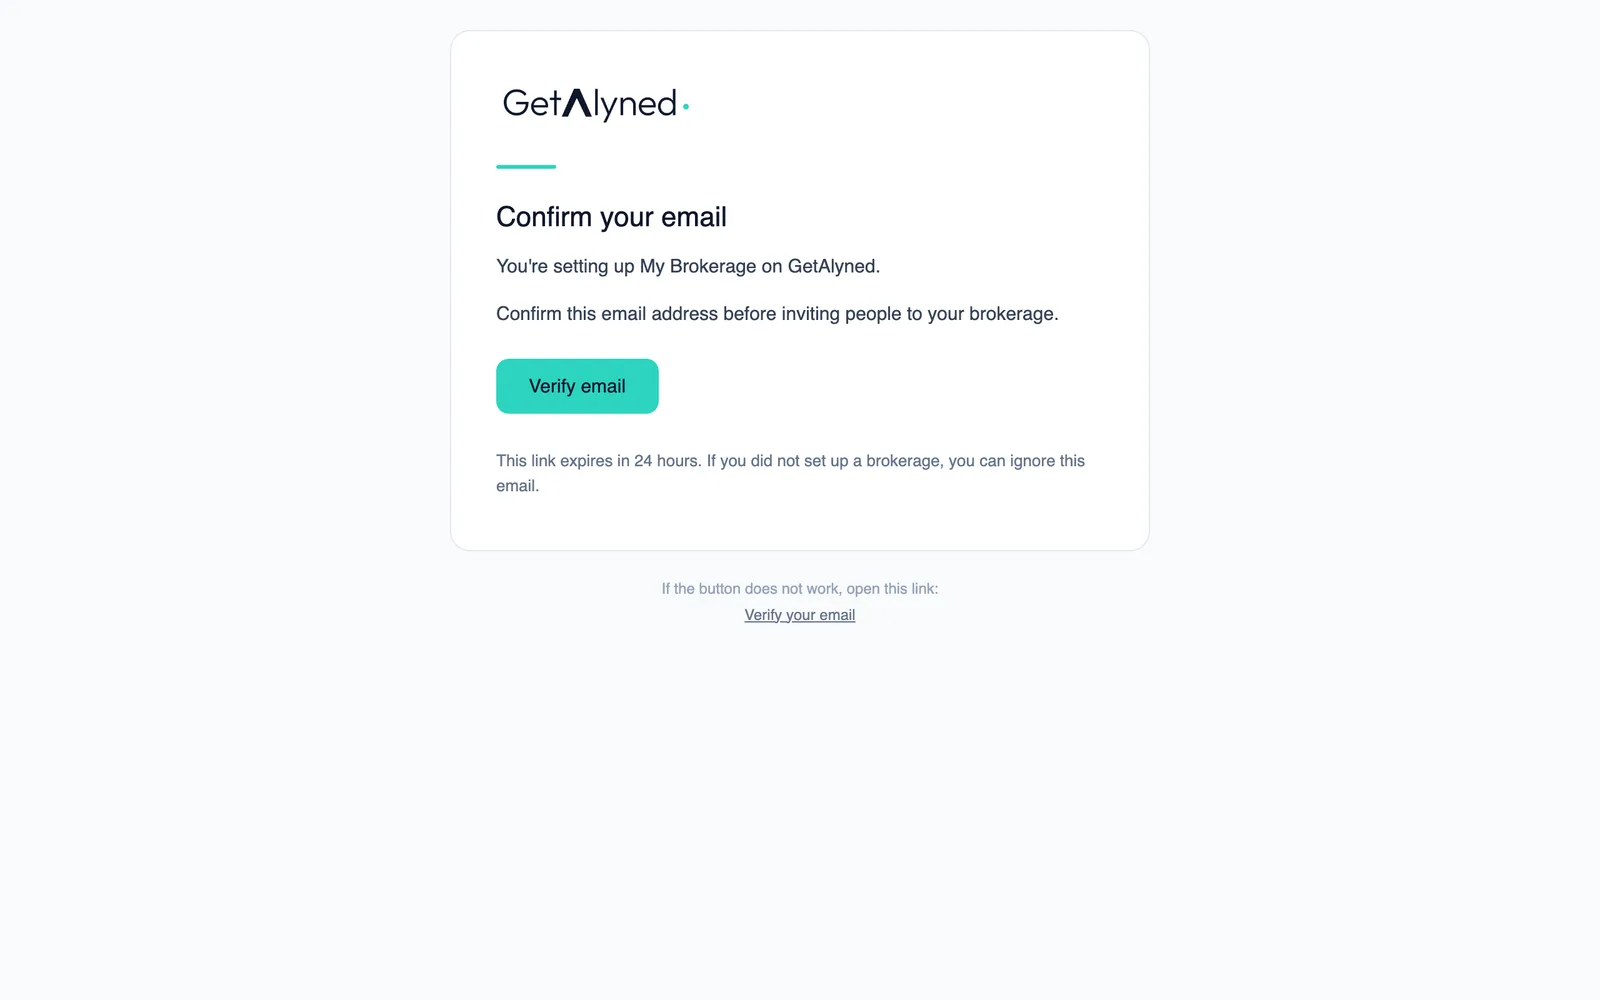
The email
The email looks like this. The link lasts 24 hours, and Send it again on Home sends a fresh one.
-
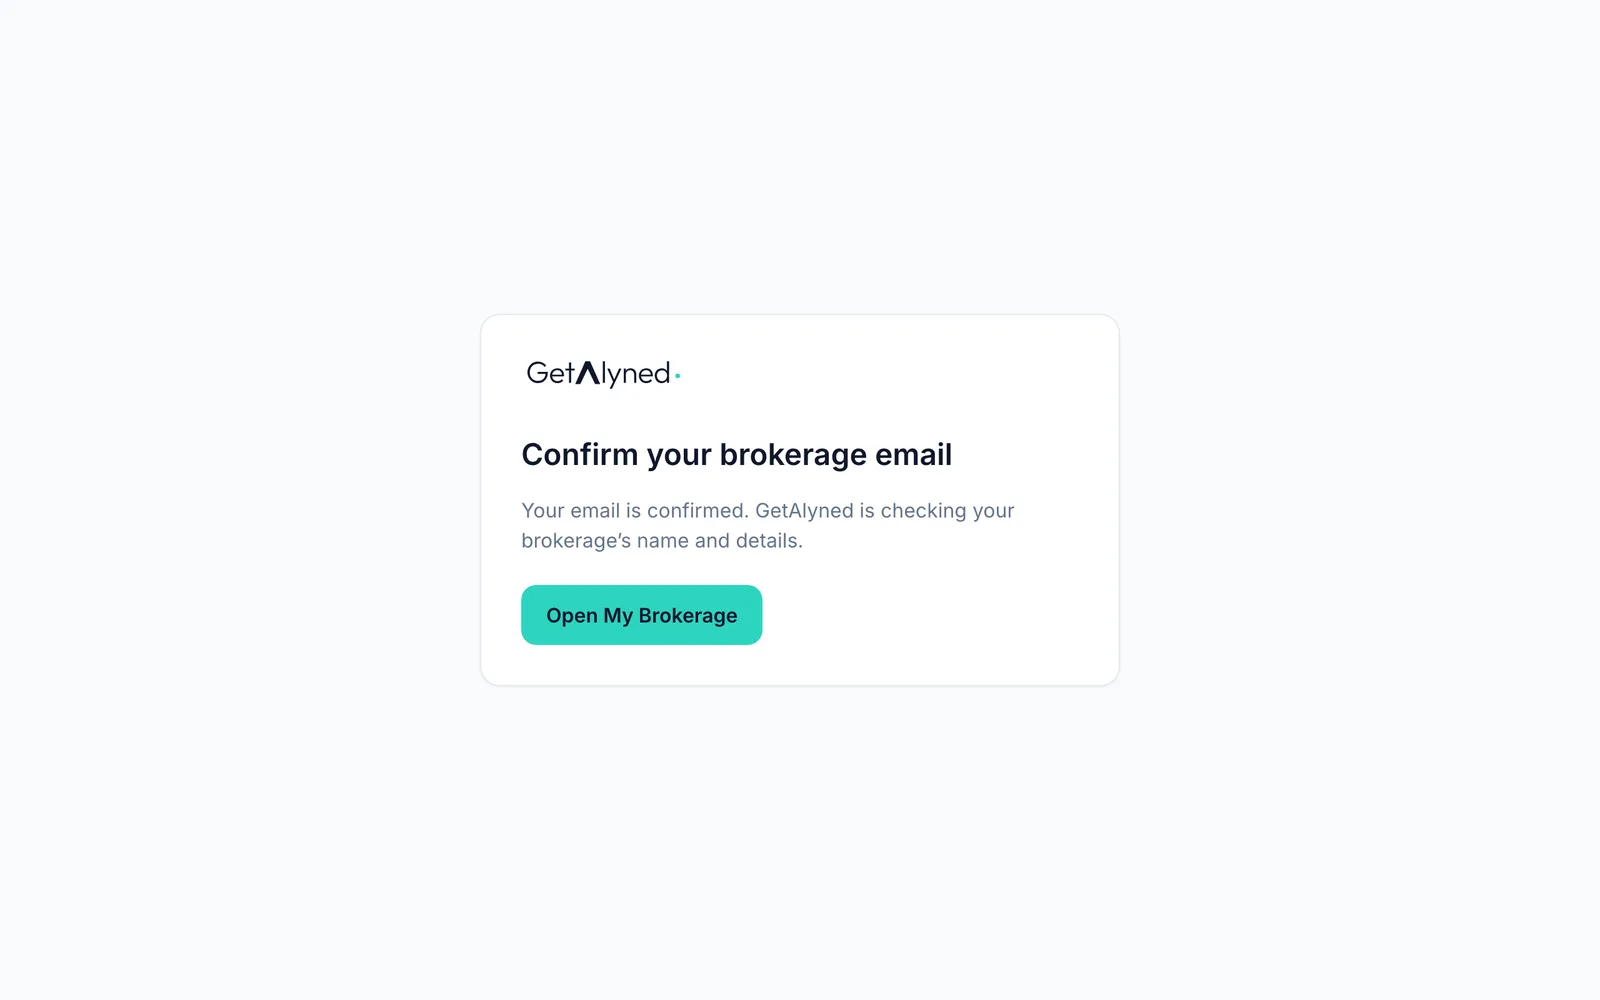
Confirm it
The link confirms your email. Alyned reviews the brokerage next.
-
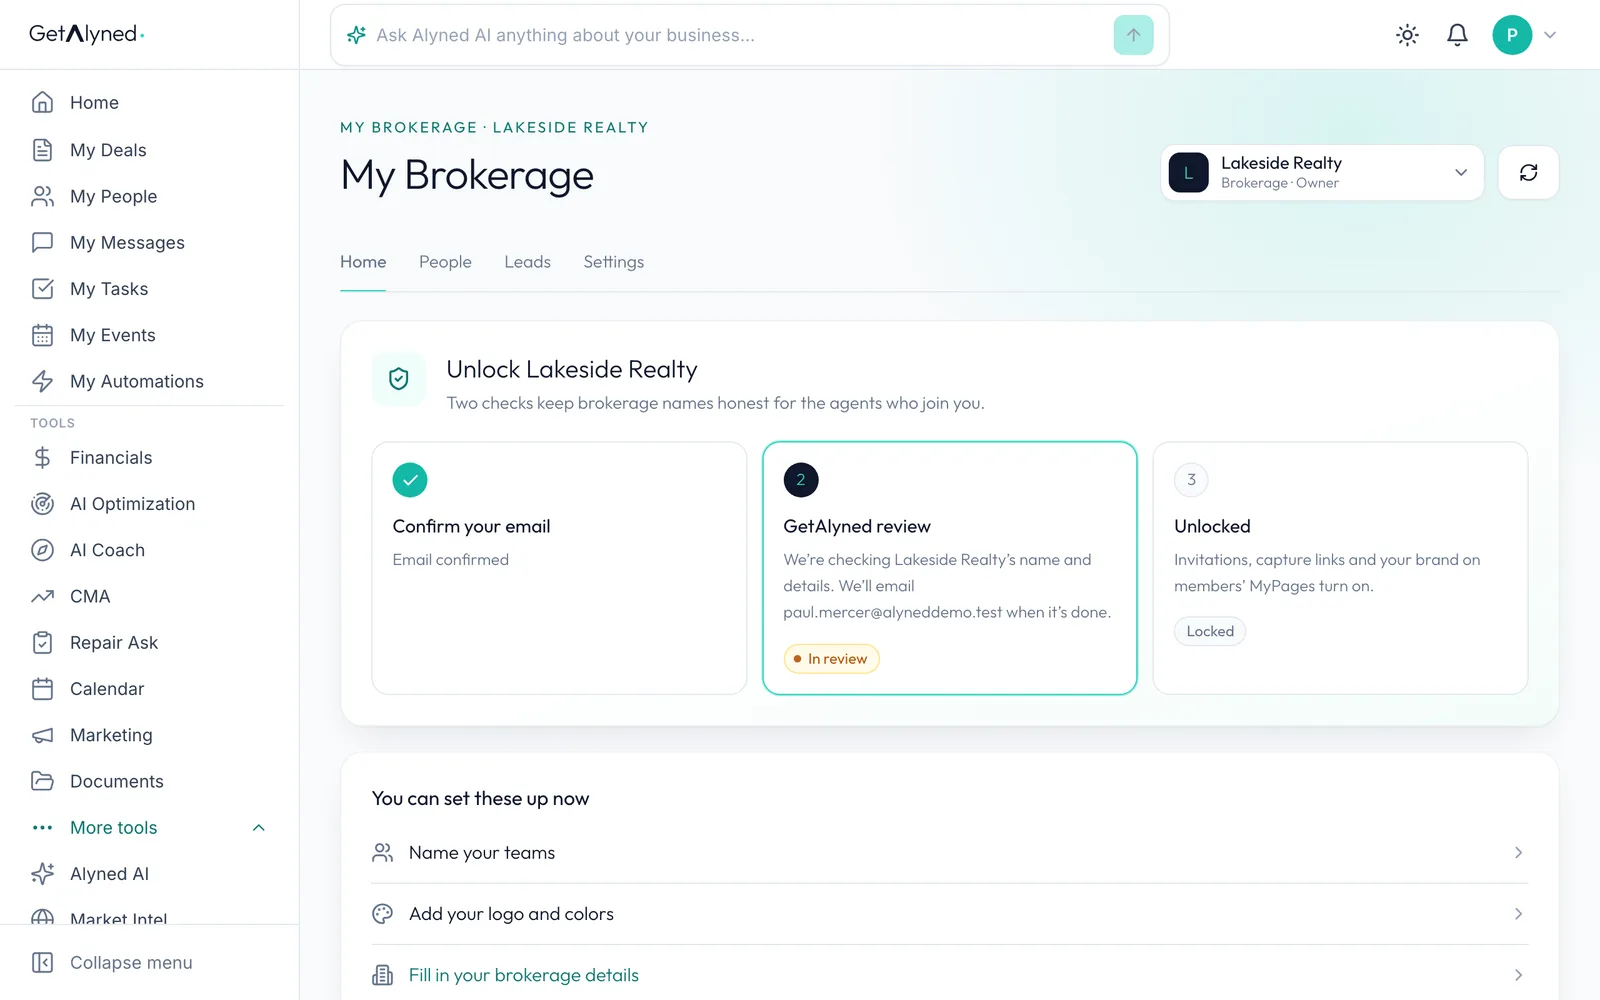
Under review
Home now shows the review as the current step. Alyned emails the owner when it's done.
-
Verified
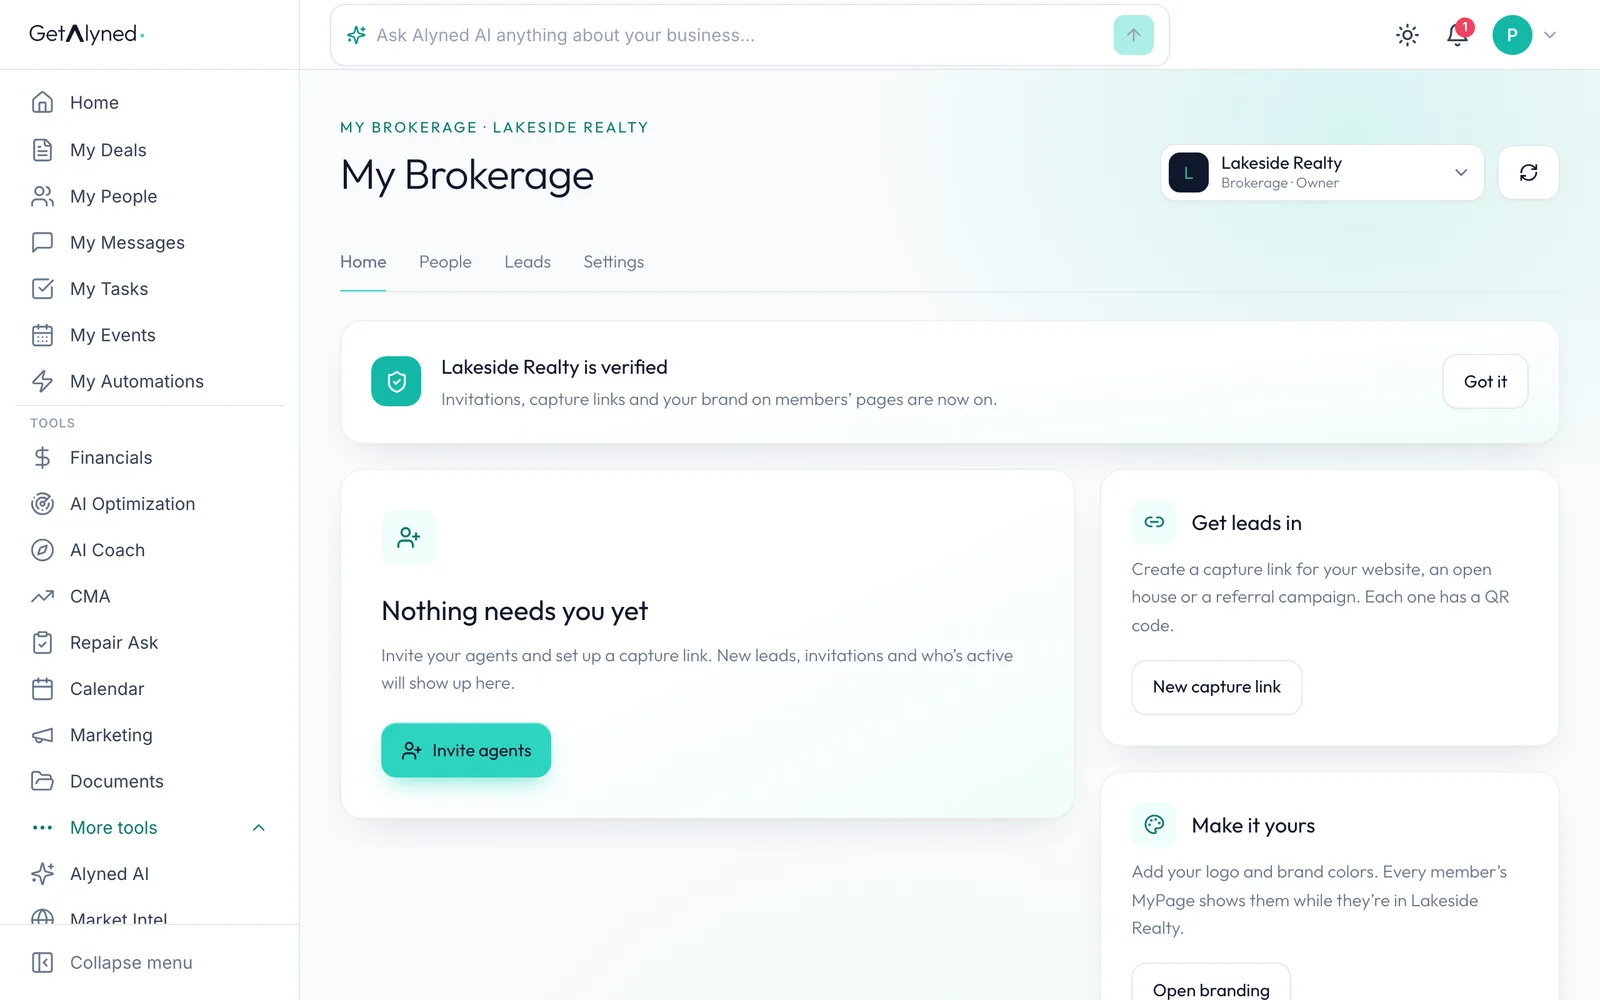
Verified. Invitations and capture links are unlocked, and your name, logo and colors now show on your members' pages.
-
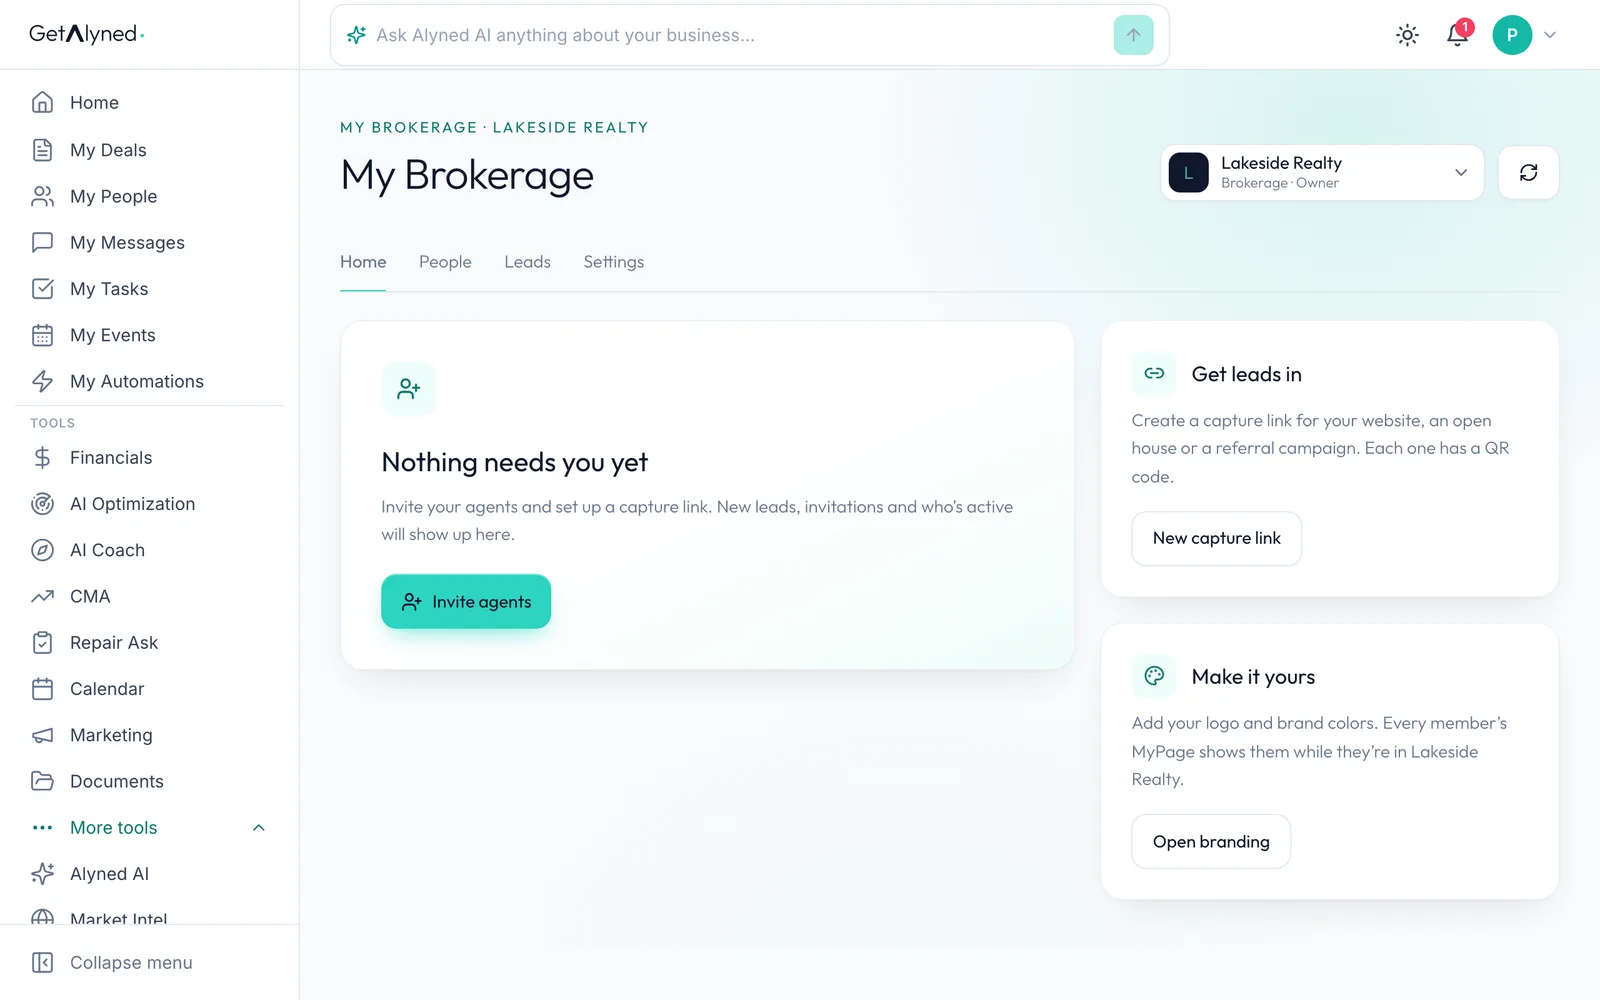
Settings
Settings holds your details, branding, administrators and verification. Only the owner and administrators see it.
-
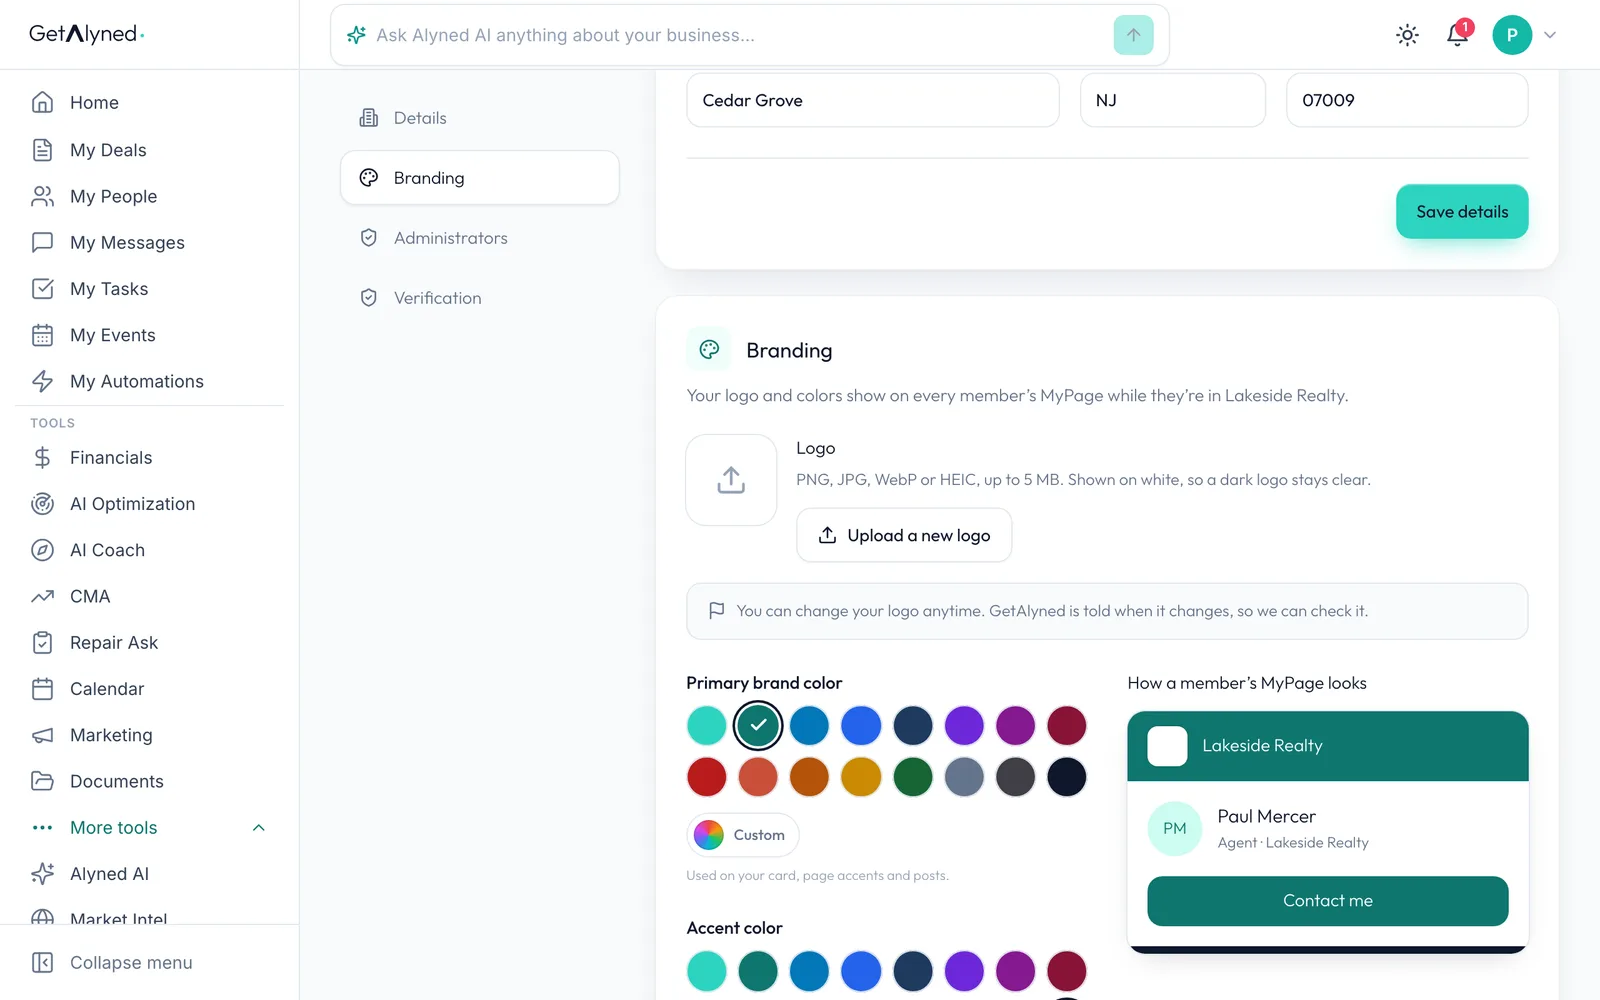
Your logo
The logo is under Branding: PNG, JPG, WebP or HEIC, up to 5 MB. It flows down to your members' pages.
-
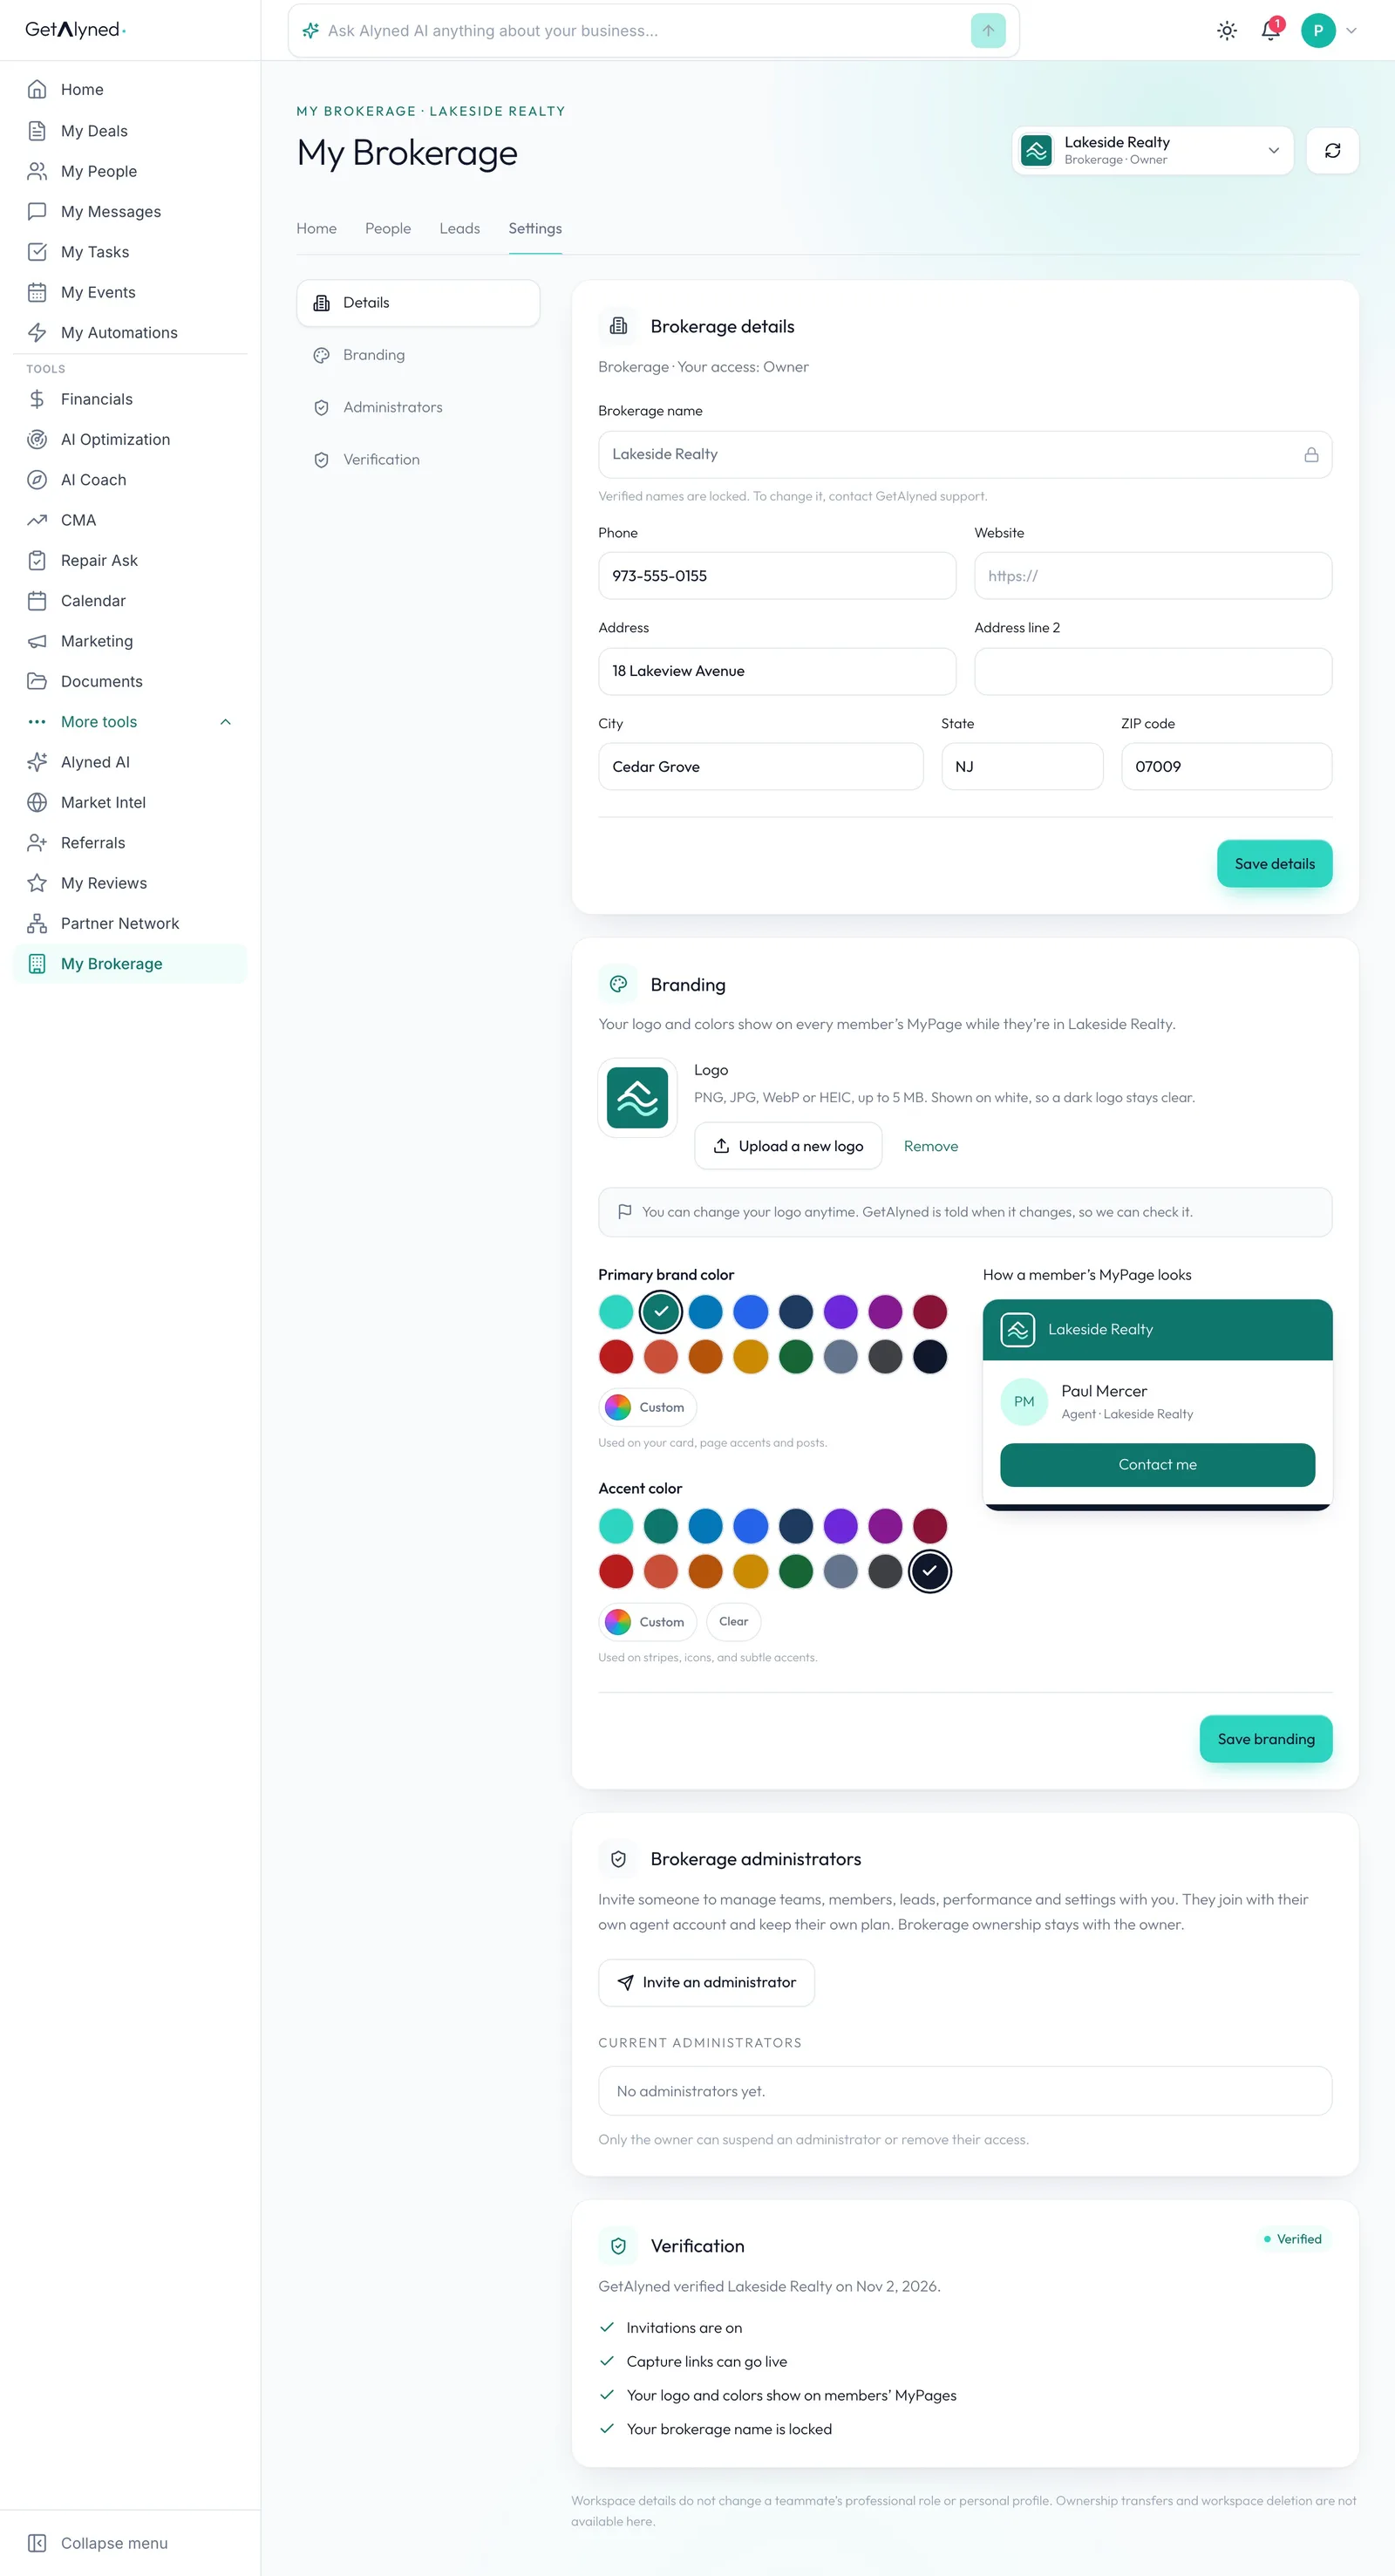
Preview
Your logo is on. The preview beside the colors shows how a member's MyPage looks with your branding.
-
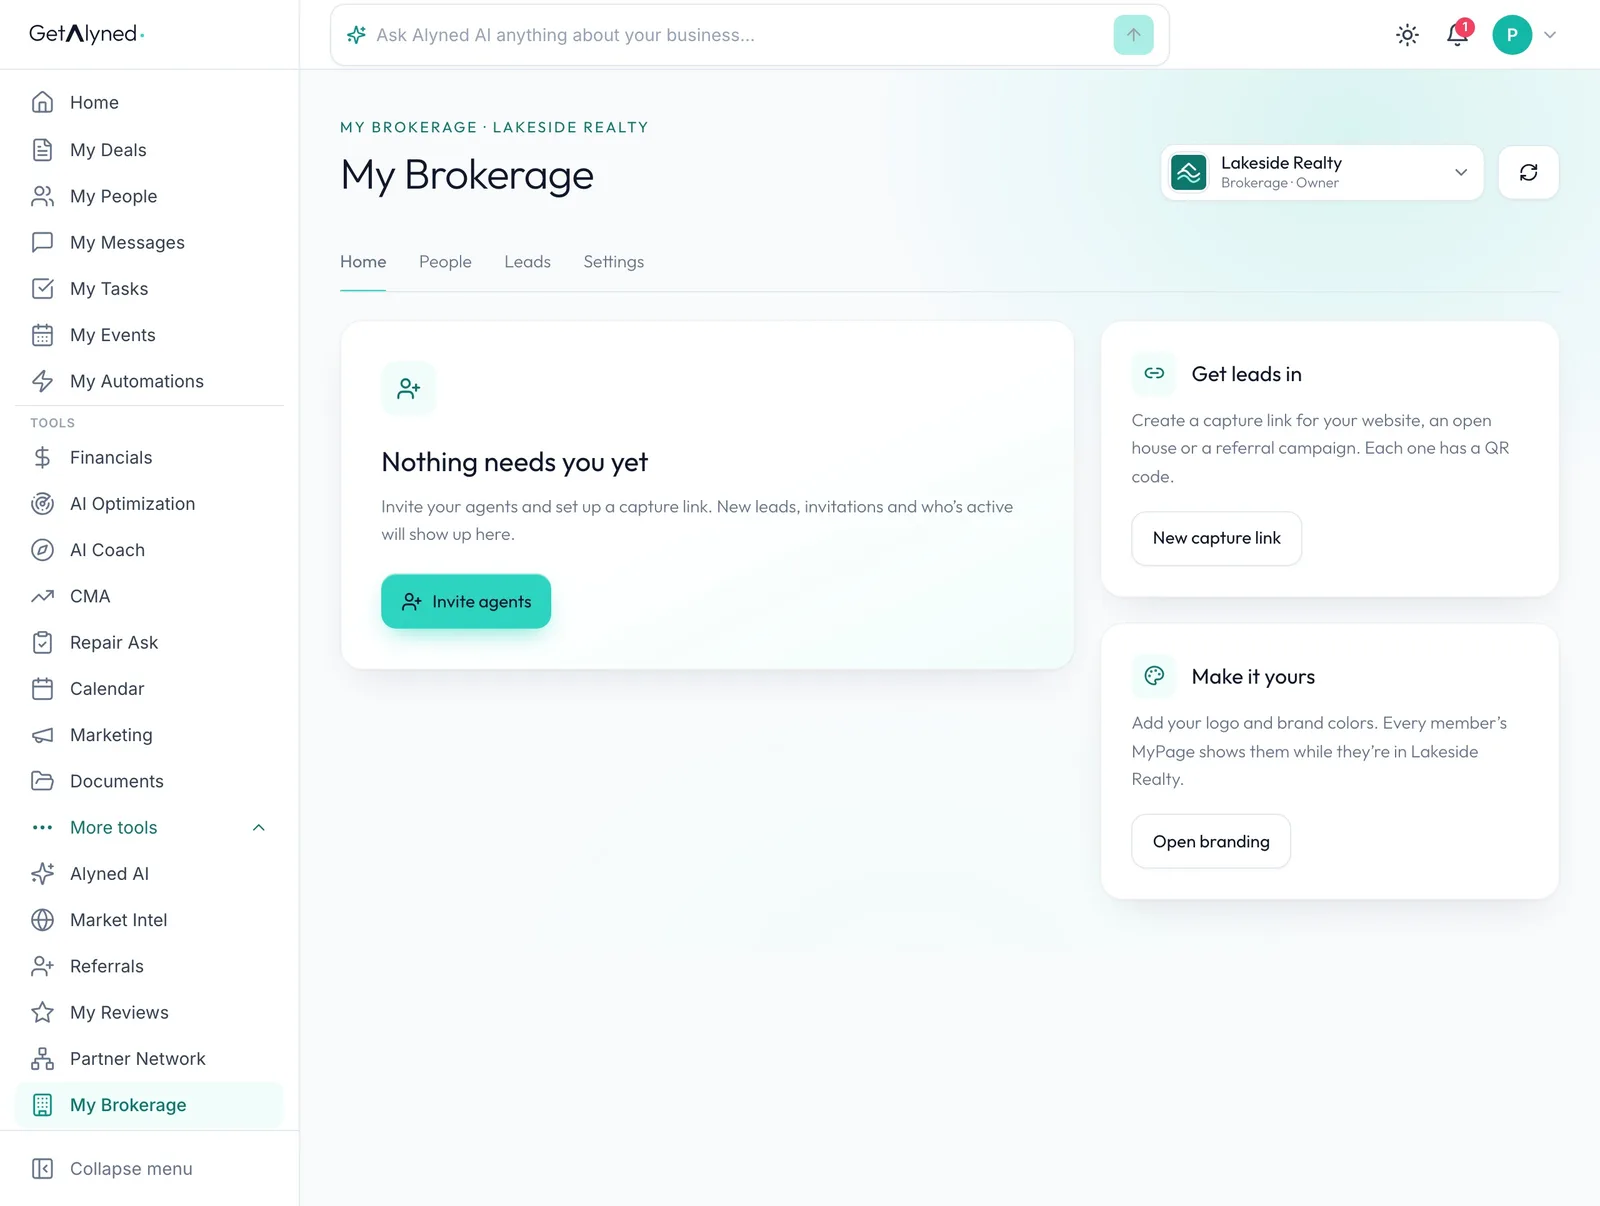
Your Home
This is your brokerage's Home. New leads, invitations and who's active show here. Invite agents and Get leads in are your next steps.
Related guides
- Invite agents and place them on teams · Invite one agent or a whole list, place them on a team or keep them independent, and move people later. Their own contacts and deals stay theirs.
- Your lead capture link and QR code · Make a lead capture link and QR code for your website, an event or a sign, and send its leads straight to a team or your brokerage queue.
- Route and assign leads · Send each new lead to a team or an agent, assign it with a follow-up date, and reassign it if plans change. Every turn stays in the lead's history.